Best Embroidery Machine for Beginners: Brother PE800 Review
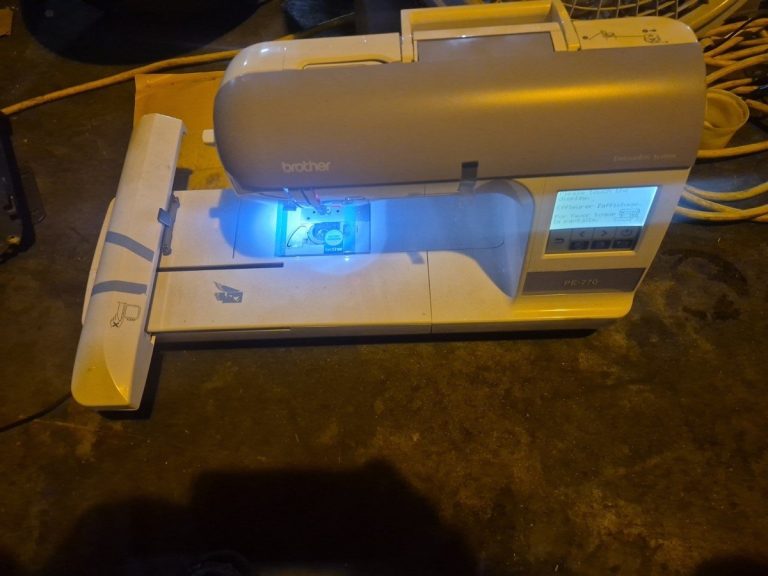
The Brother PE800 is widely considered the best embroidery machine for beginners due to its generous 5-inch by 7-inch stitching field and user-friendly color touchscreen. This guide covers the essential features, setup steps, and maintenance routines needed to start your first project without common mistakes.
Choosing the right embroidery machine for beginners
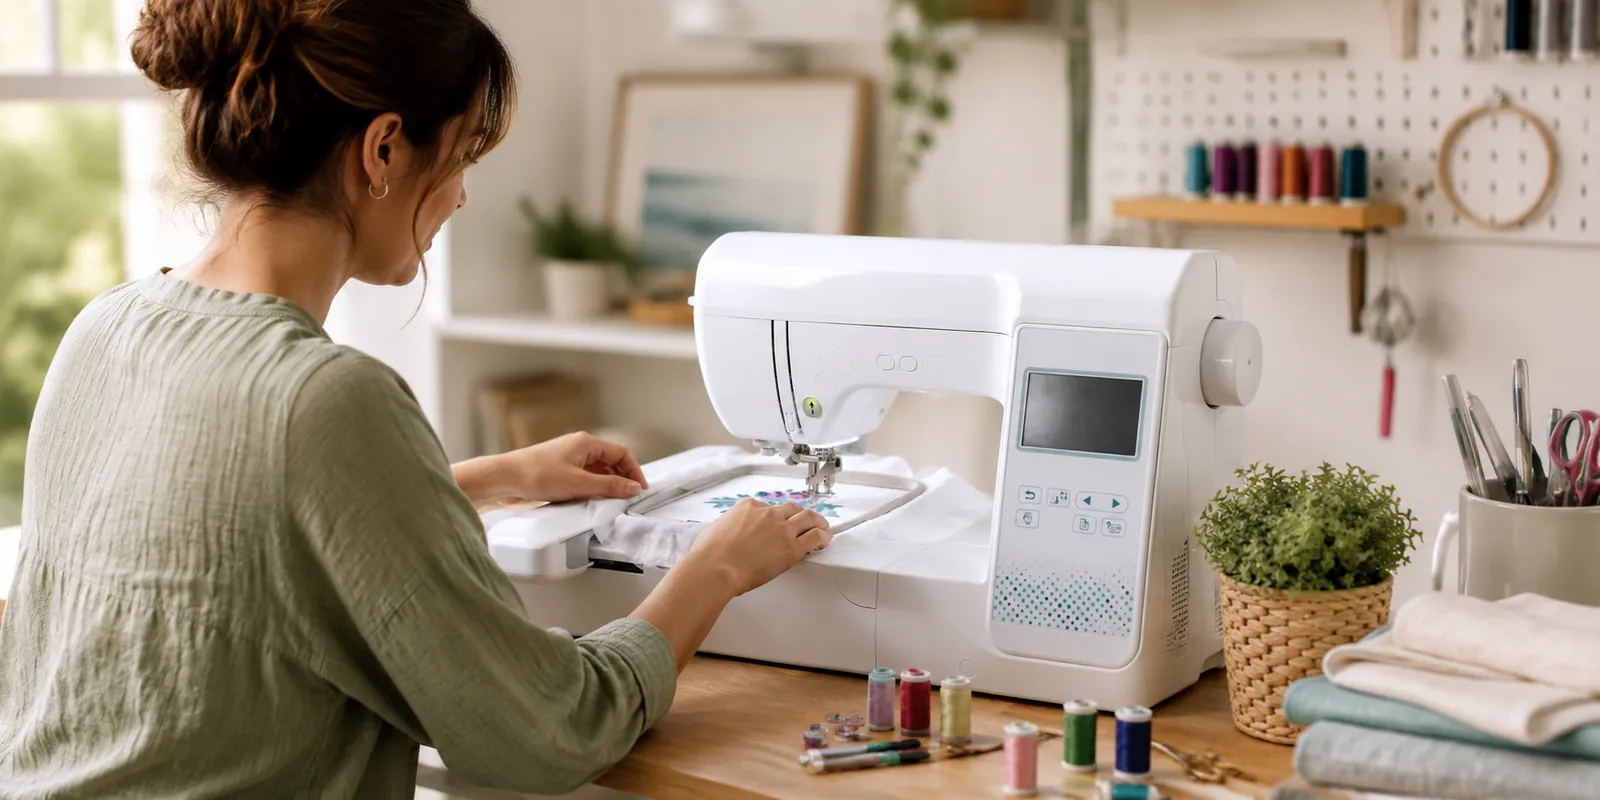
An embroidery machine is a specialized tool that uses a digital design file to stitch patterns directly into fabric. Unlike a standard sewing machine, it moves the fabric in a hoop while the needle moves up and down to form stitches. The most common mistake beginners make is buying a machine with a tiny stitching area, which forces them to restart their project frequently for larger designs.
This equipment is for people who want to customize clothing or home decor items. It isn’t for someone looking to perform heavy-duty industrial production or commercial logo digitizing. If you’re starting, focus on machines that accept standard USB memory sticks for design transfers; if you don’t have a way to import your files, you’ll be limited to the built-in patterns.
How to Set Up Your Machine
Follow these steps to prepare your machine for its first run. Always use a stabilizer to prevent the fabric from puckering during the stitching process.
- Place the machine on a flat, stable surface with at least 12 inches of clearance behind it for the embroidery arm.
- Wind your bobbin with 60-weight embroidery bobbin thread, as this is thinner and lighter than standard sewing thread.
- Attach the embroidery unit to the side of the machine until it clicks firmly into place.
- Select your design on the touchscreen and load it via a USB drive or the internal memory.
- Hoop your fabric tightly, ensuring the fabric is taut like a drum skin, and slide the hoop onto the machine arm.
- Thread the top needle with 40-weight embroidery thread and lower the presser foot to begin.
- Monitor the first 30 seconds of stitching to ensure the thread doesn’t tangle as the machine starts its pattern.
Success depends on how well you hoop your fabric. If the fabric is loose, the needle will cause the material to bunch, ruining the design.
Essential Settings and Comparisons
Choosing the right settings for your fabric type ensures a clean result. The following table highlights common configurations for standard embroidery tasks.
| Situation | What to use | How long | What to watch for |
|---|---|---|---|
| Cotton fabric | Medium-weight tear-away | 10-20 minutes | Thread tension |
| Knits/T-shirts | Cut-away stabilizer | 15-25 minutes | Puckering |
| Thin silk | Water-soluble topping | 5-10 minutes | Needle size |
| Heavy denim | Heavy-duty tear-away | 20-35 minutes | Needle breakage |
If you use a lightweight stabilizer on heavy denim, the fabric will shift during the process. For delicate materials, always use a smaller needle to avoid visible holes.
Improving Your Embroidery Results
Experienced users focus on the quality of their thread and the type of stabilizer used. Beginners often use the same thread for both the top and the bottom, which creates too much bulk and leads to jams. Using a proper embroidery-grade thread ensures the machine runs smoothly without snapping.
Preparation is the secret to a professional look. Before you start, check that your design file matches the hoop size you have installed on the machine. If you try to stitch a design that’s larger than your hoop, the machine will stop automatically to prevent damage to the needle or the frame.
Troubleshooting Common Issues

If you notice the machine skipping stitches or the thread bunching underneath the hoop, use this guide to identify the cause.
| What you notice | What it usually means | What to do first |
|---|---|---|
| Thread snapping | Tension is too high | Re-thread the machine |
| Puckered fabric | Stabilizer is too thin | Use a heavier weight |
| Erratic needle movement | Hoop isn’t locked | Re-attach the hoop |
| Bird-nesting under hoop | Improper bobbin insertion | Clean the bobbin case |
Following Safety and Legal Rules
Embroidery machines are electrical appliances that require proper grounding to prevent shocks. Always plug your machine into a three-prong outlet and avoid using damaged cords.
If the machine requires internal repairs, such as replacing the motor or the timing belt, take it to a factory-authorized service center. A capacitor inside the housing can hold a lethal charge even when the unit is unplugged, so never attempt to open the casing yourself.
Most users make the mistake of assuming a disconnected plug eliminates all electrical risks. This oversight can lead to severe injury. If your machine makes a grinding noise or emits a burning smell, stop immediately and disconnect the power. If the machine runs smoothly but produces uneven stitches, check the needle plate before seeking professional help. Only internal mechanical failures require a technician.
Keeping Your Machine Healthy
Clean the bobbin area after every project to remove lint buildup. Use a soft brush or a small vacuum attachment to clear the dust from the feed dogs and the bobbin case. If the machine sits unused for more than three months, cover it with a cloth to keep the internal gears free of debris. When you return to your work, run a test stitch on a scrap piece of fabric to ensure the tension remains consistent.
When to Seek Alternatives

This approach is for home hobbyists. If you need to produce hundreds of items weekly, a single-needle home machine will be too slow and wear out quickly. In those cases, look for a multi-needle machine, which allows you to set up multiple colors at once.
If your goal is to create custom designs from scratch, you’ll also need to purchase digitizing software, as basic machines can’t convert images into embroidery files themselves.
Most beginners mistakenly assume the included software handles complex logos. It usually only manages simple text. If your design contains gradients or fine details, you must use professional-grade digitizing tools.
If you find yourself spending more than four hours a week manually re-threading needles, your volume has outgrown your equipment. Switch to an industrial model to save time and maintenance costs.
Frequently asked questions
Can I use regular sewing thread for embroidery?
No, regular sewing thread is too thick and creates excess bulk that can jam your machine. Use 40-weight embroidery thread specifically designed for these machines to ensure the stitches lay flat and the needle doesn’t break during complex patterns.
How long does a typical embroidery project take?
The time depends on the stitch count of your design; a simple 3-inch logo usually takes about 15 minutes to complete. More detailed patterns with high density can take an hour or longer depending on the complexity of the color changes.
Is it safe to leave the machine running unattended?
No, you should always stay near the machine while it’s stitching to catch thread jams early. If the thread snaps or the fabric shifts, an unattended machine can quickly damage the hoop or break the needle.
How often should I oil my embroidery machine?
You should oil your machine only as directed by the manufacturer’s manual, usually every 6 to 12 months of regular use. Some modern machines use self-lubricating parts, so check your specific model’s guide before adding any oil to avoid damaging the electronics.
Why does my design look distorted?
Distortion happens if the fabric isn’t hooped tightly enough or if the stabilizer doesn’t match the fabric weight. Always ensure your fabric is pulled taut in the hoop and use a permanent stabilizer for stretchy or thin materials.
What is the difference between tear-away and cut-away?
Tear-away stabilizers are removed by pulling them off after stitching, while cut-away remains permanently attached to the back of the design. Use cut-away for knits or items that will be washed often to prevent the design from sagging over time.
Conclusion
Selecting the right machine starts with checking the maximum hoop size and confirming that the machine supports the file formats you plan to use. By keeping your bobbin area clean and using the correct stabilizer for your fabric, you’ll avoid most common errors and enjoy your new hobby for many years.
{“@context”:”https://schema.org”,”@type”:”FAQPage”,”mainEntity”:[{“@type”:”Question”,”name”:”Can I use regular sewing thread for embroidery?”,”acceptedAnswer”:{“@type”:”Answer”,”text”:”No, regular sewing thread is too thick and creates excess bulk that can jam your machine. Use 40-weight embroidery thread specifically designed for these machines to ensure the stitches lay flat and the needle doesn’t break during complex patterns.”}},{“@type”:”Question”,”name”:”How long does a typical embroidery project take?”,”acceptedAnswer”:{“@type”:”Answer”,”text”:”The time depends on the stitch count of your design; a simple 3-inch logo usually takes about 15 minutes to complete. More detailed patterns with high density can take an hour or longer depending on the complexity of the color changes.”}},{“@type”:”Question”,”name”:”Is it safe to leave the machine running unattended?”,”acceptedAnswer”:{“@type”:”Answer”,”text”:”No, you should always stay near the machine while it’s stitching to catch thread jams early. If the thread snaps or the fabric shifts, an unattended machine can quickly damage the hoop or break the needle.”}},{“@type”:”Question”,”name”:”How often should I oil my embroidery machine?”,”acceptedAnswer”:{“@type”:”Answer”,”text”:”You should oil your machine only as directed by the manufacturer’s manual, usually every 6 to 12 months of regular use. Some modern machines use self-lubricating parts, so check your specific model’s guide before adding any oil to avoid damaging the electronics.”}},{“@type”:”Question”,”name”:”Why does my design look distorted?”,”acceptedAnswer”:{“@type”:”Answer”,”text”:”Distortion happens if the fabric isn’t hooped tightly enough or if the stabilizer doesn’t match the fabric weight. Always ensure your fabric is pulled taut in the hoop and use a permanent stabilizer for stretchy or thin materials.”}},{“@type”:”Question”,”name”:”What is the difference between tear-away and cut-away?”,”acceptedAnswer”:{“@type”:”Answer”,”text”:”Tear-away stabilizers are removed by pulling them off after stitching, while cut-away remains permanently attached to the back of the design. Use cut-away for knits or items that will be washed often to prevent the design from sagging over time.”}}]}