Best Sewing Machine That Embroiders: Our Top Expert Verdict
The Brother SE1900 is the best sewing machine that embroiders for most home users because it balances an intuitive interface with a large, high-resolution touch screen for editing designs. If you need industrial-grade output for a small business, you should look at dedicated multi-needle embroidery machines instead. Choosing between these depends on whether your priority is daily garment construction or high-volume creative customization. Always verify the maximum hoop size for your specific project, as this varies by model — check the label or user manual before you buy.
The options compared
If you’re a beginner, a combo machine offers the best value. However, if you plan to run a business, a dedicated embroidery unit saves you time by avoiding the constant need to switch between sewing and embroidery modes.
The best sewing machine that embroiders
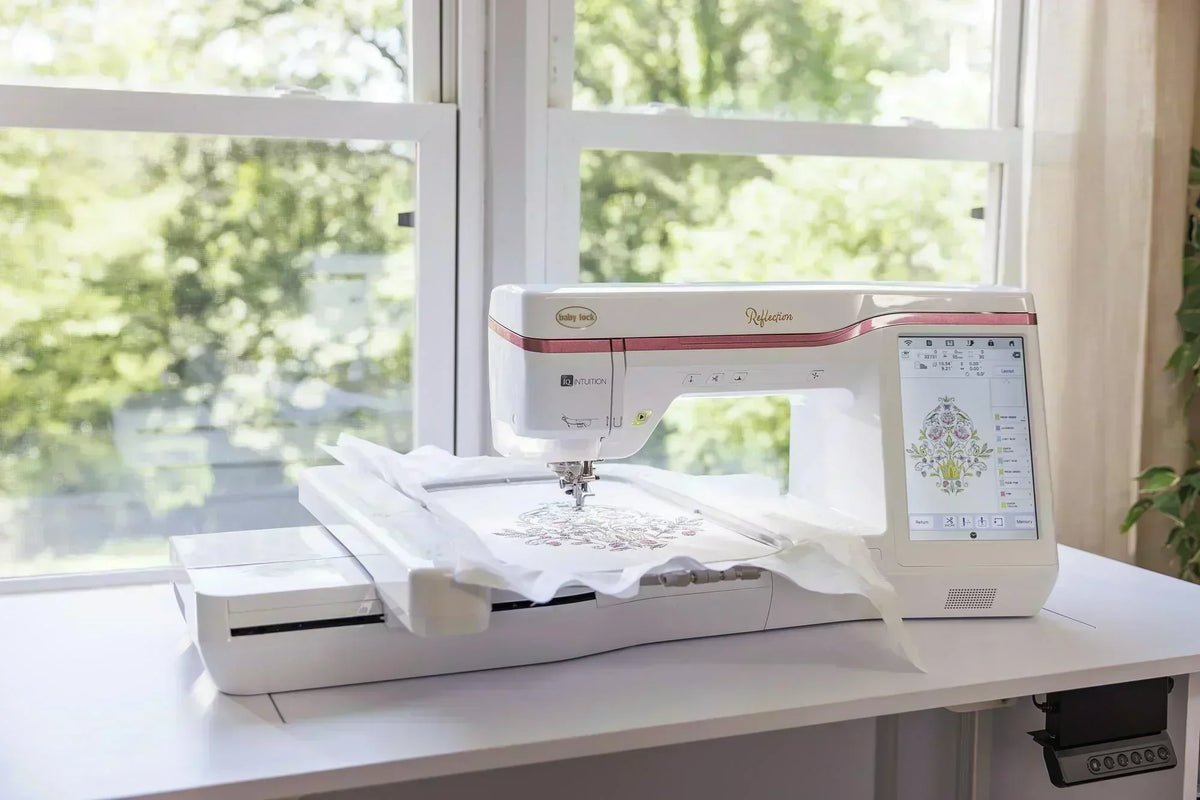
This method uses one machine frame that switches between a traditional sewing mode and an embroidery module.
- Attach the embroidery unit to the base of the machine while the power is turned off.
- Select the “Embroidery” mode on the digital display.
- Hoop your fabric using the recommended stabilizer to prevent puckering.
- Upload your pattern via a USB drive or the built-in library.
- Press the “Start” button and keep your hands clear of the needle path.
These machines are excellent for people with limited space because they combine two tools into one footprint. The trade-off is that you can’t sew a garment while an embroidery project is running. If your machine stops suddenly, don’t attempt to open the casing yourself; a capacitor can hold a lethal charge unplugged, so contact an authorized repair technician.
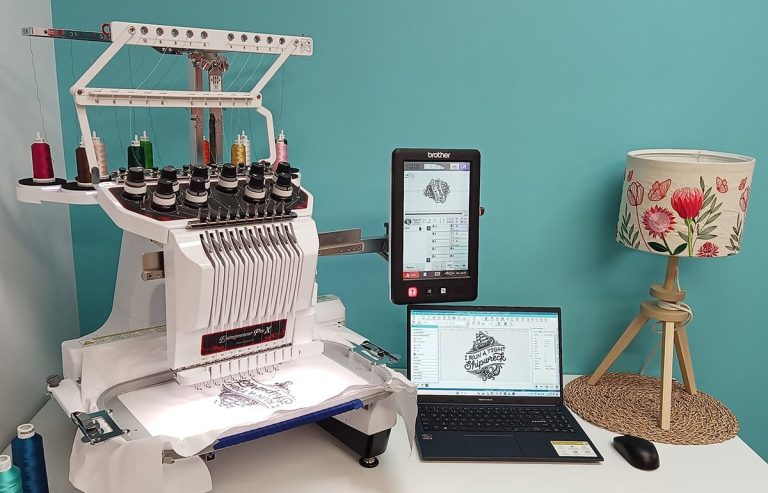
Dedicated embroidery stations
These machines focus entirely on decorative work and often feature larger hoop areas and faster stitching speeds.
- Place the machine on a flat, heavy-duty table to reduce vibration during high-speed operation.
- Load your design file into the machine’s memory.
- Align the fabric in the frame so the grain is perfectly straight.
- Set the thread tension according to the manufacturer’s tension guide for your specific thread weight.
- Monitor the screen for color-change prompts to switch thread spools.
These units produce professional-grade results and allow for complex multi-color patterns that would be tedious on a combo machine. The main weakness is the lack of a feed dog system, which means you can’t use these machines for standard clothing construction or mending. You’ll need a separate machine for those tasks.
Computerized software-driven units
These machines rely on advanced software to convert digital art into stitch files, making them perfect for custom logo work.
- Install the compatible design software on your computer.
- Import your image file and convert it into a machine-readable format like .pes or .dst.
- Transfer the file to the machine using a secure connection.
- Verify the stitch count on the screen before beginning.
- Use a temporary adhesive spray to secure the fabric to the stabilizer.
This approach is the best way to achieve highly detailed, personalized items like hats or bags. One limitation is the learning curve; mastering digitizing software can take weeks of practice. If you don’t have the time to learn the software, you can purchase pre-digitized patterns from reputable sources.
Which one should you use?
If you’re in a hurry, choose a combo machine. It allows you to switch modes quickly, so you can finish a simple hem or a small logo without moving to a different station. This is ideal for quick gifts or repairs.
If you’re doing this for the first time, start with a combo machine that offers a built-in tutorial system. These machines guide you through the process of hooping and threading, which are the most common points of frustration for new users. You’ll learn the mechanics of fabric tension without the complexity of professional-grade software.
If you want the best possible result whatever it takes, choose a dedicated embroidery unit. These machines provide superior stitch density and are built to handle heavy-duty use over long periods. While they require a larger initial investment, the quality of the finish is higher than what a consumer-grade combo machine can produce. The trade-off is that you must manage two separate pieces of equipment in your workspace, which requires significantly more room.
The rules that apply whichever way you choose
Regardless of the method, you must always use the correct stabilizer for your fabric type. Using the wrong stabilizer is a common mistake that causes puckering and ruins the design. If you use a light fabric without a heavy stabilizer, the stitches will pull the material and create holes.
Always test your design on a scrap piece of fabric before you start on your finished garment. This helps you check the thread tension and color placement without risking your main project. If the thread loops on the bottom, your top tension is likely too loose; if it snaps, the tension is too tight.
Maintenance is the final step in the process. Clean the bobbin area after every project to remove lint, which can cause the machine to jam or skip stitches. If the machine requires internal timing adjustments or part replacements, this is technician-only work. Never force a needle through thick fabric, as this can break the needle bar or damage the internal sensors. Proper care ensures your machine stays accurate for years.
Frequently asked questions
Can I use a regular sewing machine for embroidery?
No, a standard machine lacks the specialized hoop mechanism and software interface required to move fabric in the precise patterns needed for embroidery. While you can perform “free motion” embroidery by dropping the feed dogs, it requires significant manual skill and won’t match the automated precision of a machine designed specifically for this purpose.
How long does it take to learn machine embroidery?
You can learn the basics of operating a machine in about two hours, but mastering design software and fabric stabilization takes much longer. Most users find they’re comfortable with simple patterns within a few weeks of consistent practice.
Is it safe to leave the machine running unattended?
No, you should never leave an embroidery machine running without supervision. A needle can break or a thread can tangle within seconds, which can cause damage to the machine or even start a fire if the motor continues to strain. Always stay nearby so you can stop the machine immediately if you hear an unusual sound or notice a stitch error.
What happens if the power goes out mid-project?
Most modern embroidery machines have a built-in memory feature that remembers the exact stitch where the power was lost. When you turn the machine back on, it will prompt you to resume from the last completed stitch. If your model doesn’t have this feature, you’ll need to manually advance the stitch count to the point where the machine stopped.
How do I stop my fabric from puckering?
Puckering happens when the fabric isn’t held tightly enough in the hoop or the stabilizer is too thin for the design’s density. To fix this, ensure you’re using a stabilizer that matches the weight of your fabric and tighten the hoop frame so the fabric is taut like a drum. Never pull on the fabric while the machine is stitching.
Final Thoughts
Once you’ve picked the right machine, don’t be afraid to start with a simple practice fabric. You’ll find that experimenting with different thread colors and stabilizers makes the process much more fun. Grab a few scraps and test your first design today; you’re going to love what you can create.
{“@context”:”https://schema.org”,”@type”:”FAQPage”,”mainEntity”:[{“@type”:”Question”,”name”:”Can I use a regular sewing machine for embroidery?”,”acceptedAnswer”:{“@type”:”Answer”,”text”:”No, a standard machine lacks the specialized hoop mechanism and software interface required to move fabric in the precise patterns needed for embroidery. While you can perform \”free motion\” embroidery by dropping the feed dogs, it requires significant manual skill and won’t match the automated precision of a machine designed specifically for this purpose.”}},{“@type”:”Question”,”name”:”How long does it take to learn machine embroidery?”,”acceptedAnswer”:{“@type”:”Answer”,”text”:”You can learn the basics of operating a machine in about two hours, but mastering design software and fabric stabilization takes much longer. Most users find they’re comfortable with simple patterns within a few weeks of consistent practice.”}},{“@type”:”Question”,”name”:”Is it safe to leave the machine running unattended?”,”acceptedAnswer”:{“@type”:”Answer”,”text”:”No, you should never leave an embroidery machine running without supervision. A needle can break or a thread can tangle within seconds, which can cause damage to the machine or even start a fire if the motor continues to strain. Always stay nearby so you can stop the machine immediately if you hear an unusual sound or notice a stitch error.”}},{“@type”:”Question”,”name”:”What happens if the power goes out mid-project?”,”acceptedAnswer”:{“@type”:”Answer”,”text”:”Most modern embroidery machines have a built-in memory feature that remembers the exact stitch where the power was lost. When you turn the machine back on, it will prompt you to resume from the last completed stitch. If your model doesn’t have this feature, you’ll need to manually advance the stitch count to the point where the machine stopped.”}},{“@type”:”Question”,”name”:”How do I stop my fabric from puckering?”,”acceptedAnswer”:{“@type”:”Answer”,”text”:”Puckering happens when the fabric isn’t held tightly enough in the hoop or the stabilizer is too thin for the design’s density. To fix this, ensure you’re using a stabilizer that matches the weight of your fabric and tighten the hoop frame so the fabric is taut like a drum. Never pull on the fabric while the machine is stitching.”}}]}