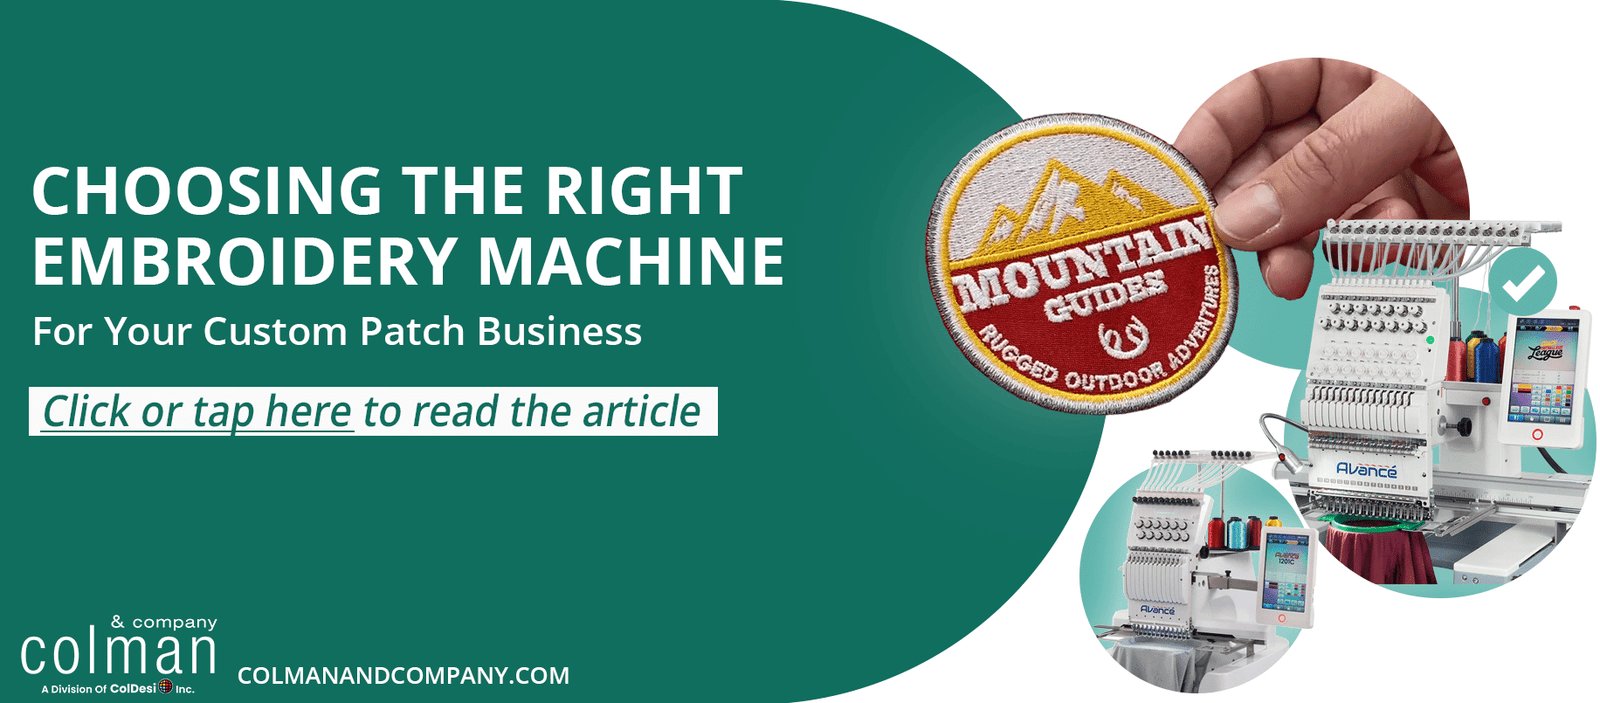
What Kind of Machine Do You Need to Do Embroidery? The Guide
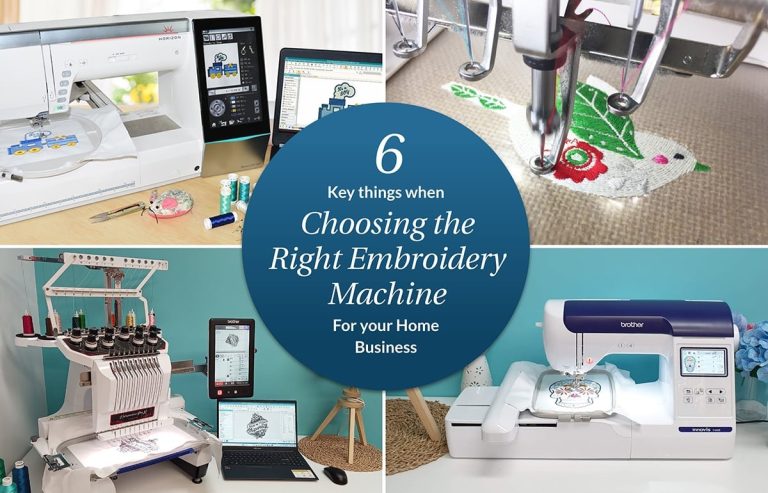
To get started with professional-grade designs, you need a dedicated embroidery machine, though some high-end sewing machines also include built-in embroidery modules. These machines use a hoop to hold your fabric taut while a computer-controlled arm moves the frame under a single needle. If you only plan to do occasional patches, a small entry-level machine will work, but you’ll need a larger hoop size for quilts or jackets.
The success of your project depends on your choice of stabilizer, which keeps the fabric from puckering while the needle moves. A common mistake is using the wrong weight of stabilizer for your specific fabric type, which often leads to distorted designs or thread breaks. If your fabric is thin, use a lightweight tear-away stabilizer; if it’s thick or stretchy, use a heavy cut-away version.
Choosing the right embroidery machine

- Place your machine on a stable, flat surface to ensure the embroidery arm has enough clearance to move freely without hitting walls or objects. A machine needs at least 12 inches of clear space on all sides to prevent the hoop from snagging during the stitching process.
- Load your design file into the machine using a USB drive or a direct cable connection. Most modern machines support common formats like .PES or .DST, but you must check your manual to see which file type your specific model reads.
- Hoop your fabric by placing the stabilizer underneath and securing the inner hoop inside the outer ring. Ensure the fabric is drum-tight without stretching the fibers, as loose fabric will cause the needle to skip stitches or create loops.
- Attach the hoop to the embroidery arm and use the machine’s screen to center your needle over the starting point of the design. Always run a “trace” function if your machine has one to verify the design fits within the hoop boundaries before you press start.
- Thread the machine with embroidery-specific thread, which is typically thinner and has more sheen than standard sewing thread. If you’re working with heavy-duty fabrics, always consult the textile safety guidelines from the Consumer Product Safety Commission to ensure your materials meet durability requirements for your intended use.
- Monitor the first few minutes of stitching to ensure the bobbin thread isn’t pulling up to the top.
Tip: Never force the embroidery arm if it gets stuck; turn the machine off first, as the motor is powerful and can cause injury or damage the internal gears.
Expected Time Requirements
The time it takes to finish a project depends on the number of stitches and the complexity of your design. Simple monograms might take 10 minutes, while complex patterns can run for hours.
| Project Type | Time Estimate | Main Variable | What to Watch For |
|---|---|---|---|
| Small Patch | 15–25 minutes | Design density | Thread tension |
| Logo on Polo | 30–45 minutes | Stitch count | Fabric puckering |
| Large Quilt Block | 60–120 minutes | Machine speed | Bobbin levels |
If your machine is taking twice as long as expected, check if you have accidentally set the speed to “slow” in the software settings.
Most beginners underestimate the time required for color changes. Every time your machine pauses for a thread swap, add three minutes to your total estimate to account for re-threading and trimming. If your design requires more than five colors, expect a 20% increase in total production time.
You can gauge complexity by looking at your file’s stitch density. High-density designs require more passes, which increases the risk of thread breakage. If your machine stops frequently, you’re likely pushing the needle too fast for the fabric weight. Slow the machine by 10% for every layer of stabilizer you add to the hoop.
Recognizing a Successful Design

You know your embroidery is done when the machine stops and displays a “complete” message on the screen. The design should lie flat against the fabric without any visible pulling or gaps between the colors.
Check the back of the fabric to ensure the bobbin thread is even and that there are no “bird nests” or tangled threads underneath. A clean underside should show only small, uniform stitches. If you see large loops, your top tension is likely too loose.
If the design looks wavy, you used a stabilizer that was too light for the fabric’s weight. Use a cut-away stabilizer for knits or stretchy materials to prevent shifting. If you’re working on a rigid, woven cotton, a tear-away stabilizer usually suffices. Match the stabilizer density to your stitch count to keep the fabric perfectly smooth.
Avoiding Common Embroidery Errors

Using standard sewing thread often leads to snapping because it can’t withstand the high-speed, repetitive movement of embroidery needles. Standard thread lacks the necessary tensile strength, causing frequent breaks that force you to restart sections. Use high-quality rayon or polyester embroidery thread instead to maintain consistent tension and lasting color brilliance.
People often run out of bobbin thread mid-design, which creates a visible start-and-stop line that ruins the professional look of the piece. If you’re starting a project with more than 10,000 stitches, always wind a fresh bobbin first to avoid mid-run interruptions.
If your fabric is too loose in the hoop, the needle will push the material down instead of piercing it, leading to skipped stitches and puckering. Your fabric should sound like a drum when tapped. If you’re working with stretchy knits, apply a layer of cut-away stabilizer to the back to prevent the fabric from shifting during the high-speed stitching process.
Frequently asked questions
Can I use a regular sewing machine for embroidery?
No, a standard sewing machine can’t perform machine embroidery because it lacks the automated arm and software required to move the hoop. While some sewing machines have “free motion” capabilities, this is a manual technique where you move the fabric by hand. It requires significant practice to achieve the precise, uniform stitch density that a dedicated embroidery machine produces automatically.
How much does an embroidery machine cost?
Entry-level embroidery machines are significantly more affordable than professional multi-needle models. The price difference depends on the maximum hoop size, the number of needles, and the software features included. If you’re a beginner, look for a machine that offers an easy-to-use color touchscreen, as this reduces the time you spend navigating menus before you can start stitching.
Is it hard to learn machine embroidery?
Learning to use an embroidery machine is straightforward if you focus on the basics of hooping and stabilizer selection. Most people can master the process in about 5 to 10 hours of practice. Creating your own designs is the most challenging aspect, but you can avoid this by buying pre-made patterns online until you’re comfortable with the machine’s operation.
How often do I need to clean the machine?
You should clean the bobbin area and remove lint with a soft brush after every 50,000 stitches or after every major project. Lint buildup is the most common cause of thread breakage and tension issues in home machines. If you hear a grinding noise or notice the machine struggling to move the arm, it’s a sign that the internal tracks need professional cleaning.
What happens if the thread breaks?
If your thread breaks, stop the machine immediately, rethread the needle, and use the “back-up” function to return the needle to the point where the break occurred. Most modern machines allow you to move backward by 10 to 50 stitches to ensure the new thread overlaps with the old one. If you skip this step, you’ll see a gap in the design where the machine stopped.
How long does it take to embroider a name?
A name usually takes 5 to 10 minutes to embroider, depending on the font size and the number of letters. This assumes you’re using a standard font already loaded into the machine’s memory. If you’re importing a custom font from a computer, allow an extra 10 minutes for file transfer and layout adjustments on the machine’s display screen.
Conclusion
Choosing the right equipment is the first step toward getting professional results, but your skill in preparing the fabric is what truly matters. Take the time to test your stabilizer on a scrap piece of fabric before you start your final project to ensure the tension is correct. With patience and the right tools, you’ll soon produce clean, detailed designs on almost any fabric.
{“@context”:”https://schema.org”,”@type”:”FAQPage”,”mainEntity”:[{“@type”:”Question”,”name”:”Can I use a regular sewing machine for embroidery?”,”acceptedAnswer”:{“@type”:”Answer”,”text”:”No, a standard sewing machine can’t perform machine embroidery because it lacks the automated arm and software required to move the hoop. While some sewing machines have \”free motion\” capabilities, this is a manual technique where you move the fabric by hand. It requires significant practice to achieve the precise, uniform stitch density that a dedicated embroidery machine produces automatically.”}},{“@type”:”Question”,”name”:”How much does an embroidery machine cost?”,”acceptedAnswer”:{“@type”:”Answer”,”text”:”Entry-level embroidery machines are significantly more affordable than professional multi-needle models. The price difference depends on the maximum hoop size, the number of needles, and the software features included. If you’re a beginner, look for a machine that offers an easy-to-use color touchscreen, as this reduces the time you spend navigating menus before you can start stitching.”}},{“@type”:”Question”,”name”:”Is it hard to learn machine embroidery?”,”acceptedAnswer”:{“@type”:”Answer”,”text”:”Learning to use an embroidery machine is straightforward if you focus on the basics of hooping and stabilizer selection. Most people can master the process in about 5 to 10 hours of practice. Creating your own designs is the most challenging aspect, but you can avoid this by buying pre-made patterns online until you’re comfortable with the machine’s operation.”}},{“@type”:”Question”,”name”:”How often do I need to clean the machine?”,”acceptedAnswer”:{“@type”:”Answer”,”text”:”You should clean the bobbin area and remove lint with a soft brush after every 50,000 stitches or after every major project. Lint buildup is the most common cause of thread breakage and tension issues in home machines. If you hear a grinding noise or notice the machine struggling to move the arm, it’s a sign that the internal tracks need professional cleaning.”}},{“@type”:”Question”,”name”:”What happens if the thread breaks?”,”acceptedAnswer”:{“@type”:”Answer”,”text”:”If your thread breaks, stop the machine immediately, rethread the needle, and use the \”back-up\” function to return the needle to the point where the break occurred. Most modern machines allow you to move backward by 10 to 50 stitches to ensure the new thread overlaps with the old one. If you skip this step, you’ll see a gap in the design where the machine stopped.”}},{“@type”:”Question”,”name”:”How long does it take to embroider a name?”,”acceptedAnswer”:{“@type”:”Answer”,”text”:”A name usually takes 5 to 10 minutes to embroider, depending on the font size and the number of letters. This assumes you’re using a standard font already loaded into the machine’s memory. If you’re importing a custom font from a computer, allow an extra 10 minutes for file transfer and layout adjustments on the machine’s display screen.”}}]}