How Much Does a Decent Embroidery Machine Cost for Beginners
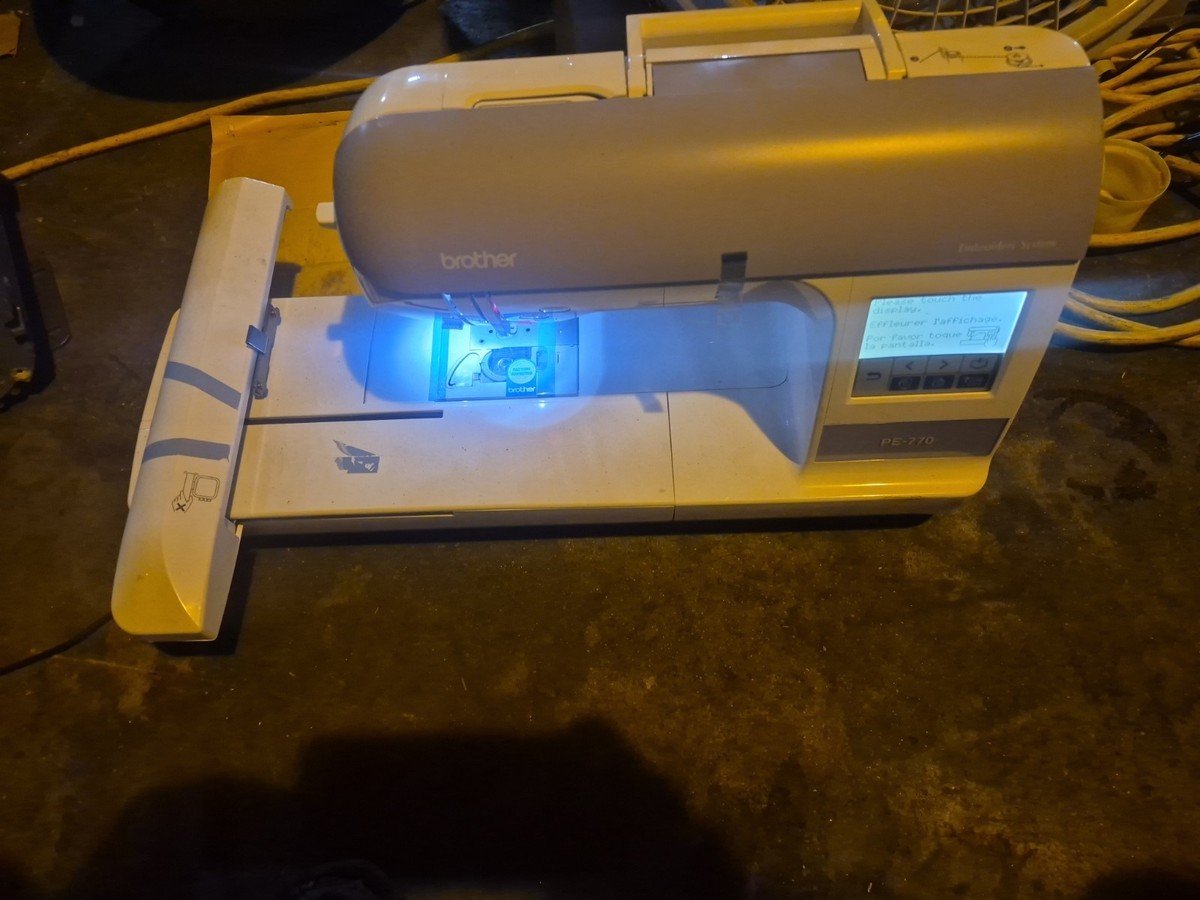
A decent entry-level machine for hobbyists usually starts at $400, while a professional-grade embroidery machine cost can reach $10,000 or more. This price depends on the hoop size, the number of needles, and the software features included with the machine. If you’re just starting, look for a reliable domestic model; if you need high-speed production, you’ll need a commercial multi-needle machine.
Getting Started With Embroidery Machines
Expect to pay between $400 and $800 for a solid, single-needle home embroidery machine. These entry-level models are perfect for hobbyists learning the mechanics of stabilization and hooping.
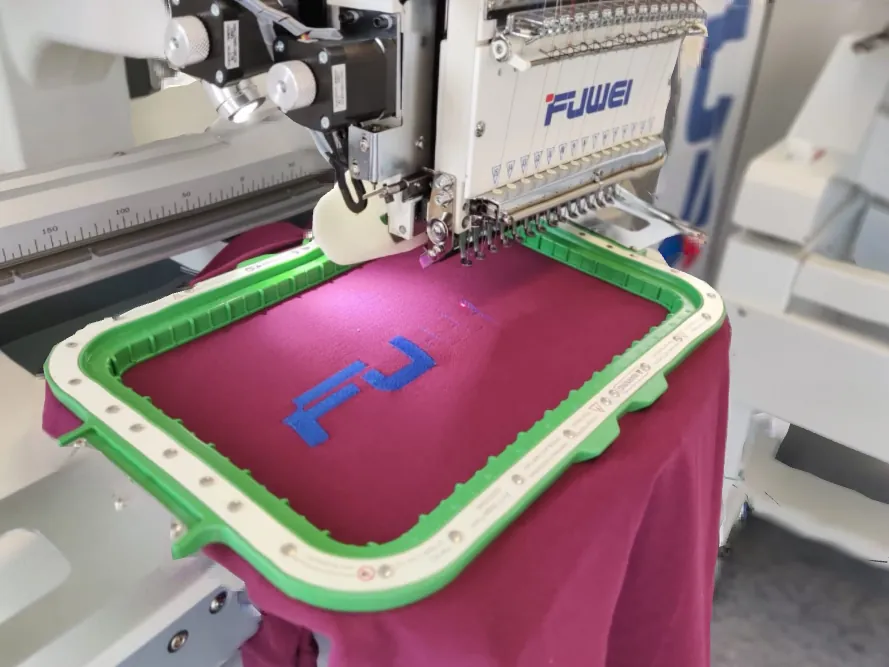
Multi-needle machines for home or small business use typically range from $3,000 to $9,000. If you intend to produce items in batches, choose a multi-needle unit to avoid the manual labor of changing thread colors between every segment.
Higher prices often reflect larger embroidery fields, which allow you to stitch bigger designs without re-hooping. Always check if the machine includes digitizing software, as buying this separately can add $500 to $1,500 to your total.
Always test the machine’s tension settings by running a test pattern on scrap fabric before starting a final project. If the bobbin thread pulls to the top, your top tension is too tight.
If you plan to sell your work, prioritize machines with automatic thread cutters and thread break sensors. These features prevent costly errors during long, unattended runs.
Why Prices Vary So Much
The price of a machine is primarily determined by its mechanical complexity and the technology used to manage thread tension. Entry-level machines use a single needle, meaning you must manually change the thread color every time the design calls for a new shade. This is fine for simple monograms or small logos, but it becomes a major bottleneck for complex, multi-colored designs.
Commercial-grade machines use multiple needles—often six, ten, or even more—that automatically switch colors as the design progresses. These machines are built with heavy-duty frames and motors designed to run for hours without overheating.
Another factor is the software ecosystem. Some brands include proprietary software that’s easy to use but limited in features, while others require expensive subscriptions for advanced digitizing tools. If you’re working with complex custom logos, you need software that can convert vector files into stitch data accurately.
You’re paying for the machine’s ability to interpret these files without skipping stitches or bunching the fabric. If you have a tight budget, look for used machines from reputable brands, but ensure you can still find parts for that specific model.
Budgeting for Different Needs
| Situation | What changes | What to do instead |
|---|---|---|
| Hobbyist | Stitching small items | Buy a single-needle machine |
| Small business | High-volume production | Use a multi-needle machine |
| Limited space | Machine footprint size | Choose a compact table-top unit |
| Custom designs | Software capabilities | Invest in professional digitizing tools |
| Beginners | Ease of setup | Pick a machine with auto-threading |
If you plan to produce more than five items per week, skip the hobbyist models.
When choosing between a single-needle and multi-needle unit, look at your thread change frequency. If your designs require more than three colors, a single-needle machine forces you to stop and rethread every few minutes. This manual labor adds roughly fifteen minutes of downtime per project.
If you’re tight on space, measure your desk depth before buying. A standard industrial machine requires at least thirty inches of clearance. If you have less, stick to a tabletop unit to avoid blocking your workspace. Beginners often mistake high stitch speeds for quality. Prioritize auto-threading features instead, as threading remains the primary cause of user frustration and abandoned projects.
How to Set Up Your Machine
- Place your machine on a flat, sturdy table that can hold at least 30 pounds of weight without shaking.
- Plug the power cord into a grounded outlet to prevent electrical interference during the delicate stitching process.
- Install the embroidery hoop by aligning the notches, ensuring the fabric is pulled taut like a drum skin.
- Thread the machine according to the color sequence shown on your screen, making sure the thread passes through all tension discs.
- Select your design file from the USB drive or the internal machine memory to load the stitch data.
- Perform a test stitch on a piece of scrap cotton fabric to verify the tension is balanced before starting your project.
- Monitor the first 50 stitches closely to ensure the bobbin thread isn’t bunching up underneath the fabric.
Mistakes That Ruin Your Embroidery

Using low-quality, thin thread leads to frequent snapping, which forces you to restart your design from the beginning. Always choose high-tensile polyester thread for heavy-duty fabrics to prevent these costly breaks.
Failing to use stabilizer under your fabric causes the design to pucker or shift, ruining the final look of the garment. If you’re stitching on stretchy knits, use a cut-away stabilizer; for woven cottons, a simple tear-away version suffices.
Ignoring the cleaning schedule for the bobbin area allows lint to build up, which can cause the machine to jam.
Hooping the fabric too loosely prevents the needle from penetrating cleanly, often resulting in skipped stitches or bent needles. Your fabric should sound like a drum when tapped; if it ripples, tighten the tension immediately.
Related guides
Frequently asked questions
How long does a decent embroidery machine last?
A well-maintained machine lasts 10 to 15 years for a home hobbyist, provided you follow the manufacturer’s cleaning schedule. If you use the machine daily for business, expect the motor and moving parts to wear out in about 3 to 5 years. Always check the service manual for the recommended maintenance intervals based on your specific daily stitch count.
Is it safe to buy a used embroidery machine?
It’s safe if you verify that the machine can still be serviced and that spare parts are available from the manufacturer. Many older models lack the modern USB connectivity that makes transferring designs easy, so check the ports before you buy. Ask the seller to show you a video of the machine stitching a pattern to confirm the motor runs smoothly.
What happens if the thread breaks during a project?
Most modern machines will stop automatically when a thread break sensor detects the tension loss, allowing you to re-thread and resume. If your machine doesn’t have a sensor, you must manually stop the machine, back up the stitch count, and carefully restart. You can usually find the “resume” button in the machine’s main settings menu once you have re-threaded.
Does it matter which thread brand I use?
It matters because inconsistent thread thickness can lead to tension issues and frequent breakage during long embroidery runs. Most manufacturers recommend using the specific weight and material—usually 40-weight polyester or rayon—listed in your machine’s manual. Using the wrong thread type can cause the machine’s tension discs to clog or the needle to jam, potentially requiring a professional technician to fix.
How much space do I need for a machine?
You need a dedicated workspace at least 30 inches wide and 20 inches deep to allow the hoop to move freely without hitting walls. Multi-needle machines are significantly wider and heavier, often requiring a dedicated stand rather than a standard desk. Measure your table’s depth to ensure the embroidery arm has enough clearance behind the machine to extend fully during the stitching cycle.
Can I use my own designs?
You can use your own designs if you have digitizing software that converts images into the machine-readable format required by your specific brand. Most machines read proprietary file formats like .pes or .jef, so ensure your software exports the correct file type. Without this software, you’re limited to the pre-installed patterns that come with the machine’s internal memory.
Conclusion
Before you commit to a purchase, visit a local sewing shop to test a few models in person. Getting a feel for how the machine threads and operates will help you decide if it’s the right fit for your projects. You’ll feel much more confident once you’ve seen one in action.
{“@context”:”https://schema.org”,”@type”:”FAQPage”,”mainEntity”:[{“@type”:”Question”,”name”:”How long does a decent embroidery machine last?”,”acceptedAnswer”:{“@type”:”Answer”,”text”:”A well-maintained machine lasts 10 to 15 years for a home hobbyist, provided you follow the manufacturer’s cleaning schedule. If you use the machine daily for business, expect the motor and moving parts to wear out in about 3 to 5 years. Always check the service manual for the recommended maintenance intervals based on your specific daily stitch count.”}},{“@type”:”Question”,”name”:”Is it safe to buy a used embroidery machine?”,”acceptedAnswer”:{“@type”:”Answer”,”text”:”It’s safe if you verify that the machine can still be serviced and that spare parts are available from the manufacturer. Many older models lack the modern USB connectivity that makes transferring designs easy, so check the ports before you buy. Ask the seller to show you a video of the machine stitching a pattern to confirm the motor runs smoothly.”}},{“@type”:”Question”,”name”:”What happens if the thread breaks during a project?”,”acceptedAnswer”:{“@type”:”Answer”,”text”:”Most modern machines will stop automatically when a thread break sensor detects the tension loss, allowing you to re-thread and resume. If your machine doesn’t have a sensor, you must manually stop the machine, back up the stitch count, and carefully restart. You can usually find the \”resume\” button in the machine’s main settings menu once you have re-threaded.”}},{“@type”:”Question”,”name”:”Does it matter which thread brand I use?”,”acceptedAnswer”:{“@type”:”Answer”,”text”:”It matters because inconsistent thread thickness can lead to tension issues and frequent breakage during long embroidery runs. Most manufacturers recommend using the specific weight and material—usually 40-weight polyester or rayon—listed in your machine’s manual. Using the wrong thread type can cause the machine’s tension discs to clog or the needle to jam, potentially requiring a professional technician to fix.”}},{“@type”:”Question”,”name”:”How much space do I need for a machine?”,”acceptedAnswer”:{“@type”:”Answer”,”text”:”You need a dedicated workspace at least 30 inches wide and 20 inches deep to allow the hoop to move freely without hitting walls. Multi-needle machines are significantly wider and heavier, often requiring a dedicated stand rather than a standard desk. Measure your table’s depth to ensure the embroidery arm has enough clearance behind the machine to extend fully during the stitching cycle.”}},{“@type”:”Question”,”name”:”Can I use my own designs?”,”acceptedAnswer”:{“@type”:”Answer”,”text”:”You can use your own designs if you have digitizing software that converts images into the machine-readable format required by your specific brand. Most machines read proprietary file formats like .pes or .jef, so ensure your software exports the correct file type. Without this software, you’re limited to the pre-installed patterns that come with the machine’s internal memory.”}}]}