Is Embroidery a Good Side Hustle? Profit Potential Explained
Embroidery is a good side hustle if you have the patience for repetitive tasks and can target a specific niche, as it offers high profit margins on small, personalized items. You can expect to earn a competitive hourly wage once you’re proficient, though your actual take-home pay depends on your speed and the complexity of the designs you choose to produce for your local or online customers.
How it works
The primary factor determining your success is your ability to manage your time between creating designs and marketing your work. Many people fail because they treat it purely as a creative outlet rather than a business, which leads to spending too much time on single pieces without accounting for the hourly labor cost.
If you have a fast machine, you can handle higher volume orders; if you sew by hand, you must focus on high-value, unique art pieces. The most common mistake is failing to calculate the cost of materials and machine maintenance, which eats into your profit margins quickly. Always track your supply expenses to ensure you’re actually making money on every sale.
Turning embroidery into a side hustle
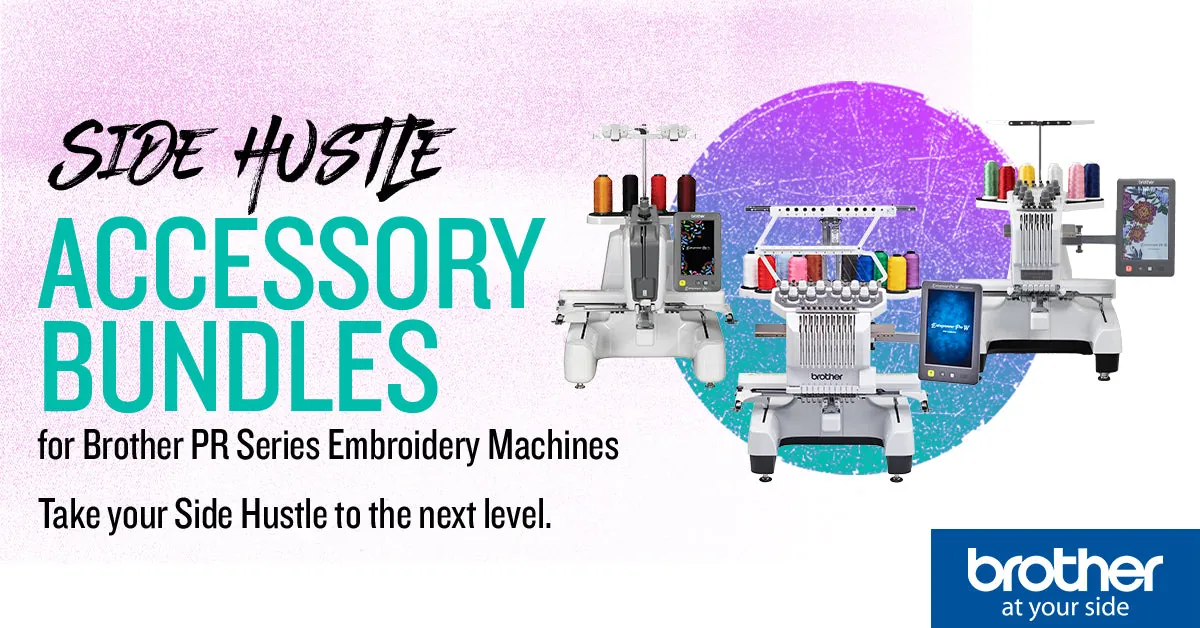
Choose your equipment based on your budget and goals, whether that’s a handheld needle for custom art or a digital embroidery machine for batch production. If you plan to sell personalized apparel, prioritize a machine with a minimum 4×4 inch hoop size to handle standard logos.
Practice your technique on scrap fabric until your stitches are consistent. Uneven tension or puckering will result in immediate returns and lost revenue. If you notice loops on the back, increase your top thread tension; if the bobbin thread shows on top, loosen it.
Register your business name and check your local tax requirements to ensure you’re compliant. Most states require a sales tax permit if you sell physical goods directly to consumers.
Create a portfolio of 5 to 10 high-quality samples to show potential clients what you can produce. Include close-up photos that highlight the density and clarity of your stitching.
Set your pricing by adding the cost of materials to your hourly labor rate, then add a 20% buffer for overhead like electricity and needles. Never underprice your work to secure early sales. Raising prices later often alienates your initial customer base, forcing you to rebuild your reputation from scratch.
Time Requirements for Embroidery
The time it takes to finish a piece depends on the complexity of the design and the equipment you use. A simple monogram might take 15 minutes, while a complex, multi-colored portrait could take several days of work.
| Project Type | Average Time | What changes it | What to watch for |
|---|---|---|---|
| Simple Monogram | 15-30 min | Font complexity | Thread tension |
| Small Patch | 1-2 hours | Detail density | Fabric stability |
| Custom Apparel | 2-4 hours | Design size | Hoop alignment |
| Large Wall Art | 10+ hours | Stitch count | Hand fatigue |
Expect a 20% increase in production time for every additional thread color added to a design. Each color change requires manual re-threading and recalibration of the tension settings, which often accounts for more downtime than the actual stitching process.
If you’re working on a high-density pattern, divide the total stitch count by 800 to estimate your machine’s active runtime in minutes. If your project consistently takes twice as long as these estimates, you’re likely suffering from excessive “jump stitches.” Trim these threads as you go to avoid tangles that force you to restart entire sections.
If your machine is stalling, check if your design exceeds 60,000 stitches. Projects of this scale require industrial-grade backing to prevent fabric puckering, which otherwise forces you to scrap the piece and start over entirely.
Signs Your Work Is Ready
You’ll know your work is ready for sale when your tension is consistent across different fabric types and your back-side stitching looks clean. A professional piece should have no loose threads, no puckering around the embroidery, and a secure knot that won’t unravel during a wash.
If you’re unsure about the quality, try washing a sample piece three times to see if the design holds up or if the fabric distorts. If the fabric puckers after the first cycle, your stabilizer is too light for the stitch density. Switch to a cut-away stabilizer instead of a tear-away version to prevent shifting.
A common mistake is leaving long jump stitches on the back. These create bulk and catch on skin or jewelry. If your machine doesn’t trim automatically, cut them flush to the fabric.
Common Mistakes That Ruin Profits

Ignoring hoop tension causes puckering that ruins the finished product. If the fabric ripples under the needle, the design will distort permanently once removed. Always pair your fabric weight with the correct stabilizer; use tear-away for stable cottons and cut-away for knits to keep the material perfectly flat.
Novices often underestimate total production time by only counting the machine’s run cycle. You must add at least five minutes per unit to account for hooping, thread trimming, and workspace cleanup. Failing to include this non-stitching time effectively cuts your hourly rate in half, often leaving you working for less than minimum wage.
Poor digitizing leads to frequent needle breaks and machine jams. If a design has too many stitches in a small area, the needle will strike the same hole repeatedly. Test every new file on a scrap piece of the actual garment fabric first. If the scrap puckers or the machine sounds strained, reduce the density settings before risking your final inventory. Buying cheap, unverified files usually costs more in wasted thread and ruined garments than a professional-grade design.
Related guides
- Top Embroidery Machines: How to Choose Your Perfect Model
- Best Sewing Machine With Embroidery: Our Top Expert Picks
- Brother Embroidery Machine for Beginners: A Simple Setup Guide
Frequently asked questions
Can I start an embroidery business with no money?
No, you need a modest amount of capital to purchase basic supplies like a starter machine, threads, needles, and stabilizers. If you have zero capital, you can begin by offering hand-embroidery services using basic kits, but the growth speed will be much slower than using a machine. You must have enough funds to cover the initial materials before you can sell your first finished item to a paying customer.
How long does it take to learn embroidery?
It takes about 20 to 40 hours of practice to learn the basics of machine operation and tension control. You’ll likely spend the first 10 hours just learning how to thread your machine and fix common jams. Once you master the mechanics, you’ll spend your time learning to digitize complex patterns, which is a skill that improves with every new project you complete.
Is it safe to embroider on any fabric?
No, while you can embroider on most fabrics, you must adjust your stabilizer and needle type to prevent damaging the material. Thick fabrics like denim require a heavier needle, while thin materials like silk require a light stabilizer to prevent tearing. Always test your design on a scrap piece of the same fabric type to ensure the machine settings don’t cause holes or puckering.
What happens if my embroidery machine breaks?
If your machine breaks, you must stop using it immediately and consult the manufacturer’s manual for troubleshooting steps. Most commercial machines require professional servicing if the timing is off or the motor fails, which can be a significant expense per visit. Always keep a backup plan, such as a local repair shop or a secondary machine, if you rely on this income to pay your bills.
How much should I charge for custom embroidery?
You should charge a fair hourly rate for your labor, plus the full cost of your materials. If you’re doing simple, fast designs, you might charge a flat fee per item, but ensure that fee covers at least your hourly rate. Always calculate your total time, including setup and cleaning, to ensure you aren’t losing money on small, labor-intensive projects.
Conclusion
Starting a side hustle in embroidery is a rewarding way to use your creative skills, provided you stay disciplined with your pricing and time management. By focusing on quality and learning the technical side of your equipment, you can build a sustainable income stream that grows as your skills improve.
{“@context”:”https://schema.org”,”@type”:”FAQPage”,”mainEntity”:[{“@type”:”Question”,”name”:”Can I start an embroidery business with no money?”,”acceptedAnswer”:{“@type”:”Answer”,”text”:”No, you need a modest amount of capital to purchase basic supplies like a starter machine, threads, needles, and stabilizers. If you have zero capital, you can begin by offering hand-embroidery services using basic kits, but the growth speed will be much slower than using a machine. You must have enough funds to cover the initial materials before you can sell your first finished item to a paying customer.”}},{“@type”:”Question”,”name”:”How long does it take to learn embroidery?”,”acceptedAnswer”:{“@type”:”Answer”,”text”:”It takes about 20 to 40 hours of practice to learn the basics of machine operation and tension control. You’ll likely spend the first 10 hours just learning how to thread your machine and fix common jams. Once you master the mechanics, you’ll spend your time learning to digitize complex patterns, which is a skill that improves with every new project you complete.”}},{“@type”:”Question”,”name”:”Is it safe to embroider on any fabric?”,”acceptedAnswer”:{“@type”:”Answer”,”text”:”No, while you can embroider on most fabrics, you must adjust your stabilizer and needle type to prevent damaging the material. Thick fabrics like denim require a heavier needle, while thin materials like silk require a light stabilizer to prevent tearing. Always test your design on a scrap piece of the same fabric type to ensure the machine settings don’t cause holes or puckering.”}},{“@type”:”Question”,”name”:”What happens if my embroidery machine breaks?”,”acceptedAnswer”:{“@type”:”Answer”,”text”:”If your machine breaks, you must stop using it immediately and consult the manufacturer’s manual for troubleshooting steps. Most commercial machines require professional servicing if the timing is off or the motor fails, which can be a significant expense per visit. Always keep a backup plan, such as a local repair shop or a secondary machine, if you rely on this income to pay your bills.”}},{“@type”:”Question”,”name”:”How much should I charge for custom embroidery?”,”acceptedAnswer”:{“@type”:”Answer”,”text”:”You should charge a fair hourly rate for your labor, plus the full cost of your materials. If you’re doing simple, fast designs, you might charge a flat fee per item, but ensure that fee covers at least your hourly rate. Always calculate your total time, including setup and cleaning, to ensure you aren’t losing money on small, labor-intensive projects.”}}]}