Best Sewing Machine Making Clothes: Our Top Expert Picks
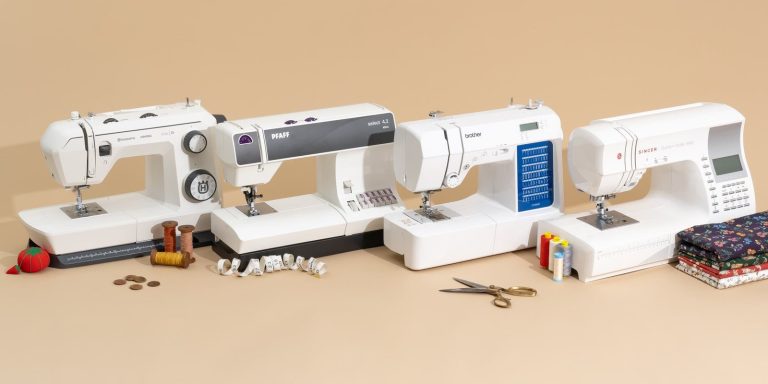
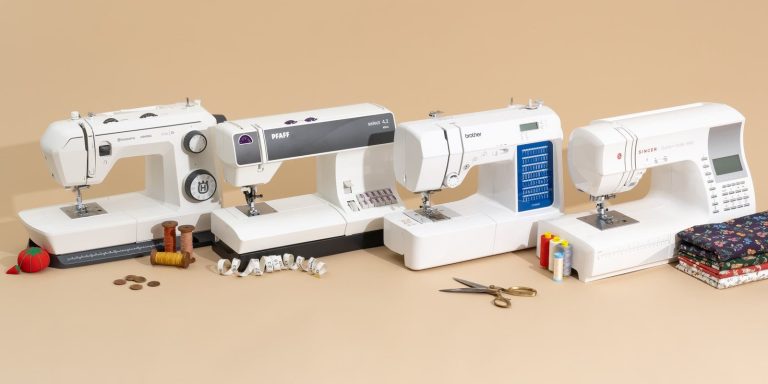
A heavy-duty mechanical machine with an adjustable presser foot pressure is the best sewing machine making clothes for beginners and experts alike. These machines offer the stability needed for thick fabrics like denim while remaining precise enough for delicate silks. This guide explores the mechanical features, essential maintenance, and technical settings you need to achieve professional results at home without unnecessary complexity.
Choosing the right sewing machine for making clothes

A sewing machine is a motorized tool designed to interlock two threads through fabric. For garment construction, you need a machine that handles both straight stitches and zig-zag stitches, as the latter is vital for finishing raw edges and preventing fraying. People often assume that the more computerized features a machine has, the better it will perform. However, for clothing, a robust mechanical frame is often more reliable than a complex digital screen.
The most important mechanism in your machine is the feed dog system, which pulls the fabric under the needle. If you’re sewing heavy wools or multiple layers of denim, you must ensure the feed dogs are powerful enough to move the fabric without stalling. While some modern machines include automatic thread cutters or digital stitch patterns, these don’t replace the need for a solid, metal-framed machine that stays steady while you sew at high speeds.
The basic method
- Set your machine on a flat, stable table and plug it into a grounded outlet to prevent electrical issues.
- Wind your bobbin with matching thread; ensure the tension is even, as a loose bobbin causes knotted stitches on the underside of your fabric.
- Thread the machine according to the manufacturer’s diagram, making sure the presser foot is raised so the tension discs are open.
- Select your stitch length based on your fabric; use 2.5 millimeters for standard cottons, or 3.0 millimeters for thicker materials like denim.
- Place your fabric under the needle, lower the presser foot, and sew a test line on a scrap piece of the same fabric to check the tension.
- Adjust the top tension dial if the thread loops on the bottom; higher numbers increase tension, while lower numbers decrease it.
- Backstitch at the start and end of every seam to lock your threads and prevent the garment from unraveling during wear.
The single judgement call that separates a good result from a bad one is the choice of needle size. Using a needle that’s too thin for heavy fabric will cause it to snap, while a needle that’s too thick for delicate silk will leave permanent holes.
Key numbers and settings at a glance
Choosing the right settings for your specific project is the difference between a clean seam and a jammed machine.
| Situation | What to use | How long | What to watch for |
|---|---|---|---|
| Lightweight silk | 60/8 needle | 2.0 mm stitch | Puckering edges |
| Standard cotton | 80/12 needle | 2.5 mm stitch | Thread tension |
| Heavy denim | 100/16 needle | 3.0 mm stitch | Needle breakage |
| Knit fabrics | Ballpoint needle | 2.5 mm zig-zag | Skipped stitches |
| Sewing buttons | Buttonhole foot | Manual setting | Foot clearance |
What separates good results from bad ones
Preparation and precision
Experienced sewers always press their fabric before they begin. Using a hot iron to flatten seams as you work is the primary reason some garments look handmade while others look professional. If you skip the pressing step, your seams will appear bulky and uneven. Always work in a specific order: sew the main structural seams first, then press them open, and finally finish the edges.
Mid-seam checks
Never assume your settings are perfect for the entire garment. If the machine sounds strained or the thread starts to fray, stop immediately. A common mistake is continuing to sew when the machine is struggling; this often leads to a bent needle or a jammed bobbin case, which can cost you time in repairs. If you’re working on a curved edge, move slowly and stop every few stitches to realign the fabric.
Common problems and quick fixes

| What you notice | What it usually means | What to do first |
|---|---|---|
| Looped thread on bottom | Low top tension | Increase tension dial |
| Fabric not moving | Feed dog error | Check feed dog height |
| Needle snapping | Wrong needle type | Change to heavy needle |
| Skipped stitches | Dull needle | Replace with new needle |
Operational safety and standards
Safety is the priority when working with electrical appliances. Always unplug your machine before changing the needle or cleaning the bobbin area to prevent accidental activation. If your machine requires internal repairs, such as replacing a drive belt or servicing the motor, don’t attempt this yourself. A capacitor can hold a lethal charge even when the machine is unplugged, so these tasks must be handled by a qualified technician. Always follow the specific voltage requirements listed on the machine’s baseplate to avoid damaging the motor or creating a fire hazard.
Keeping it working afterwards
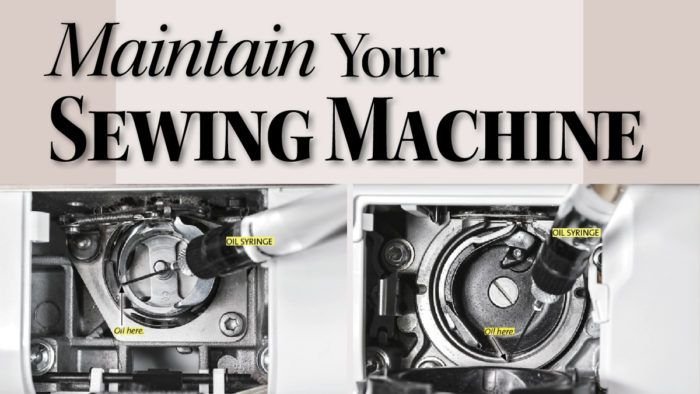
Clean your machine after every project to ensure it runs smoothly. Use a small, soft brush to remove lint from the bobbin case and the feed dogs, as trapped dust prevents the machine from catching the thread correctly. Never use compressed air, as this forces dust deeper into the internal gears. If your machine uses oil, apply only the specific lubricant recommended by the manufacturer, and only at the points indicated in your user manual. If you hear a rhythmic clicking sound, it’s a sign that the timing needs adjustment; take it to a professional shop.
When to use a different approach
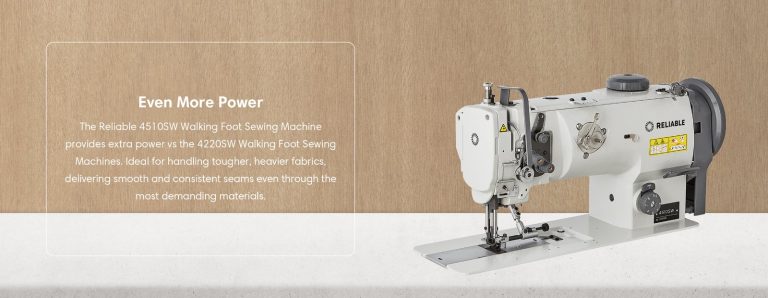
This mechanical approach isn’t suitable for heavy industrial leather work. If you’re sewing thick hides, you need a specialized walking-foot machine designed for high-torque tasks. Using a standard household machine for leather will void your warranty and likely break the motor. Likewise, if you’re doing intricate embroidery, a standard machine won’t produce the density or speed required for professional-looking designs. For embroidery, use a dedicated computerized machine that supports digital pattern files.
Frequently asked questions

Can I use a cheap machine for clothes?
Yes, you can use a basic machine, but ensure it has a metal frame for stability. Cheap machines made entirely of plastic often vibrate too much during long seams, which leads to crooked lines. Always test the machine’s ability to sew through four layers of cotton before you commit to a long project.
How long does a sewing machine last?
A high-quality mechanical machine can last for a long time if it’s cleaned and serviced regularly. Machines used for heavy-duty fabrics typically show more wear on the motor and gears over time.
Is it safe to sew with a damaged power cord?
No, never use a machine with a frayed or damaged power cord. If the insulation is broken, you risk an electric shock or a fire. Unplug the machine immediately and contact the manufacturer or a certified repair shop to order a replacement cord specifically made for your model.
Why does my thread keep breaking?
Your thread usually breaks because the tension is too high or the needle is the wrong size for the thread weight. Check that your spool is unwinding freely and not catching on the spool cap. If the thread is old, it may have become brittle and should be replaced with new, high-quality thread.
What happens if I sew over pins?
If you sew over pins, you’ll likely break the needle or damage the throat plate of your machine. A broken needle fragment can fly into your eye, so always wear safety glasses if you’re prone to this mistake. Remove all pins just before they reach the presser foot to keep your machine in good condition.
Final Thoughts
Choosing the right tool is just the beginning of your creative journey. Once you’ve set up your machine, try practicing on a few scrap pieces of fabric to get a feel for the tension. You’ll be surprised how quickly your confidence grows as you start bringing your own unique designs to life.
{“@context”:”https://schema.org”,”@type”:”FAQPage”,”mainEntity”:[{“@type”:”Question”,”name”:”Can I use a cheap machine for clothes?”,”acceptedAnswer”:{“@type”:”Answer”,”text”:”Yes, you can use a basic machine, but ensure it has a metal frame for stability. Cheap machines made entirely of plastic often vibrate too much during long seams, which leads to crooked lines. Always test the machine’s ability to sew through four layers of cotton before you commit to a long project.”}},{“@type”:”Question”,”name”:”How long does a sewing machine last?”,”acceptedAnswer”:{“@type”:”Answer”,”text”:”A high-quality mechanical machine can last for a long time if it’s cleaned and serviced regularly. Machines used for heavy-duty fabrics typically show more wear on the motor and gears over time.”}},{“@type”:”Question”,”name”:”Is it safe to sew with a damaged power cord?”,”acceptedAnswer”:{“@type”:”Answer”,”text”:”No, never use a machine with a frayed or damaged power cord. If the insulation is broken, you risk an electric shock or a fire. Unplug the machine immediately and contact the manufacturer or a certified repair shop to order a replacement cord specifically made for your model.”}},{“@type”:”Question”,”name”:”Why does my thread keep breaking?”,”acceptedAnswer”:{“@type”:”Answer”,”text”:”Your thread usually breaks because the tension is too high or the needle is the wrong size for the thread weight. Check that your spool is unwinding freely and not catching on the spool cap. If the thread is old, it may have become brittle and should be replaced with new, high-quality thread.”}},{“@type”:”Question”,”name”:”What happens if I sew over pins?”,”acceptedAnswer”:{“@type”:”Answer”,”text”:”If you sew over pins, you’ll likely break the needle or damage the throat plate of your machine. A broken needle fragment can fly into your eye, so always wear safety glasses if you’re prone to this mistake. Remove all pins just before they reach the presser foot to keep your machine in good condition.”}}]}