Sewing Machine Kits for Beginners: Essential Tools and Guide
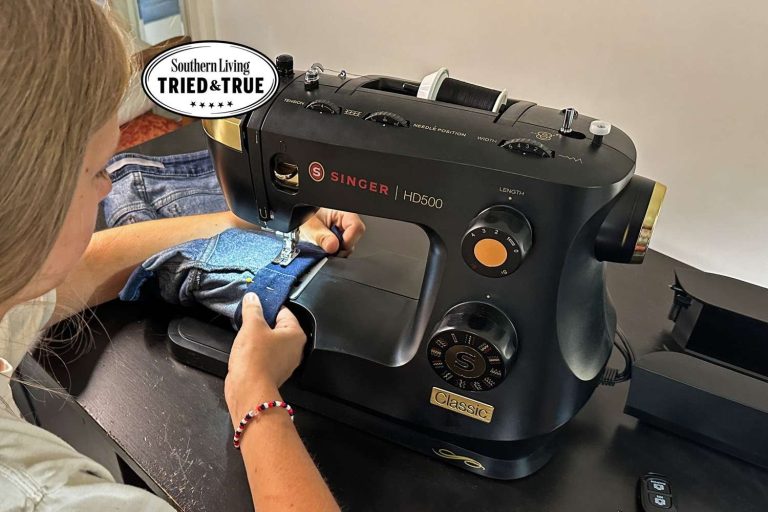
The best way to start is by buying sewing machine kits for beginners that include a pre-threaded machine, basic fabric scraps, and a clear instruction booklet. Most complete sets are quite affordable depending on the included accessories and motor power. This guide covers the essential tools, safety steps, and common mistakes new users make when learning to sew.
What comes in beginner sewing machine kits
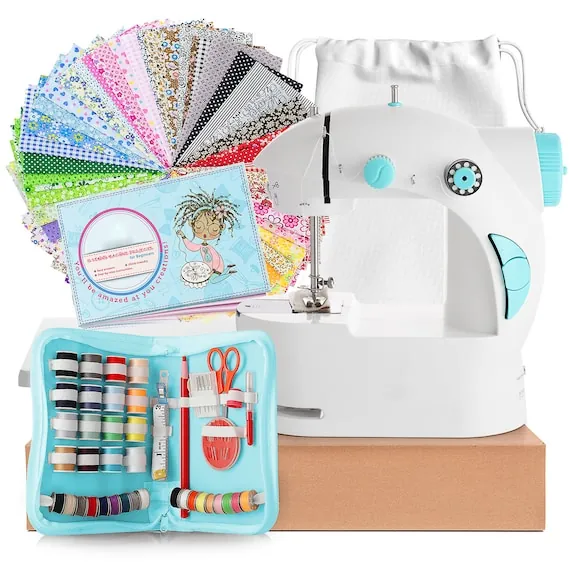
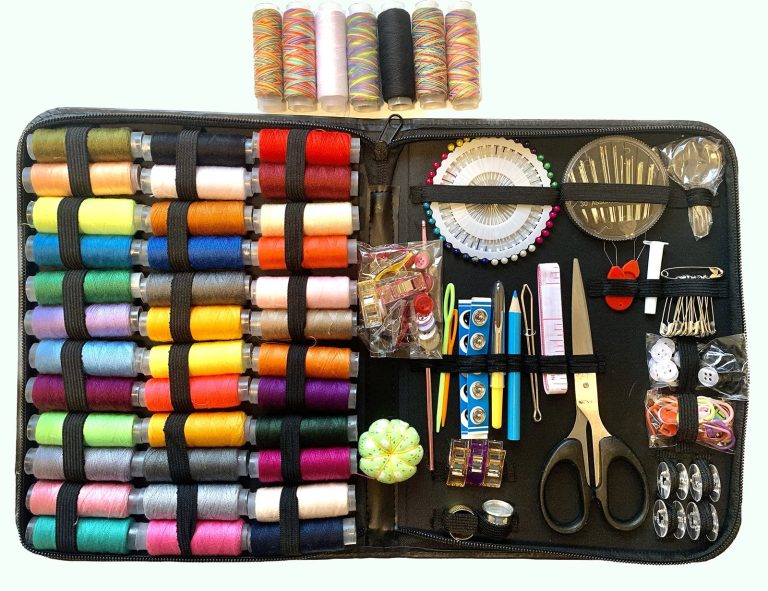
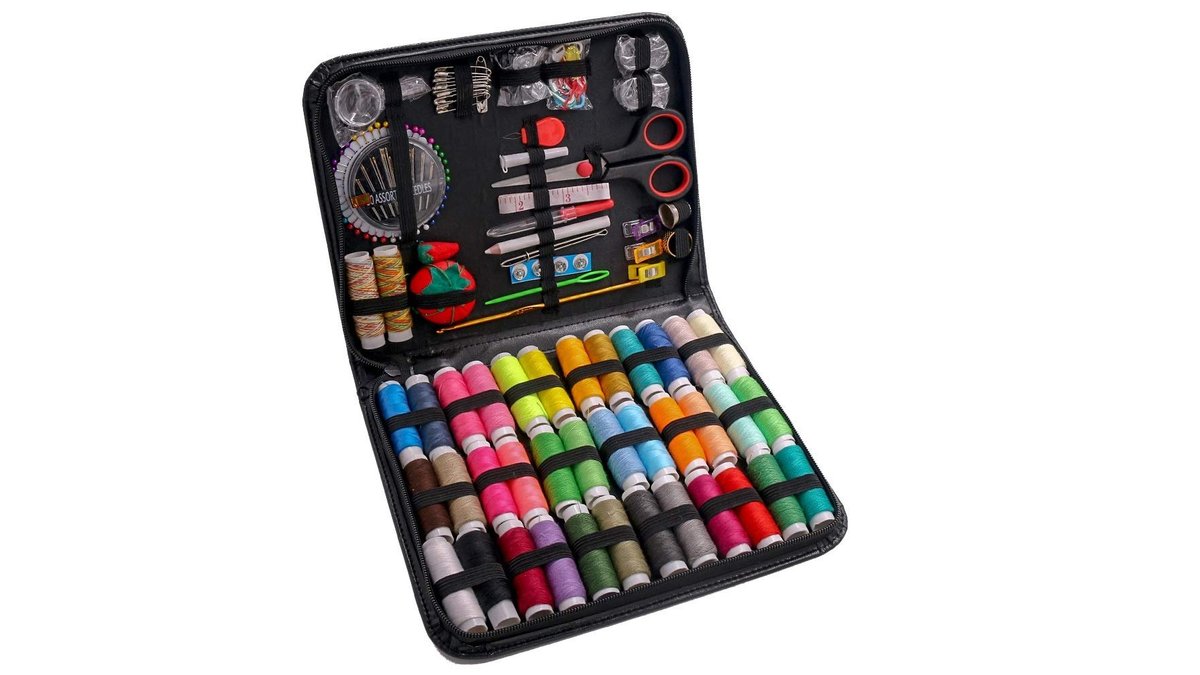
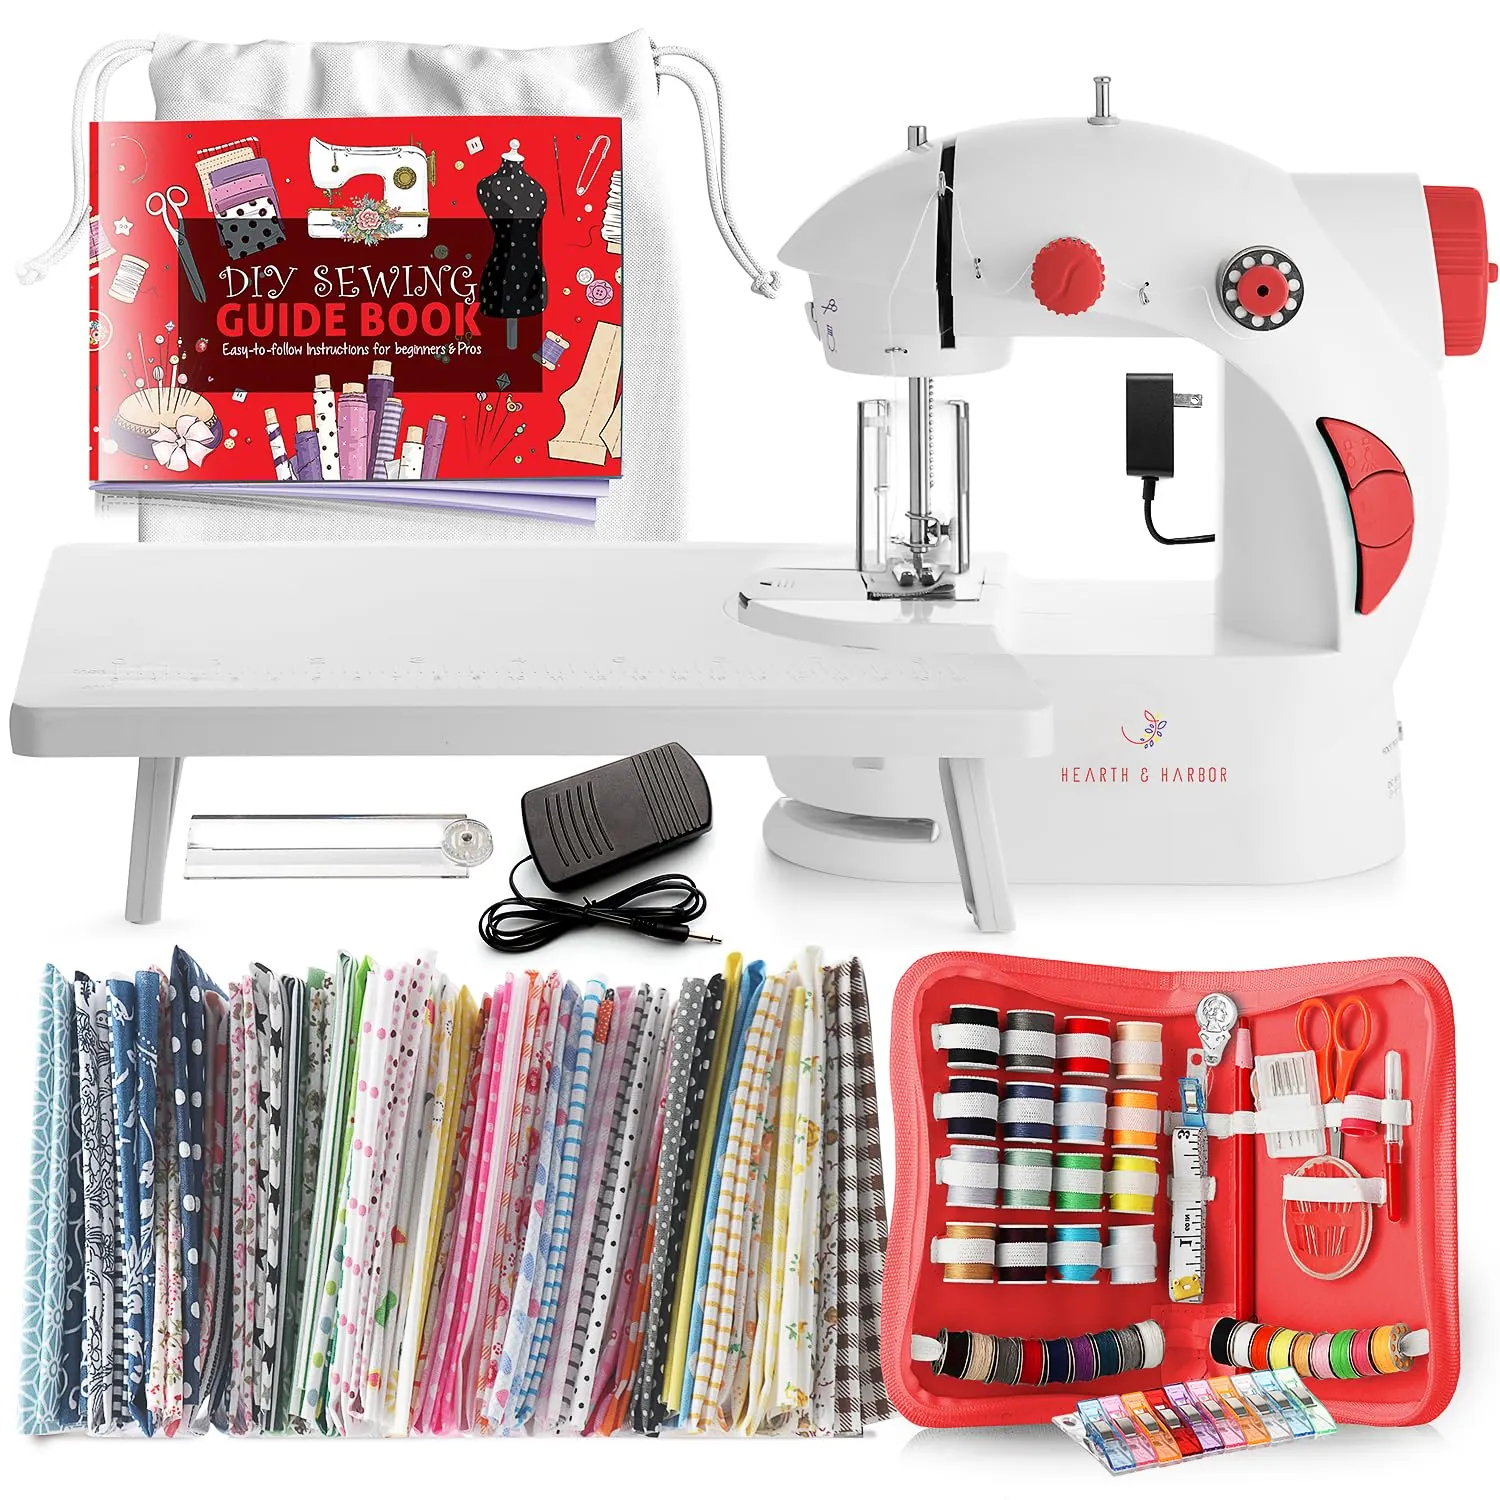
A starter kit is designed to bridge the gap between having no tools and owning a functional home sewing setup. These sets typically include a compact sewing machine, a pack of universal needles, a few bobbins, a seam ripper, and measuring tape. They’re meant for people who want to learn basic straight stitches and simple repairs without investing in expensive industrial-grade equipment.
A common mistake is assuming that a cheaper, plastic-heavy machine will handle thick denim or heavy canvas as easily as thin cotton. These machines are usually built for light fabrics, and pushing them beyond their limit often breaks the needle or burns out the motor. Always check the manufacturer’s manual to see the maximum fabric thickness allowed, as this varies by model. If you’re learning, stick to light cotton or felt until you feel comfortable with the foot pedal speed.
How to set up your machine
- Place the machine on a flat, stable table and plug the power cord into a wall outlet.
- Wind the bobbin by placing it on the winding pin and following the machine’s thread guide path.
- Insert the bobbin into the case under the needle plate, ensuring the thread pulls off in the direction shown in your manual.
- Thread the upper needle by following the numbered path on the machine, ending by passing the thread through the needle eye from front to back.
- Pull up the bobbin thread by holding the upper thread and turning the handwheel toward you one full rotation.
- Test your stitches on a scrap piece of fabric before starting your actual project.
Success depends on the tension setting. If your stitches look loose or bunch up on the bottom, adjust the dial on the machine; if the tension is too high, the thread will snap, but if it’s too low, the fabric won’t stay together. Users should always keep fingers away from the needle area while the machine is running to avoid injury.
Essential figures and settings
| Situation | What to use | How long | What to watch for |
|---|---|---|---|
| Thin fabrics | Size 70/10 needle | 15-20 min practice | Puckering of fabric |
| Medium cotton | Size 80/12 needle | 30-45 min project | Even stitch length |
| Thick fabric | Size 90/14 needle | 1 hour project | Motor strain sounds |
| Quick repairs | Straight stitch | 5-10 min task | Loose thread ends |
| Practice runs | Scrap fabric | 10 min daily | Consistent speed |
Improving your sewing technique
Experienced sewers succeed by preparing their workspace before they even plug in the machine. They organize their scissors, pins, and thread to ensure they never have to reach across the needle while the machine is powered on. Keeping the area clean prevents fabric from dragging on the floor, which can pull the needle out of alignment and cause skipped stitches.
Partway through a seam, stop and check the underside of your fabric. Beginners often forget that the bobbin thread can run out or knot up without them noticing. If you see a mess of threads, stop immediately, lift the presser foot, and gently pull the fabric away to cut the threads. Never force the fabric out, as this can bend the needle or damage the bobbin housing.
Troubleshooting common issues
| What you notice | What it usually means | What to do first |
|---|---|---|
| Thread snapping | Tension is too high | Lower the tension dial |
| Skipped stitches | Dull needle | Replace with new needle |
| Fabric bunching | Incorrect threading | Re-thread the entire machine |
| Machine jamming | Bobbin error | Clean the bobbin area |
If your thread snaps repeatedly despite lowering tension, check the spool orientation. Horizontal pins require the thread to unwind counter-clockwise. If it feeds from the bottom, the drag causes instant breakage.
Skipped stitches often occur when you use the wrong needle type for your fabric. If you’re sewing knits, switch to a ballpoint needle immediately. A standard sharp needle will pierce the fibers rather than sliding between them, causing holes and skipped loops.
When the machine jams, don’t force the handwheel. This can bend the needle bar or damage the internal timing. Instead, remove the needle plate and clear out the lint buildup. A single clump of dust can prevent the bobbin case from seating correctly.
Important safety and legal rules
Always unplug your machine before changing the needle or cleaning the bobbin case. This prevents the machine from starting accidentally if you bump the foot pedal. Many countries, including those under the European Union’s CE marking requirements, mandate that electrical appliances meet specific safety standards to prevent fire or shock.
If your machine smells like burning plastic or makes a loud grinding noise, turn it off immediately. Never attempt to open the motor housing yourself, as internal capacitors can hold a dangerous electrical charge even when unplugged. Have a qualified technician handle any internal electrical or mechanical repairs.
Maintaining your equipment
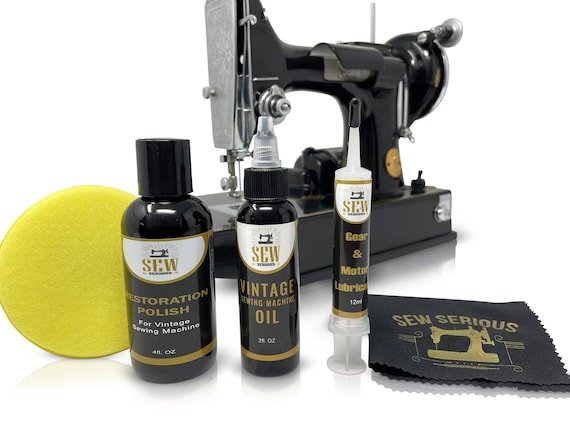
To keep your machine working, dust the bobbin area with a small, soft brush after every project. Lint builds up quickly and can block the feed dogs, which are the small metal teeth that move the fabric forward. If the machine starts to sound sluggish, it may need a drop of sewing machine oil, but only use the specific oil provided by the manufacturer. Never use kitchen oils, as these will gum up the internal gears and cause permanent damage.
When to avoid this approach

If you plan to sew heavy upholstery, leather, or multiple layers of denim, a beginner kit is the wrong choice. These machines lack the metal internal frame and motor torque needed for heavy-duty tasks. For these projects, look for a dedicated heavy-duty machine instead of a standard kit.
Additionally, if you’re working on expensive garments, don’t use a beginner machine until you have mastered the basics on cheaper fabric. You should seek out a local sewing class for hands-on guidance if your machine continues to jam despite following the manual’s troubleshooting steps.
Frequently asked questions
How long should I practice before starting a project?
You should practice for at least two hours on scrap fabric to master pedal control and straight stitching.
Is it safe for children to use these kits?
Yes, it’s safe if they’re supervised by an adult at all times while the machine is plugged in. Always ensure the child keeps their fingers a safe distance from the moving needle to prevent accidental puncture wounds.
Why does my thread keep breaking?
It usually breaks because the upper thread tension is set too high or the needle is bent. Check that the thread is moving freely through all guides and that you’re using the correct needle size for the fabric thickness.
How often should I change the needle?
You should change the needle after every 8 to 10 hours of active sewing time. A dull needle will pull at the fabric and cause skipped stitches, which makes learning much harder than it needs to be.
What happens if I sew too fast?
Sewing too fast often causes the needle to deflect or break when it hits thicker seams. Start at the lowest speed setting to maintain control, then slowly increase the speed as you get more comfortable with the fabric feed.
Do I need special thread for beginners?
No, you should use standard all-purpose polyester thread for almost all beginner projects. It’s strong enough for most fabrics and is less likely to break during the learning process than delicate cotton or silk threads.
Conclusion
Before you begin your first project, ensure your workspace has good lighting so you can see the needle path clearly. Proper illumination helps you spot mistakes early and makes it much easier to guide the fabric straight. Taking your time during the initial setup will save you hours of frustration later on.
{“@context”:”https://schema.org”,”@type”:”FAQPage”,”mainEntity”:[{“@type”:”Question”,”name”:”How long should I practice before starting a project?”,”acceptedAnswer”:{“@type”:”Answer”,”text”:”You should practice for at least two hours on scrap fabric to master pedal control and straight stitching.”}},{“@type”:”Question”,”name”:”Is it safe for children to use these kits?”,”acceptedAnswer”:{“@type”:”Answer”,”text”:”Yes, it’s safe if they’re supervised by an adult at all times while the machine is plugged in. Always ensure the child keeps their fingers a safe distance from the moving needle to prevent accidental puncture wounds.”}},{“@type”:”Question”,”name”:”Why does my thread keep breaking?”,”acceptedAnswer”:{“@type”:”Answer”,”text”:”It usually breaks because the upper thread tension is set too high or the needle is bent. Check that the thread is moving freely through all guides and that you’re using the correct needle size for the fabric thickness.”}},{“@type”:”Question”,”name”:”How often should I change the needle?”,”acceptedAnswer”:{“@type”:”Answer”,”text”:”You should change the needle after every 8 to 10 hours of active sewing time. A dull needle will pull at the fabric and cause skipped stitches, which makes learning much harder than it needs to be.”}},{“@type”:”Question”,”name”:”What happens if I sew too fast?”,”acceptedAnswer”:{“@type”:”Answer”,”text”:”Sewing too fast often causes the needle to deflect or break when it hits thicker seams. Start at the lowest speed setting to maintain control, then slowly increase the speed as you get more comfortable with the fabric feed.”}},{“@type”:”Question”,”name”:”Do I need special thread for beginners?”,”acceptedAnswer”:{“@type”:”Answer”,”text”:”No, you should use standard all-purpose polyester thread for almost all beginner projects. It’s strong enough for most fabrics and is less likely to break during the learning process than delicate cotton or silk threads.”}}]}