Best Sewing Machine Cleaning Kit: Tools for Proper Maintenance
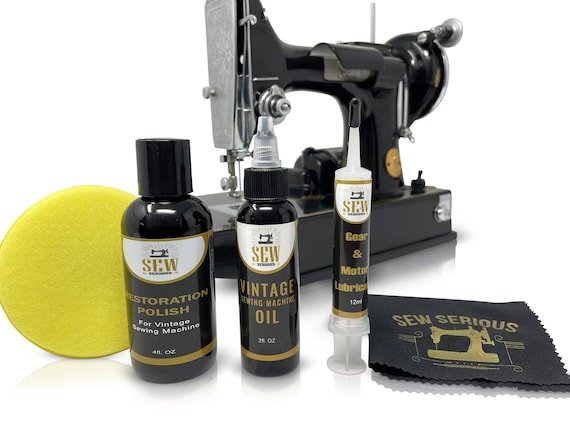
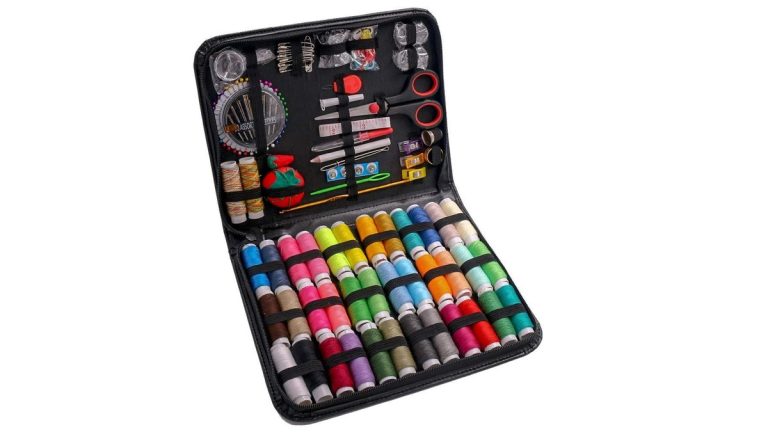
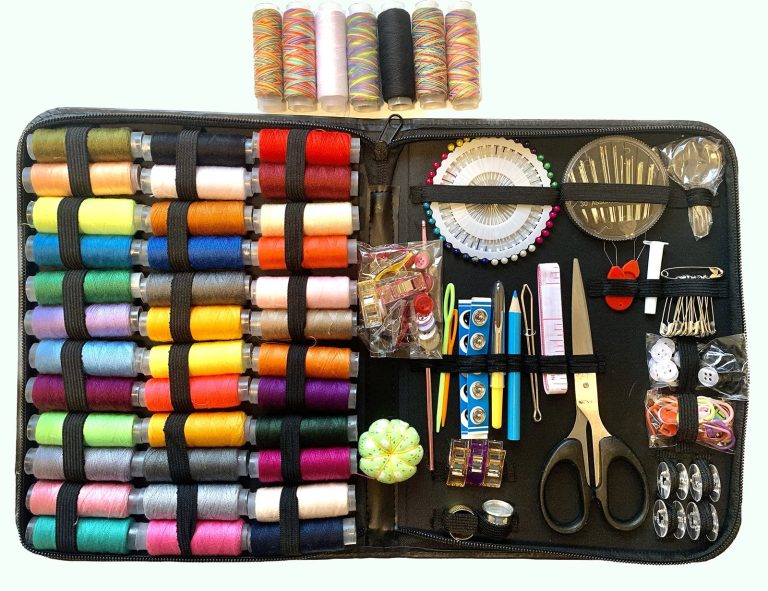
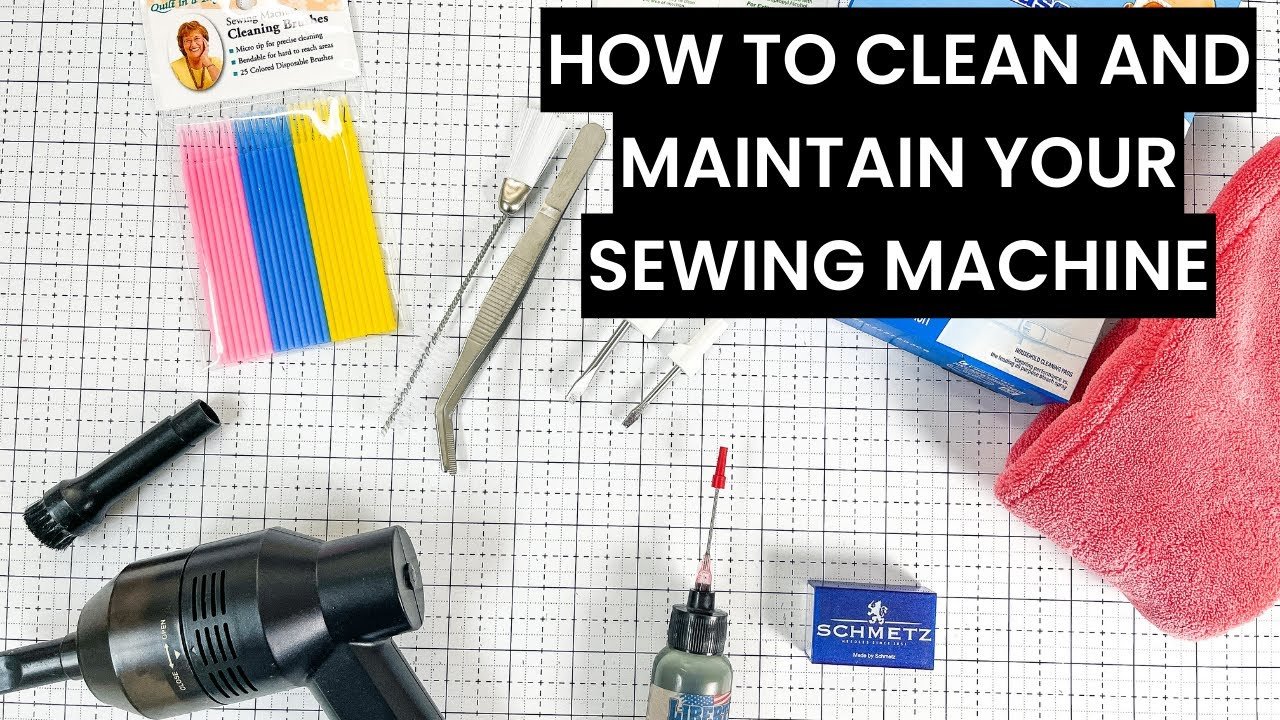
Cleaning your machine takes about 20 minutes from start to finish, and it costs very little if you have the right tools. It’s a medium-difficulty task because you must be careful not to bend delicate internal parts. A basic sewing machine cleaning kit typically includes a lint brush, a small screwdriver, and a specialized oiler. You must have your machine’s manual ready before you start, as it shows exactly which parts require oil and which ones must stay dry.
Essential sewing machine cleaning kit tools
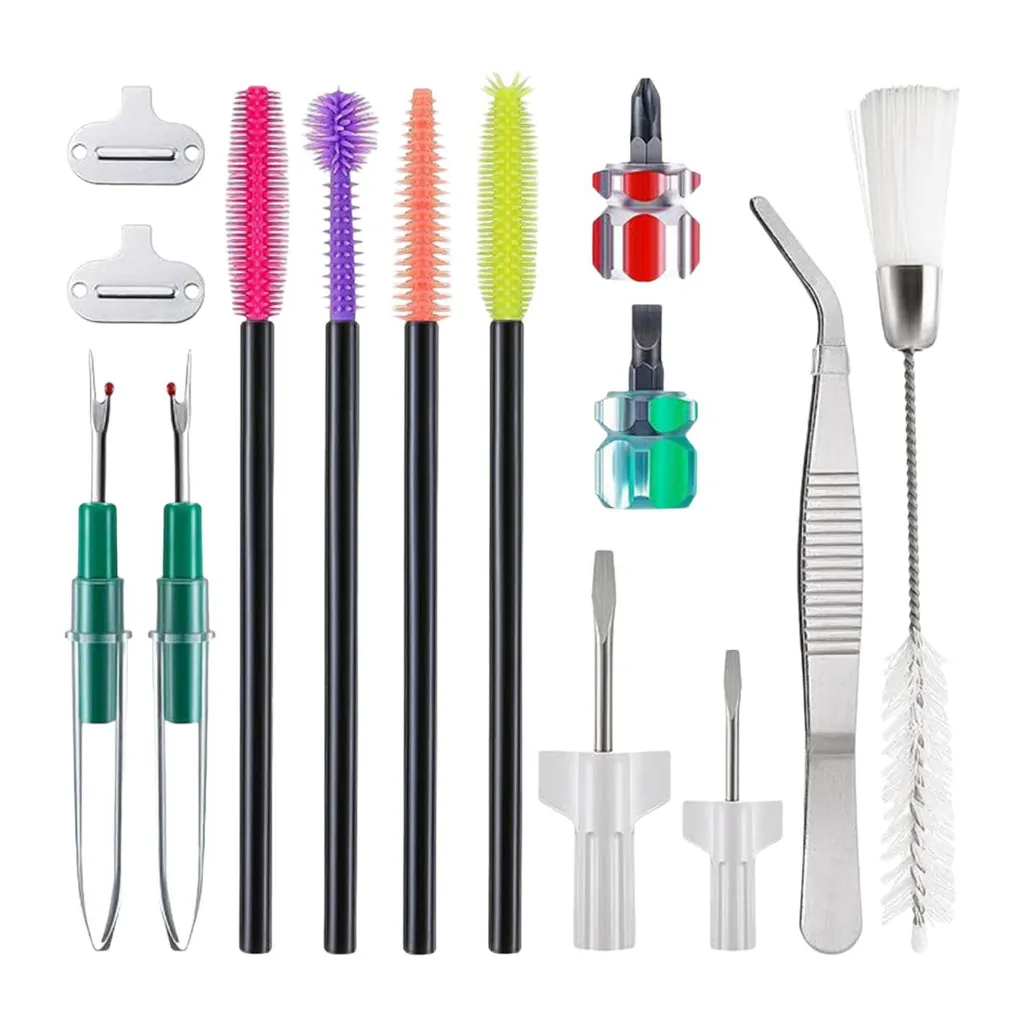
You should gather these items before you begin to ensure you have everything within reach. Don’t use generic household cleaners, as they often contain chemicals that damage plastic gears or strip away factory lubricant.
| Item | How much | Why it’s needed | A substitute |
|---|---|---|---|
| Lint brush | 1 unit | Removes dust from feed dogs | Clean makeup brush |
| Screwdriver | 1 unit | Opens the needle plate | none — don’t swap this |
| Sewing oil | 1-2 drops | Lubricates internal metal parts | none — don’t swap this |
| Tweezers | 1 pair | Reaches deep lint clumps | Long thin pliers |
| Soft cloth | 1 piece | Wipes away excess oil | Clean cotton scrap |
Preparing your machine for cleaning
- Switch off the power and unplug the machine from the wall outlet to prevent any accidental activation while you work.
- Remove the needle and the presser foot to give yourself more space to reach the bobbin area.
- Open the needle plate cover according to your sewing machine manufacturer instructions to access the hidden lint buildup.
- Clear your workspace of all fabric scraps and threads to avoid accidentally knocking debris into the machine’s open casing.
- If your machine uses electronic sensors, never use compressed air to clean it; high-pressure air pushes dust deeper into sensitive circuits where it causes short circuits.
Step by step cleaning process
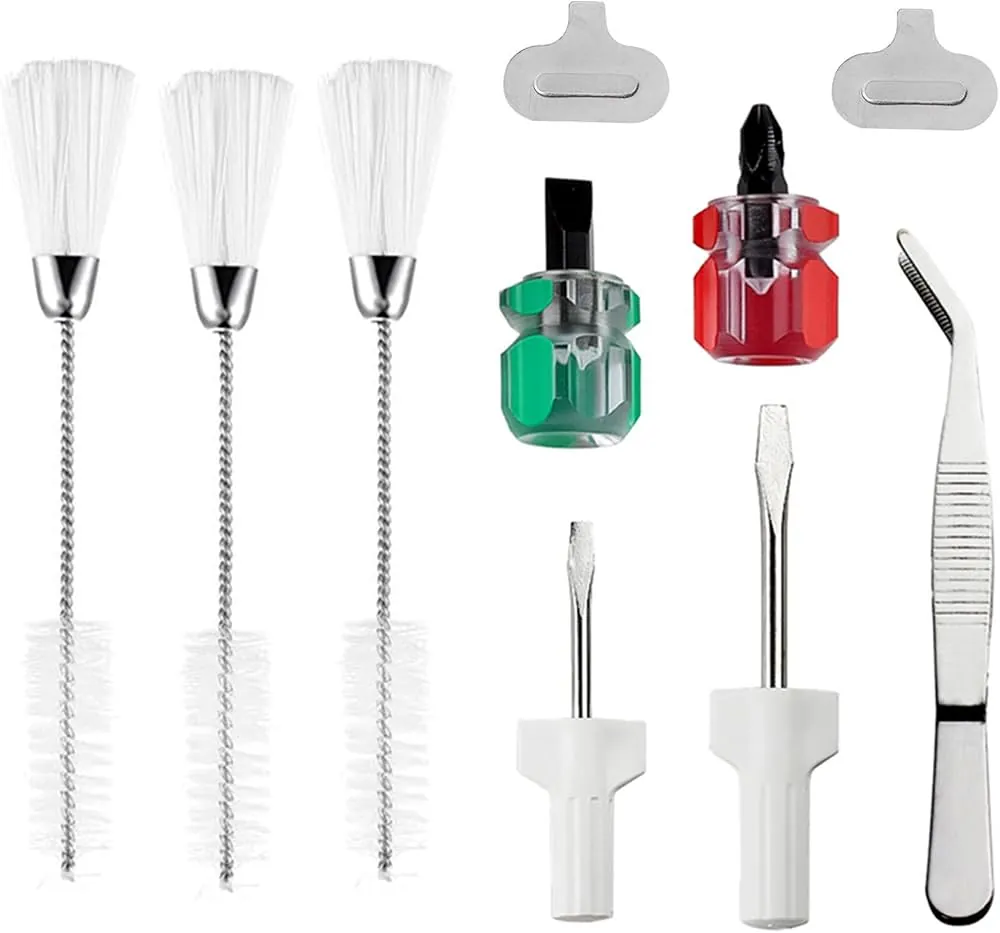
- Lower the feed dogs fully if your machine has a drop-feed lever, or simply remove the needle plate screws using your screwdriver.
- Lift the needle plate carefully and set the screws aside in a small bowl so they don’t roll off your table.
- Use the lint brush to sweep away dust from the feed dog teeth and the bobbin case area, working from the inside out.
- Take your tweezers to pull out any long threads wrapped around the bobbin spindle, as these cause tension issues during sewing.
- Wipe the area clean with a dry cloth to remove fine dust particles that the brush missed during your initial pass.
- Apply exactly one drop of sewing machine oil to the hook race if your manual states it requires lubrication, as too much oil attracts more dust.
- Reattach the needle plate and tighten the screws until they’re firm, but don’t overtighten them, as this strips the threads.
- Replace the presser foot and needle, then turn the handwheel slowly by hand for three full rotations to ensure no parts hit each other.
- Plug the machine back in and run it at low speed for one minute on a scrap piece of fabric to distribute the oil.
Checking your cleaning results
Successful cleaning results in a machine that runs quieter and produces more even stitches. If you notice a clicking sound or feel resistance when you turn the handwheel, you likely left a screw loose or failed to align the bobbin case correctly.
Perform another round of cleaning if the machine still sounds “gritty” or if you see visible lint remaining in the hook area. Always verify that your needle is perfectly centered after reassembly, as a misaligned plate causes needle breakage during your next project.
Test your work by sewing a scrap piece of fabric using a long zigzag stitch. If the bottom thread loops or the fabric puckers, your tension discs likely caught a stray fiber during the wipe-down. In that case, floss the discs with a piece of un-waxed dental tape. If the machine runs smoothly, you’re ready to resume your production.
Troubleshooting common maintenance issues
| What happened | Why | What to do |
|---|---|---|
| Machine runs loud | Too much friction | Add one drop oil |
| Thread gets tangled | Lint in hook | Clean hook area again |
| Plate is loose | Screws not tight | Tighten plate screws |
| Needle hits plate | Misaligned installation | Realign needle plate |
| Oil on fabric | Too much oil | Wipe with dry cloth |
If your machine hums at a higher pitch than usual, check the internal drive belt for debris. A single thread wrapped around the motor pulley creates enough drag to strain the engine, leading to premature wear.
When the thread bunches underneath the fabric, verify that your presser foot is fully lowered before you begin sewing. If the foot stays up, the tension discs remain open, causing a bird’s nest of thread.
Use a standard screwdriver to tighten loose plate screws, ensuring it’s the correct size to avoid stripping the screw head. A standard driver often slips, stripping the delicate threading in the base. If you can’t turn the screw, stop immediately to avoid permanent damage to the housing.
Finally, if you see oil spots, you likely over-lubricated the bobbin case. Use a dry, lint-free cotton swab to soak up excess fluid before running a scrap piece of fabric through the machine.
How often to clean your machine
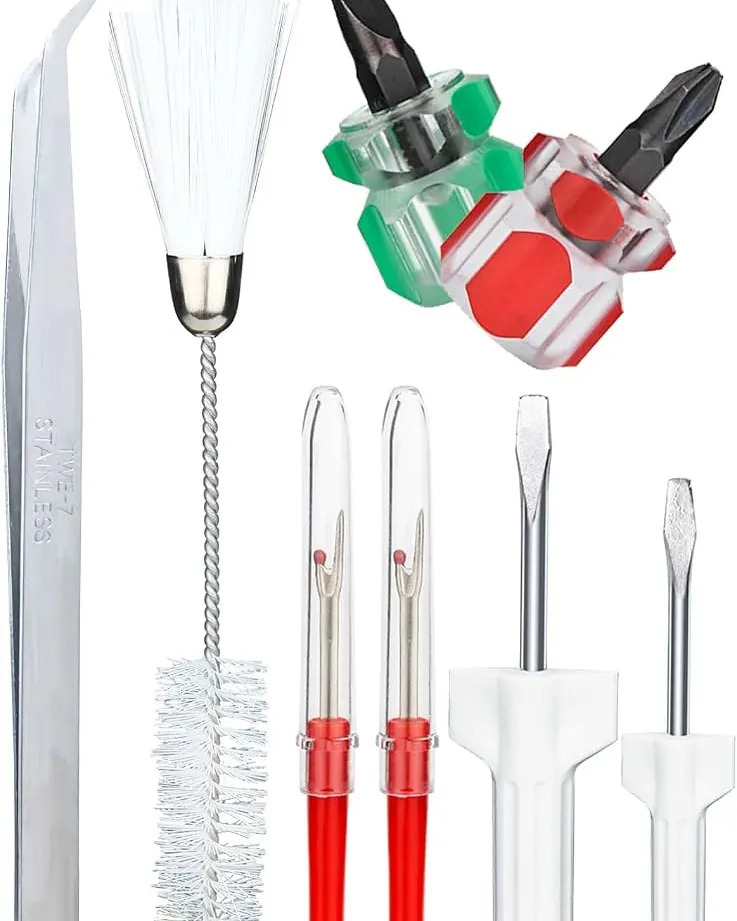
You should clean your machine after every 8 to 10 hours of active sewing time. Neglecting this schedule allows lint and thread dust to pack into the feed dogs, which eventually causes skipped stitches or uneven fabric tension.
The frequency changes based on the type of fabric you use. If you work with heavy fleece, wool, or flannel, you must clean it every 5 hours because these materials shed high volumes of fibers. If you only sew with tightly woven cotton or silk, you can safely extend the interval to 12 hours.
Always check your manual for the manufacturer’s specific recommendations, as some modern machines have sealed bearings that don’t require any user-applied oil. If your machine sounds sluggish or produces a rhythmic clicking noise, clean it immediately regardless of the clock. Waiting until the machine jams risks damaging the internal timing belt, a repair that often exceeds the cost of a basic service.
Frequently asked questions
How long does a sewing machine cleaning kit last?
A standard kit lasts for many years because the brush and screwdriver are durable tools that don’t wear out. You only need to replace the sewing oil when it runs out, which usually happens every few years depending on your sewing volume.
Can I use WD-40 to clean my machine?
Don’t use WD-40 on a sewing machine, as it’s a solvent and not a lubricant. It eventually dries into a sticky residue that gums up the internal parts and causes the machine to seize.
Is it safe to clean the motor?
It isn’t safe for you to open the motor housing, as this is a task for a professional technician. A technician handles electrical components safely, while opening the motor yourself voids your warranty and risks electrical shock.
What happens if I use too much oil?
Using too much oil causes the excess liquid to drip onto your fabric during your next sewing project. If this happens, use a clean cloth to wipe the excess from the internal parts and sew on scrap fabric until the machine runs clean again.
Why does my machine still have lint?
Your machine still has lint because some dust hides behind the race hook where brushes can’t reach. Use a thin piece of paper or a specialized lint vacuum attachment to gently dislodge these stubborn, deep-seated clumps of fibers.
Does it matter which oil I use?
It matters greatly because sewing machines require a specific light-grade mineral oil that doesn’t oxidize. Using vegetable or automotive oil will ruin the internal metal components and necessitate an expensive professional repair.
Conclusion
Once your machine is clean and reassembled, try sewing a few test stitches on a scrap piece of fabric to catch any excess oil. It’s a smart habit to keep a small log of your maintenance dates. You’ll find that your machine runs much smoother, and you won’t have to worry about skipped stitches.
{“@context”:”https://schema.org”,”@type”:”FAQPage”,”mainEntity”:[{“@type”:”Question”,”name”:”How long does a sewing machine cleaning kit last?”,”acceptedAnswer”:{“@type”:”Answer”,”text”:”A standard kit lasts for many years because the brush and screwdriver are durable tools that don’t wear out. You only need to replace the sewing oil when it runs out, which usually happens every few years depending on your sewing volume.”}},{“@type”:”Question”,”name”:”Can I use WD-40 to clean my machine?”,”acceptedAnswer”:{“@type”:”Answer”,”text”:”Don’t use WD-40 on a sewing machine, as it’s a solvent and not a lubricant. It eventually dries into a sticky residue that gums up the internal parts and causes the machine to seize.”}},{“@type”:”Question”,”name”:”Is it safe to clean the motor?”,”acceptedAnswer”:{“@type”:”Answer”,”text”:”It isn’t safe for you to open the motor housing, as this is a task for a professional technician. A technician handles electrical components safely, while opening the motor yourself voids your warranty and risks electrical shock.”}},{“@type”:”Question”,”name”:”What happens if I use too much oil?”,”acceptedAnswer”:{“@type”:”Answer”,”text”:”Using too much oil causes the excess liquid to drip onto your fabric during your next sewing project. If this happens, use a clean cloth to wipe the excess from the internal parts and sew on scrap fabric until the machine runs clean again.”}},{“@type”:”Question”,”name”:”Why does my machine still have lint?”,”acceptedAnswer”:{“@type”:”Answer”,”text”:”Your machine still has lint because some dust hides behind the race hook where brushes can’t reach. Use a thin piece of paper or a specialized lint vacuum attachment to gently dislodge these stubborn, deep-seated clumps of fibers.”}},{“@type”:”Question”,”name”:”Does it matter which oil I use?”,”acceptedAnswer”:{“@type”:”Answer”,”text”:”It matters greatly because sewing machines require a specific light-grade mineral oil that doesn’t oxidize. Using vegetable or automotive oil will ruin the internal metal components and necessitate an expensive professional repair.”}}]}