Beginner Singer Sewing Machine Guide for Easy Stitching Tasks
A beginner singer sewing machine typically costs a modest amount for a reliable mechanical model that handles basic stitching tasks.
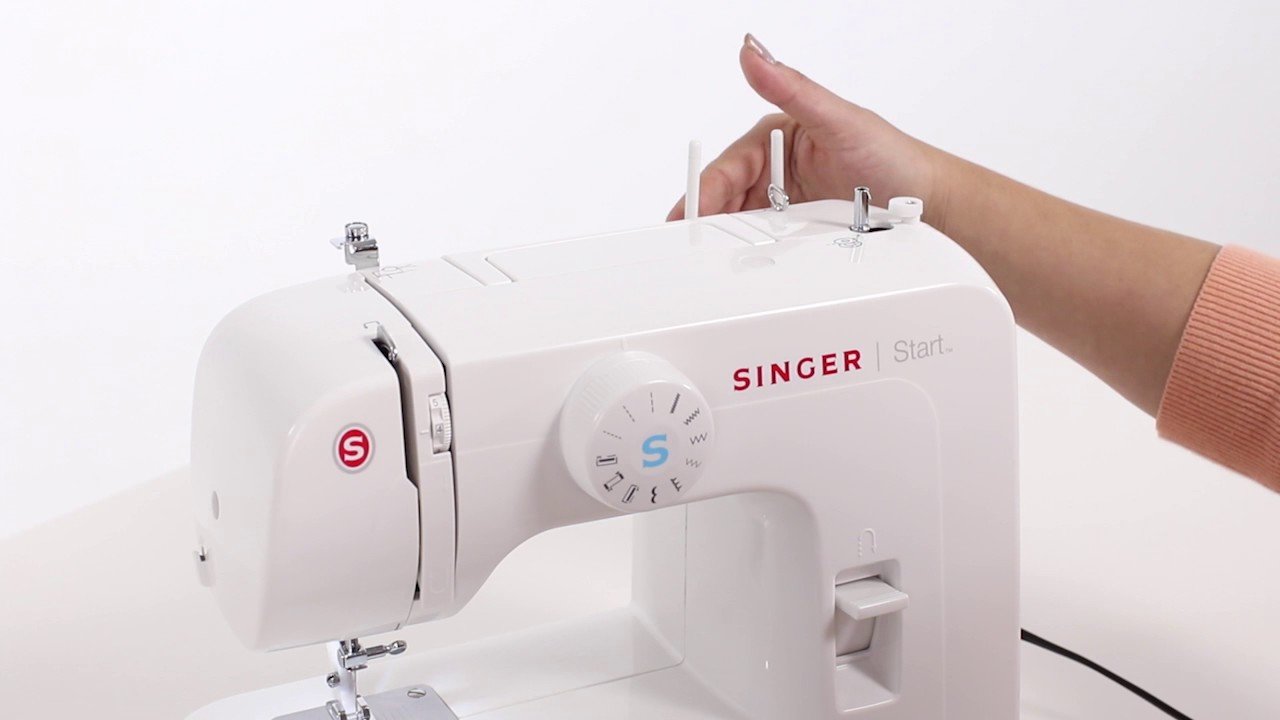
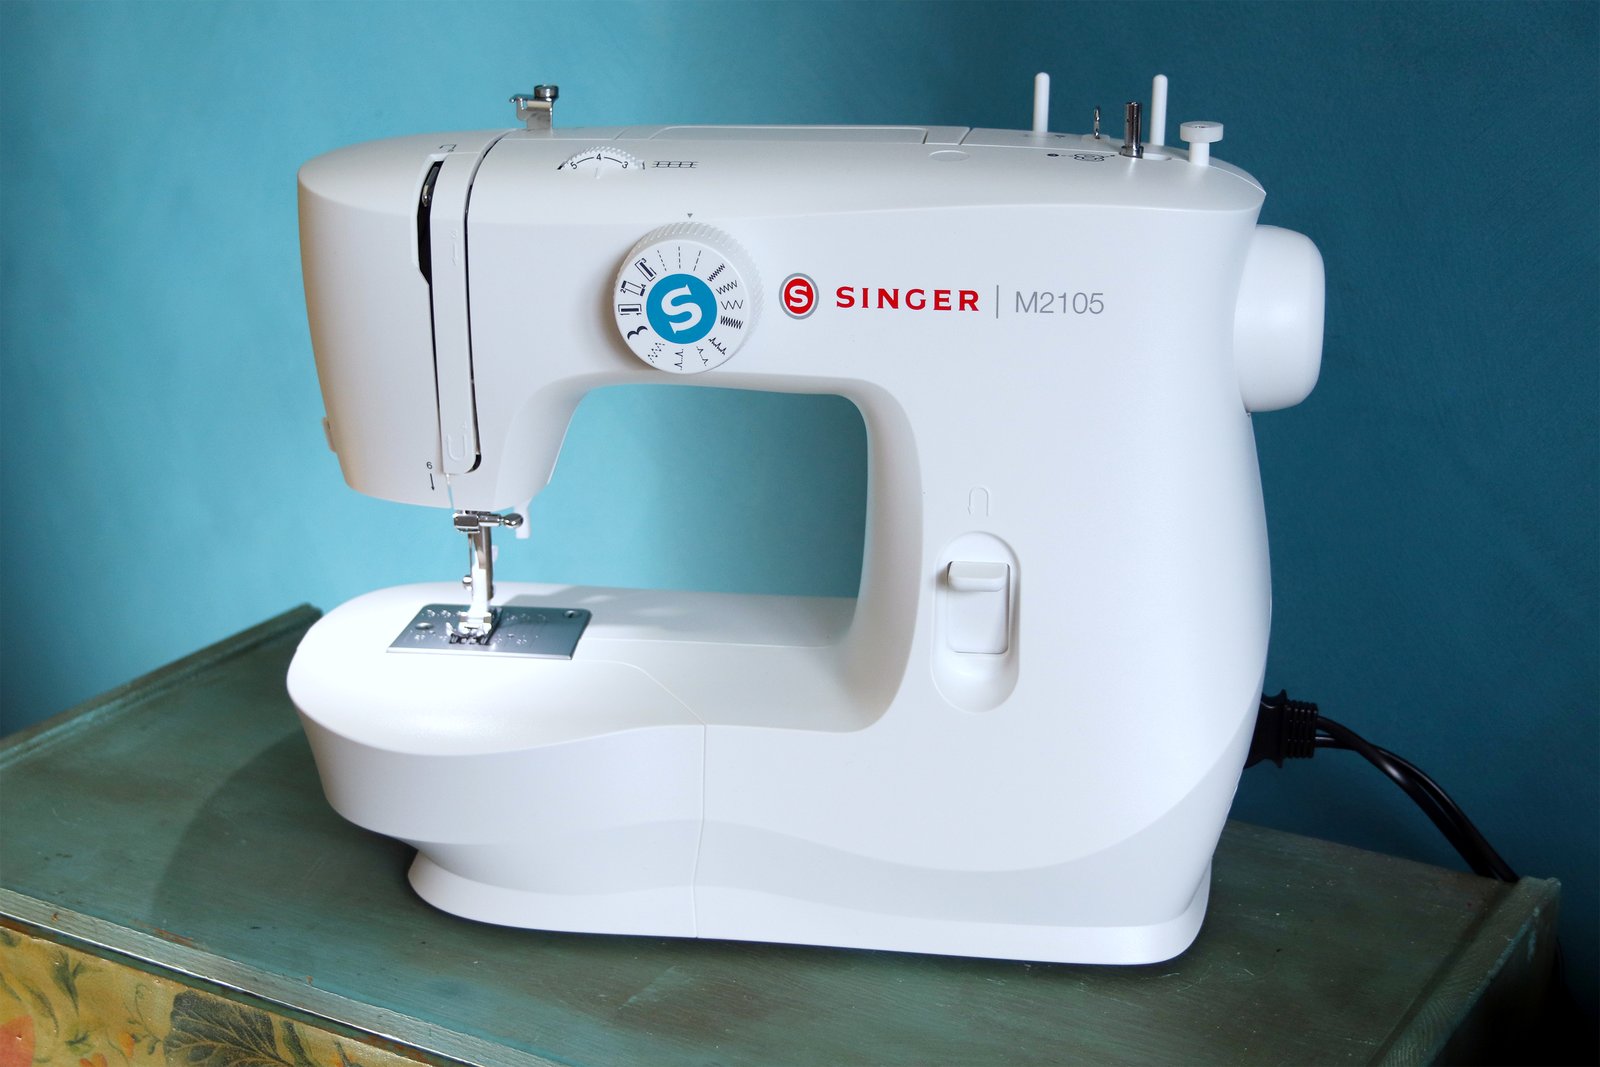
Getting started with your beginner singer sewing machine
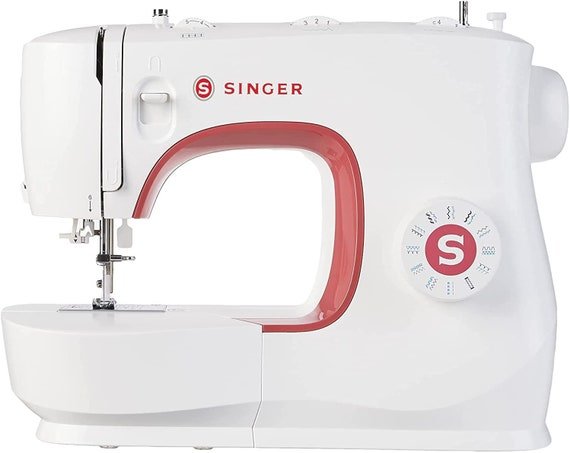
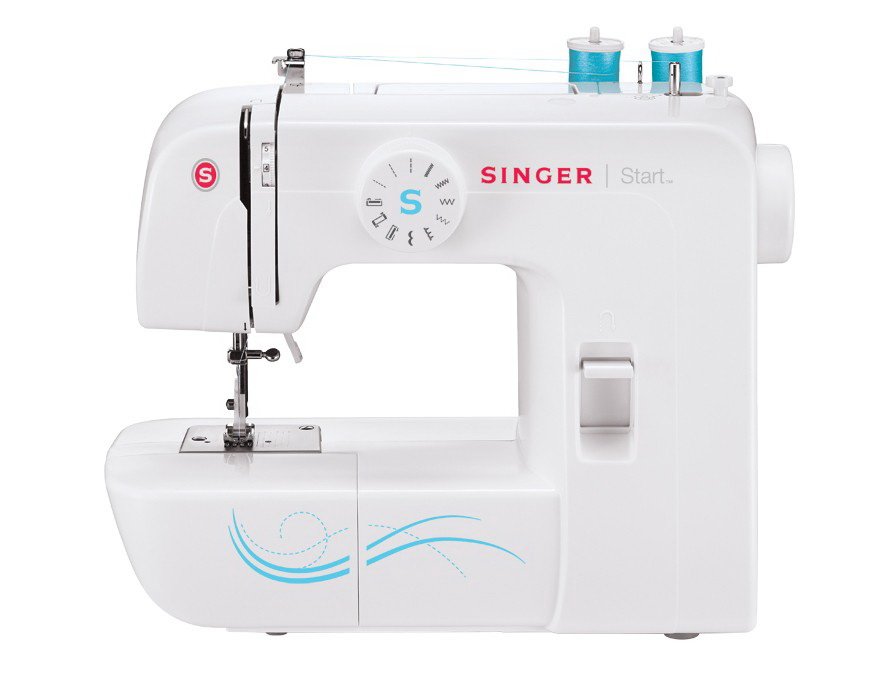
A sewing machine for beginners is designed to simplify the transition from hand-sewing to machine-sewing. These machines focus on core stitches, such as the straight stitch and the zigzag stitch, which are the building blocks of most fabric projects. They’re built for users who need a machine that’s easy to thread, simple to operate, and robust enough to handle cotton, linen, and light denim fabrics.
The most common misconception people bring to these machines is the belief that they should handle heavy-duty materials like thick upholstery leather or multiple layers of heavy canvas right out of the box. While they’re powerful, they aren’t industrial tools. You must understand that internal plastic gears are standard in this price range, which makes the machines lightweight but limits their long-term ability to pierce very dense materials. If you attempt to force heavy fabric through, you risk snapping the needle or damaging the drive belt. Before you begin, always check the Singer machine support documentation to confirm your specific model’s fabric weight capacity and needle recommendations, as using the wrong needle size for your fabric is the primary cause of skipped stitches.
The basic method
- Place your machine on a flat, stable table and plug the foot controller into the power outlet.
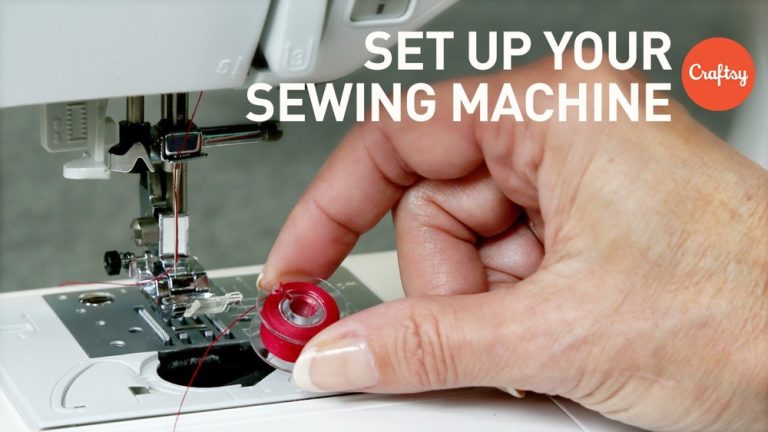
- Wind your bobbin by placing it on the bobbin winding spindle, disengaging the needle drive (usually by pulling out or loosening the handwheel knob), and pressing the foot pedal until the bobbin is full.
- Thread the machine by following the numbered path etched onto the casing; ensure the presser foot is raised, or the tension discs won’t open.
- Insert the bobbin into the case, pulling the thread through the tension slot until it slides under the tension spring.
- Use the handwheel to lower the needle into the needle plate, then raise it to catch the bobbin thread and pull both threads to the back of the machine.
- Select your stitch length to 2.5 millimeters and your stitch width to zero for a standard straight stitch on medium-weight cotton.
- Place your fabric under the presser foot, lower the lever, and press the foot pedal gently to start sewing.
The judgement call that separates a good result from a bad one is the tension setting. If your stitches look loose on the bottom, increase the top tension dial; if the top thread pulls through to the bottom, decrease it. If you’re a minor or inexperienced with electrical cords, always supervise your work and ensure the power cord remains away from the needle path.
Key numbers and settings at a glance
Settings vary by model — check the label on your machine to confirm the maximum stitch width and length, as these figures are specific to the mechanical limits of the hook and feed dog system.
| Situation | What to use | How long | What to watch for |
|---|---|---|---|
| Thin fabrics | 70/10 needle | Short stitch (1.5mm) | Puckering at seams |
| Medium cotton | 80/12 needle | Standard (2.5mm) | Even feed flow |
| Heavy denim | 90/14 needle | Long stitch (3.0mm) | Needle heat buildup |
| Decorative work | Zigzag foot | Varies | Thread tension balance |
| Buttonholes | 4-step foot | Manual | Fabric thickness |
What separates good results from bad ones
Preparation and workflow
Experienced users always test their stitch settings on a scrap of the exact fabric they plan to use. This step prevents you from ruining a garment because you forgot to adjust the tension for a thinner or stretchier material. You should also keep your work surface clear of excess fabric weight, which can pull the material away from the needle and cause crooked lines. If you’re working with large pieces, ensure they’re supported by the table rather than hanging off the edge, as the weight causes the machine to “drag” and results in uneven stitch spacing.
Mid-project checks
Never assume your machine is perfect after an hour of use. Every few hours of use, stop to check the bobbin supply and clear away any lint buildup under the throat plate. A common mistake is continuing to sew when the machine sounds “heavy” or makes a clicking noise; this usually means the needle is dull or the bobbin is tangled. If you ignore these sounds, you risk damaging the timing of the hook. If the machine requires internal timing adjustments or repair to the motor, this is technician-only work; don’t open the housing, as a capacitor can hold a lethal charge unplugged.
Common problems and quick fixes
| What you notice | What it usually means | What to do first |
|---|---|---|
| Thread bird-nesting | Incorrect threading | Re-thread the top spool |
| Needle breaking | Wrong needle type | Switch to a ballpoint needle |
| Fabric not moving | Feed dogs retracted | Check the drop-feed switch |
| Machine jamming | Bobbin tangled | Clean out the bobbin case |
The rules that apply
Safety and operational limits are governed by the manufacturer’s specifications. According to the Consumer Product Safety Commission, you must always disconnect the power plug before cleaning or performing any maintenance, such as changing the light bulb or removing the needle plate, to prevent accidental activation. If you find the machine isn’t performing as expected despite following the manual, don’t attempt to bypass safety interlocks. These machines are electrical appliances; any failure of the motor or internal electronics requires a professional service center authorized by the brand. If you’re unsure about a specific error code or sound, consult the manual provided by the company before attempting further operation.
Keeping it working afterwards
To keep your machine running, clean the bobbin area with a soft brush after every project to remove fabric dust. Never use canned air, as this pushes lint deeper into the internal motor components. Once a year, or when the machine sounds louder than usual, take it to a qualified sewing machine technician for a professional oiling and calibration. Keep the machine covered with a fabric dust cover when not in use to protect the sensitive internal tension springs from debris. If you notice the handwheel is difficult to turn, stop using it immediately, as this indicates a lack of lubrication in the primary drive shaft.
When to use a different approach
This approach is the wrong choice if you intend to sew heavy-duty vinyl, thick leather, or multiple layers of heavy upholstery fabric. For these tasks, you need a machine with a powerful motor and a high-clearance presser foot; attempt these on a beginner model and you’ll likely strip the gears. If you’re interested in complex embroidery, a basic mechanical machine won’t suffice. You should instead look for a dedicated embroidery machine that features a hoop system and digital pattern loading capabilities. Finally, if you need to sew at a high speed for professional production, a standard home machine will overheat, so you should seek out an industrial-grade machine designed for continuous operation.
Frequently asked questions
Can I use a beginner sewing machine for quilting?
Yes, you can use these machines for quilting if you use a walking foot attachment to help feed the layers evenly. Ensure your quilt sandwich isn’t too thick for the presser foot height, as forcing thick batting under the foot will cause the machine to jam or skip stitches.
Why is my thread bunching up underneath?
The thread bunches underneath because the top tension is too loose or the machine was threaded with the presser foot in the down position. Always thread the machine with the foot up to ensure the thread sits properly between the tension discs, which controls the pull on the thread.
How long do these machines last?
These machines typically last for several years of hobbyist use if they’re cleaned regularly and serviced by a professional once a year. The lifespan depends heavily on the frequency of use and the types of fabric you sew; sewing heavy materials will wear out the internal components much faster.
Is it safe for a child to use?
It’s safe for children to use these machines with adult supervision and instruction on finger placement near the needle. Never leave a child unattended while the machine is plugged in, as the needle moves fast and can cause injury if the user’s fingers are caught under the presser foot.
What happens if I sew over a pin?
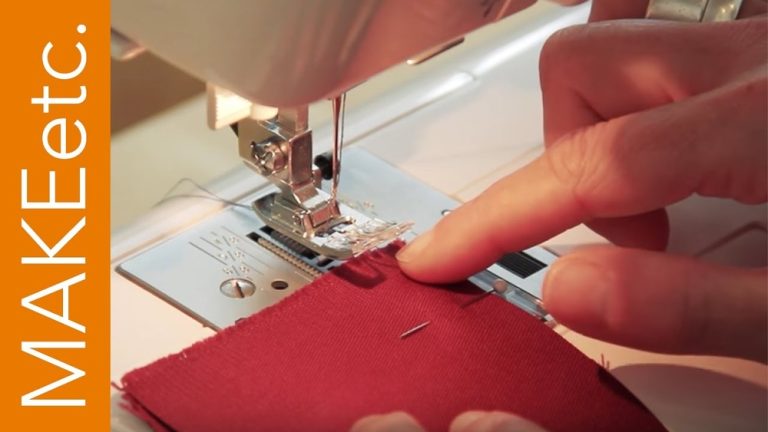
Sewing over a pin will likely bend or break your needle and may scratch the needle plate or damage the bobbin hook. Always remove pins as you approach the presser foot to prevent these mechanical issues and keep your needle sharp for the best stitch quality.
Final Thoughts
Once you’ve set up your new machine, don’t be afraid to experiment with scrap fabric. It’s the best way to get comfortable with the tension and speed settings. You’ll find that your confidence grows quickly, so pick a simple project like a pillowcase and start creating something you’re proud of today.
Related guides
{“@context”:”https://schema.org”,”@type”:”FAQPage”,”mainEntity”:[{“@type”:”Question”,”name”:”Can I use a beginner sewing machine for quilting?”,”acceptedAnswer”:{“@type”:”Answer”,”text”:”Yes, you can use these machines for quilting if you use a walking foot attachment to help feed the layers evenly. Ensure your quilt sandwich isn’t too thick for the presser foot height, as forcing thick batting under the foot will cause the machine to jam or skip stitches.”}},{“@type”:”Question”,”name”:”Why is my thread bunching up underneath?”,”acceptedAnswer”:{“@type”:”Answer”,”text”:”The thread bunches underneath because the top tension is too loose or the machine was threaded with the presser foot in the down position. Always thread the machine with the foot up to ensure the thread sits properly between the tension discs, which controls the pull on the thread.”}},{“@type”:”Question”,”name”:”How long do these machines last?”,”acceptedAnswer”:{“@type”:”Answer”,”text”:”These machines typically last for several years of hobbyist use if they’re cleaned regularly and serviced by a professional once a year. The lifespan depends heavily on the frequency of use and the types of fabric you sew; sewing heavy materials will wear out the internal components much faster.”}},{“@type”:”Question”,”name”:”Is it safe for a child to use?”,”acceptedAnswer”:{“@type”:”Answer”,”text”:”It’s safe for children to use these machines with adult supervision and instruction on finger placement near the needle. Never leave a child unattended while the machine is plugged in, as the needle moves fast and can cause injury if the user’s fingers are caught under the presser foot.”}},{“@type”:”Question”,”name”:”What happens if I sew over a pin?”,”acceptedAnswer”:{“@type”:”Answer”,”text”:”Sewing over a pin will likely bend or break your needle and may scratch the needle plate or damage the bobbin hook. Always remove pins as you approach the presser foot to prevent these mechanical issues and keep your needle sharp for the best stitch quality.”}}]}