Janome Easy-to-Use Sewing Machine: The Reliable Sewist 725S
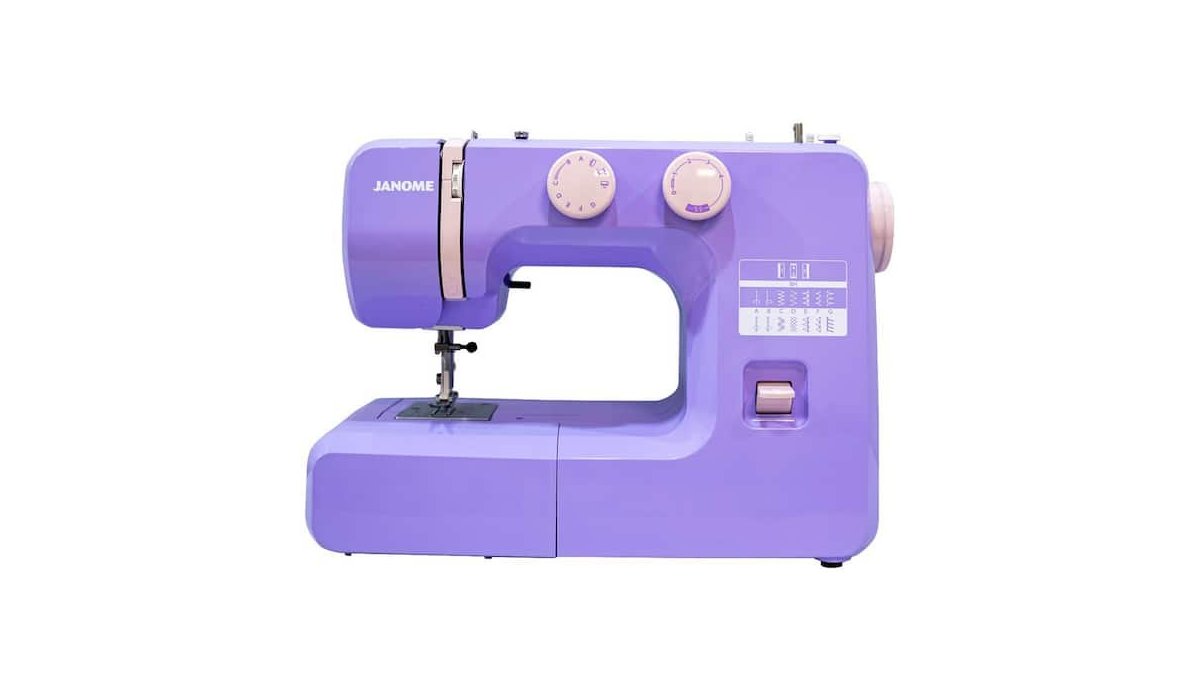
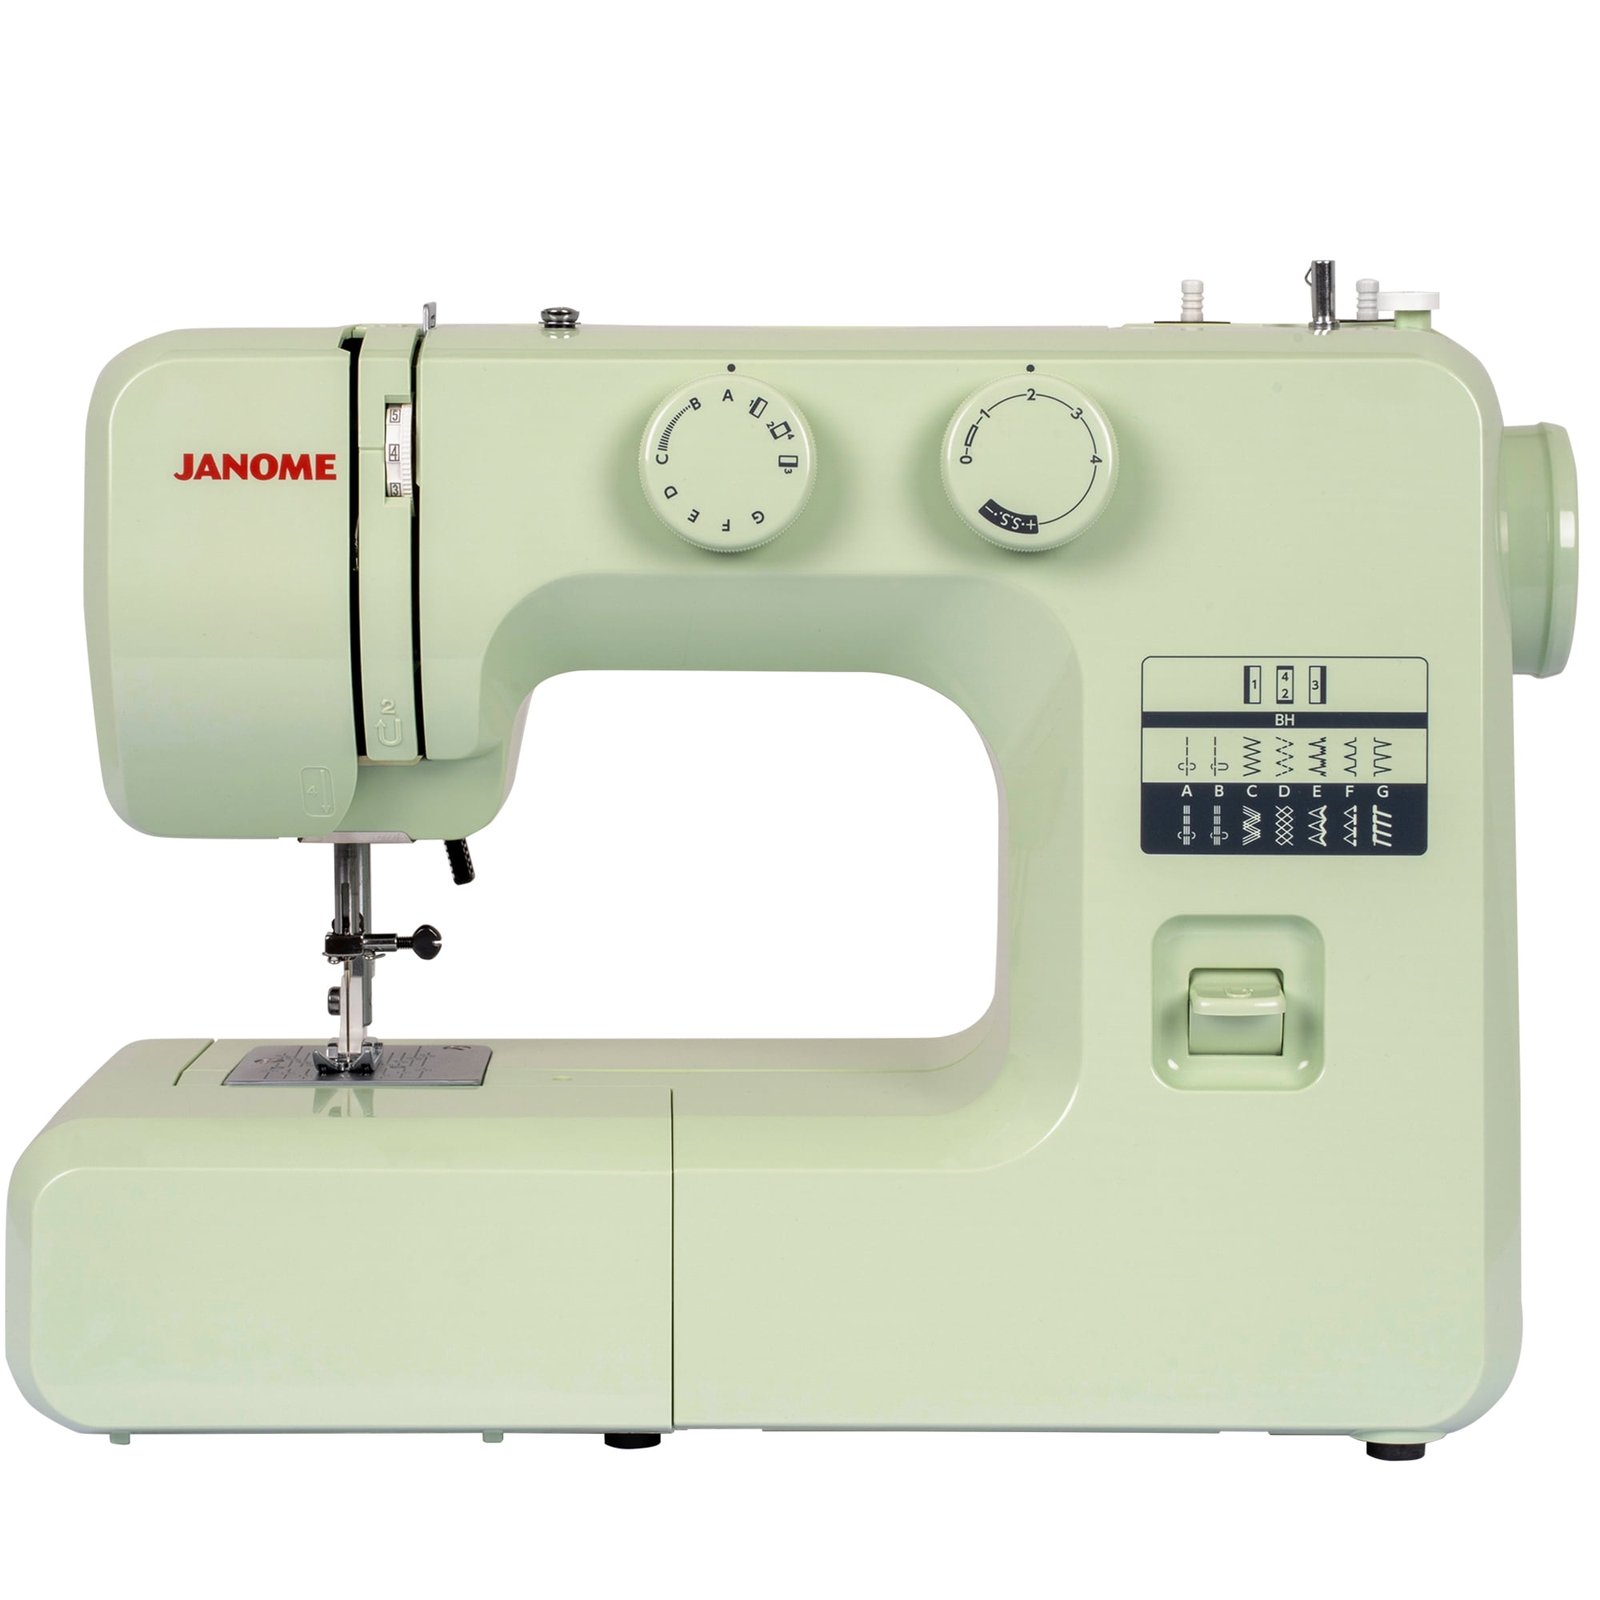
The Janome Sewist 725S is the most reliable janome easy-to-use sewing machine for beginners because it offers a simple mechanical dial system that removes the need for complex digital programming. If you’re a total novice, this model provides the most stability, but if you require advanced embroidery patterns or automatic thread cutting, you should look at their computerized Skyline series instead.
Choosing a Janome easy-to-use sewing machine

The right machine depends on your specific goals and how much time you want to spend adjusting settings before you start sewing.
| Method | How long | Effort | Cost | Best for |
|---|---|---|---|---|
| Mechanical Dial | 2 minutes | Low | Low | Beginners |
| Computerized Screen | 5 minutes | Medium | Medium | Hobbyists |
| Industrial Power | 1 minute | High | High | Heavy fabrics |
Note: Setup times assume you have the bobbin wound and the thread path ready.
Mechanical dial operation
This method relies on physical knobs to change stitch length and width. It’s the most common way to learn sewing because you can see exactly what the machine is doing.
- Turn the main dial on the side of the machine to select your desired stitch pattern.
- Adjust the stitch length knob to “2.5” for standard seams, which is the universal setting for most cotton fabrics.
- Place your fabric under the presser foot and lower the lever to lock the material in place.
- Press the foot pedal slowly to begin; the machine will maintain a consistent speed based on how hard you press.
If you make a mistake, you can instantly see which dial needs adjustment. The main weakness is that you can’t save your favorite stitch settings, so you must reset them every time you change projects. Proper maintenance involves regular lint removal from the bobbin area to prevent jams, as noted in the official Janome support manual.
Computerized interface control
Computerized models use a digital screen to handle tension and stitch selection. This removes guesswork but requires learning a menu system.
- Power on the machine and wait for the screen to show the default “Straight Stitch” icon.
- Select your stitch number using the touch-pad buttons; the screen will display the recommended foot for that pattern.
- Adjust the tension setting shown on the display if you’re using thick thread or heavy fabrics.
- Use the “Start/Stop” button instead of a pedal if you prefer to keep your hands free for guiding the fabric.
A major trade-off is that these machines are more sensitive to power surges. If you move the machine frequently, you must be careful not to knock the screen, as repairs for digital panels can be expensive.
Industrial-style fixed setups
Some users prefer machines built for one purpose, such as straight-stitch only. These machines have no menus and very few moving parts.
- Check that the needle is properly seated in the clamp and tightened with a screwdriver.
- Pull the thread through the single tension disc until you feel resistance.
- Set your stitch length using the lever on the front of the machine; for denim, a setting of “3” is common.
- Use the handwheel to take one full stitch before engaging the motor to ensure the thread is caught.
This setup is ideal for people who only sew straight lines and want the highest possible speed. The drawback is the lack of versatility, as you can’t do buttonholes or decorative work. If you only sew thick canvas, this is the best choice, but it isn’t for someone who wants to experiment with different garment designs.
Which one should you use?
If you’re in a hurry, use the mechanical dial method. It requires the least amount of “boot-up” time, letting you start sewing within seconds of plugging the machine into the wall.
If you’re doing this for the first time, choose the mechanical dial machine. It’s much easier to troubleshoot a physical dial than a digital menu when you don’t yet know the terminology of sewing.
If you want the best possible result whatever it takes, choose the computerized interface. It automates the tension and stitch width, which ensures that your work looks professional even if your manual dexterity isn’t yet perfect. The trade-off is that you have to read the manual to understand the digital icons, whereas a mechanical machine is more intuitive to look at.
The rules that apply whichever way you choose
Regardless of the machine model, you must follow basic safety and maintenance standards. Always unplug the machine before changing the needle or cleaning the bobbin case. If you need to perform internal repairs, don’t open the motor housing yourself; a capacitor can hold a lethal charge even when unplugged, so you must contact a certified technician for internal service.
Before starting any project, test your thread tension on a scrap piece of fabric. If the thread loops on the bottom, your top tension is too loose; if it loops on top, the top tension is too tight. Check these settings every time you switch from thin cotton to thick polyester. Finally, keep your machine covered when not in use to prevent dust from reaching the internal gears. This prevents the timing from slipping, which is the most common reason for skipped stitches. If you’re using a new machine, keep the original box for transport, as this protects the delicate computer boards or mechanical arms during a move.
Frequently asked questions
Photo: nymag.com on Google
Can I sew leather with a standard machine?
No, most standard machines aren’t designed for thick leather. You need a specific needle and thread combination to prevent the machine from jamming or breaking the needle. If you force leather through a lightweight machine, you risk stripping the gears. Stick to light fabrics like cotton or linen unless your specific model states it’s built for heavy-duty material.
How long does a sewing machine last?
A high-quality machine can last for a long time with regular cleaning and professional servicing. The lifespan depends entirely on how often you clean the lint out of the bobbin area and how frequently you oil the parts, if the manual requires it. If you ignore maintenance, the internal parts will wear down as it ages with heavy use.
Is it safe to leave my machine plugged in?
No, you should always disconnect the power cord when you’re finished for the day. This protects the machine from power spikes and prevents accidental operation if the foot pedal is pressed by mistake. It’s a simple habit that keeps your home safer and extends the life of the machine’s internal electronic components.
What happens if I lose the foot pedal?
If you lose the pedal, you can buy a replacement that matches your specific machine model. Never try to bridge the wires or use a pedal from a different brand, as this can cause an electrical fire or short circuit the machine. Always check the manufacturer’s website for the correct part number for your specific model.
Why is my thread bunching up?
Thread bunching is almost always caused by an incorrect threading path or a loose bobbin. Re-thread the top spool and ensure the thread is properly seated in the tension discs before you start again. This is a common mistake that costs time, but it’s easily fixed by following the threading guide in your manual.
Final Thoughts
Choosing the right machine is a big step, but you’ll find that practice makes all the difference. Don’t worry about making mistakes; they’re just part of the learning process. Once you’ve unboxed your new tool, try sewing a simple straight line on a scrap of fabric to get comfortable with the foot pedal.
{“@context”:”https://schema.org”,”@type”:”FAQPage”,”mainEntity”:[{“@type”:”Question”,”name”:”Can I sew leather with a standard machine?”,”acceptedAnswer”:{“@type”:”Answer”,”text”:”No, most standard machines aren’t designed for thick leather. You need a specific needle and thread combination to prevent the machine from jamming or breaking the needle. If you force leather through a lightweight machine, you risk stripping the gears. Stick to light fabrics like cotton or linen unless your specific model states it’s built for heavy-duty material.”}},{“@type”:”Question”,”name”:”How long does a sewing machine last?”,”acceptedAnswer”:{“@type”:”Answer”,”text”:”A high-quality machine can last for a long time with regular cleaning and professional servicing. The lifespan depends entirely on how often you clean the lint out of the bobbin area and how frequently you oil the parts, if the manual requires it. If you ignore maintenance, the internal parts will wear down as it ages with heavy use.”}},{“@type”:”Question”,”name”:”Is it safe to leave my machine plugged in?”,”acceptedAnswer”:{“@type”:”Answer”,”text”:”No, you should always disconnect the power cord when you’re finished for the day. This protects the machine from power spikes and prevents accidental operation if the foot pedal is pressed by mistake. It’s a simple habit that keeps your home safer and extends the life of the machine’s internal electronic components.”}},{“@type”:”Question”,”name”:”What happens if I lose the foot pedal?”,”acceptedAnswer”:{“@type”:”Answer”,”text”:”If you lose the pedal, you can buy a replacement that matches your specific machine model. Never try to bridge the wires or use a pedal from a different brand, as this can cause an electrical fire or short circuit the machine. Always check the manufacturer’s website for the correct part number for your specific model.”}},{“@type”:”Question”,”name”:”Why is my thread bunching up?”,”acceptedAnswer”:{“@type”:”Answer”,”text”:”Thread bunching is almost always caused by an incorrect threading path or a loose bobbin. Re-thread the top spool and ensure the thread is properly seated in the tension discs before you start again. This is a common mistake that costs time, but it’s easily fixed by following the threading guide in your manual.”}}]}