How to Use a Basic Singer Sewing Machine for Beginners
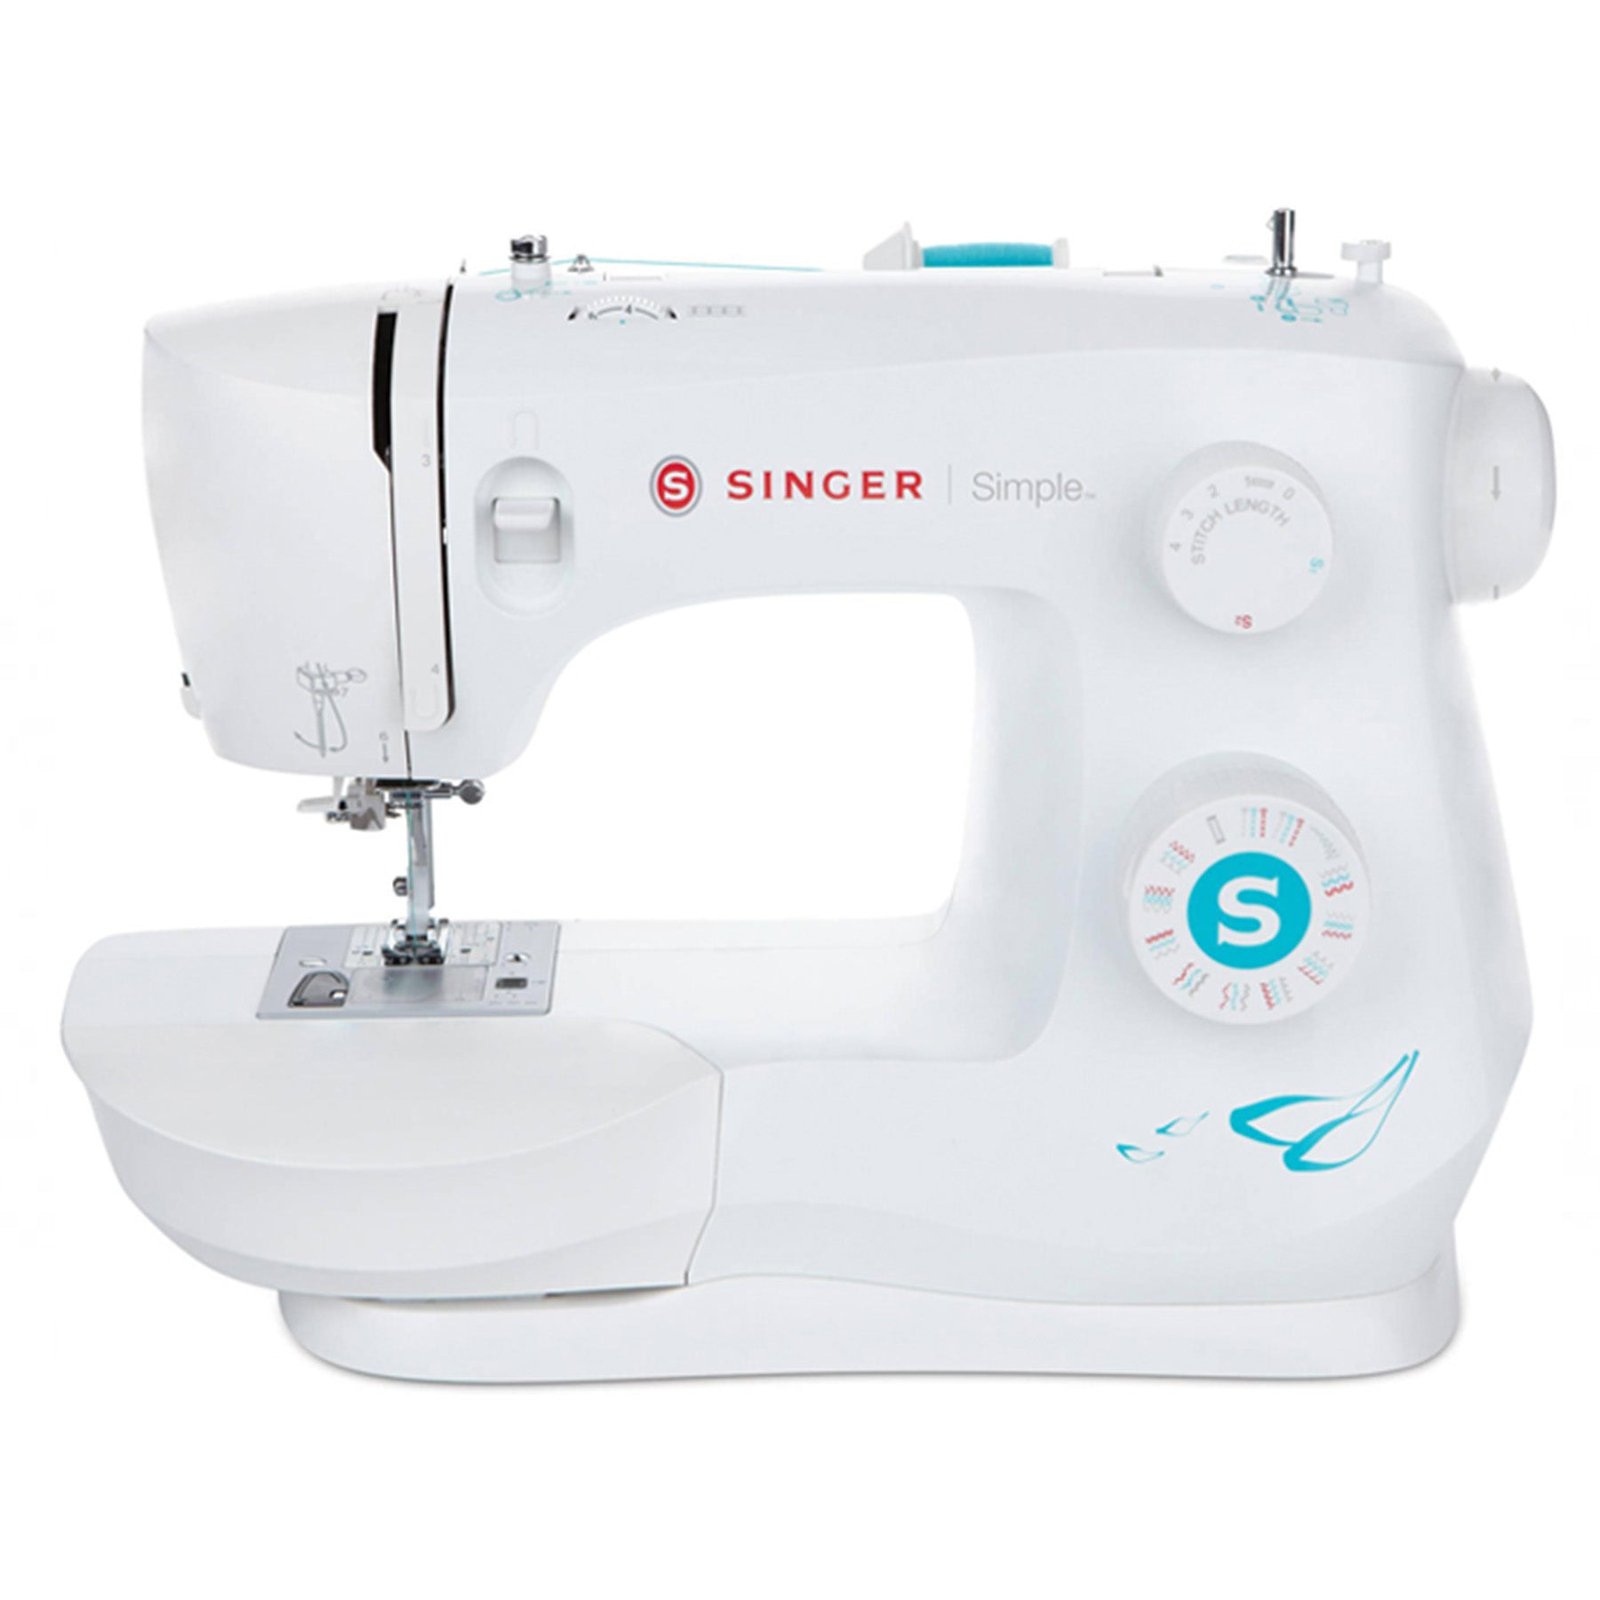
The most reliable way to start sewing is using a basic singer sewing machine, which provides the essential stitches needed for home repairs and simple garment construction. Most entry-level models are mechanical, meaning they rely on physical knobs rather than computer screens to adjust settings. While these machines are perfect for beginners, experienced sewists sometimes prefer computerized models for their precision and pattern variety. If you’re working with very thick fabrics like heavy denim, ensure your machine has a high-clearance presser foot setting to avoid jamming.
Comparing basic Singer sewing machines
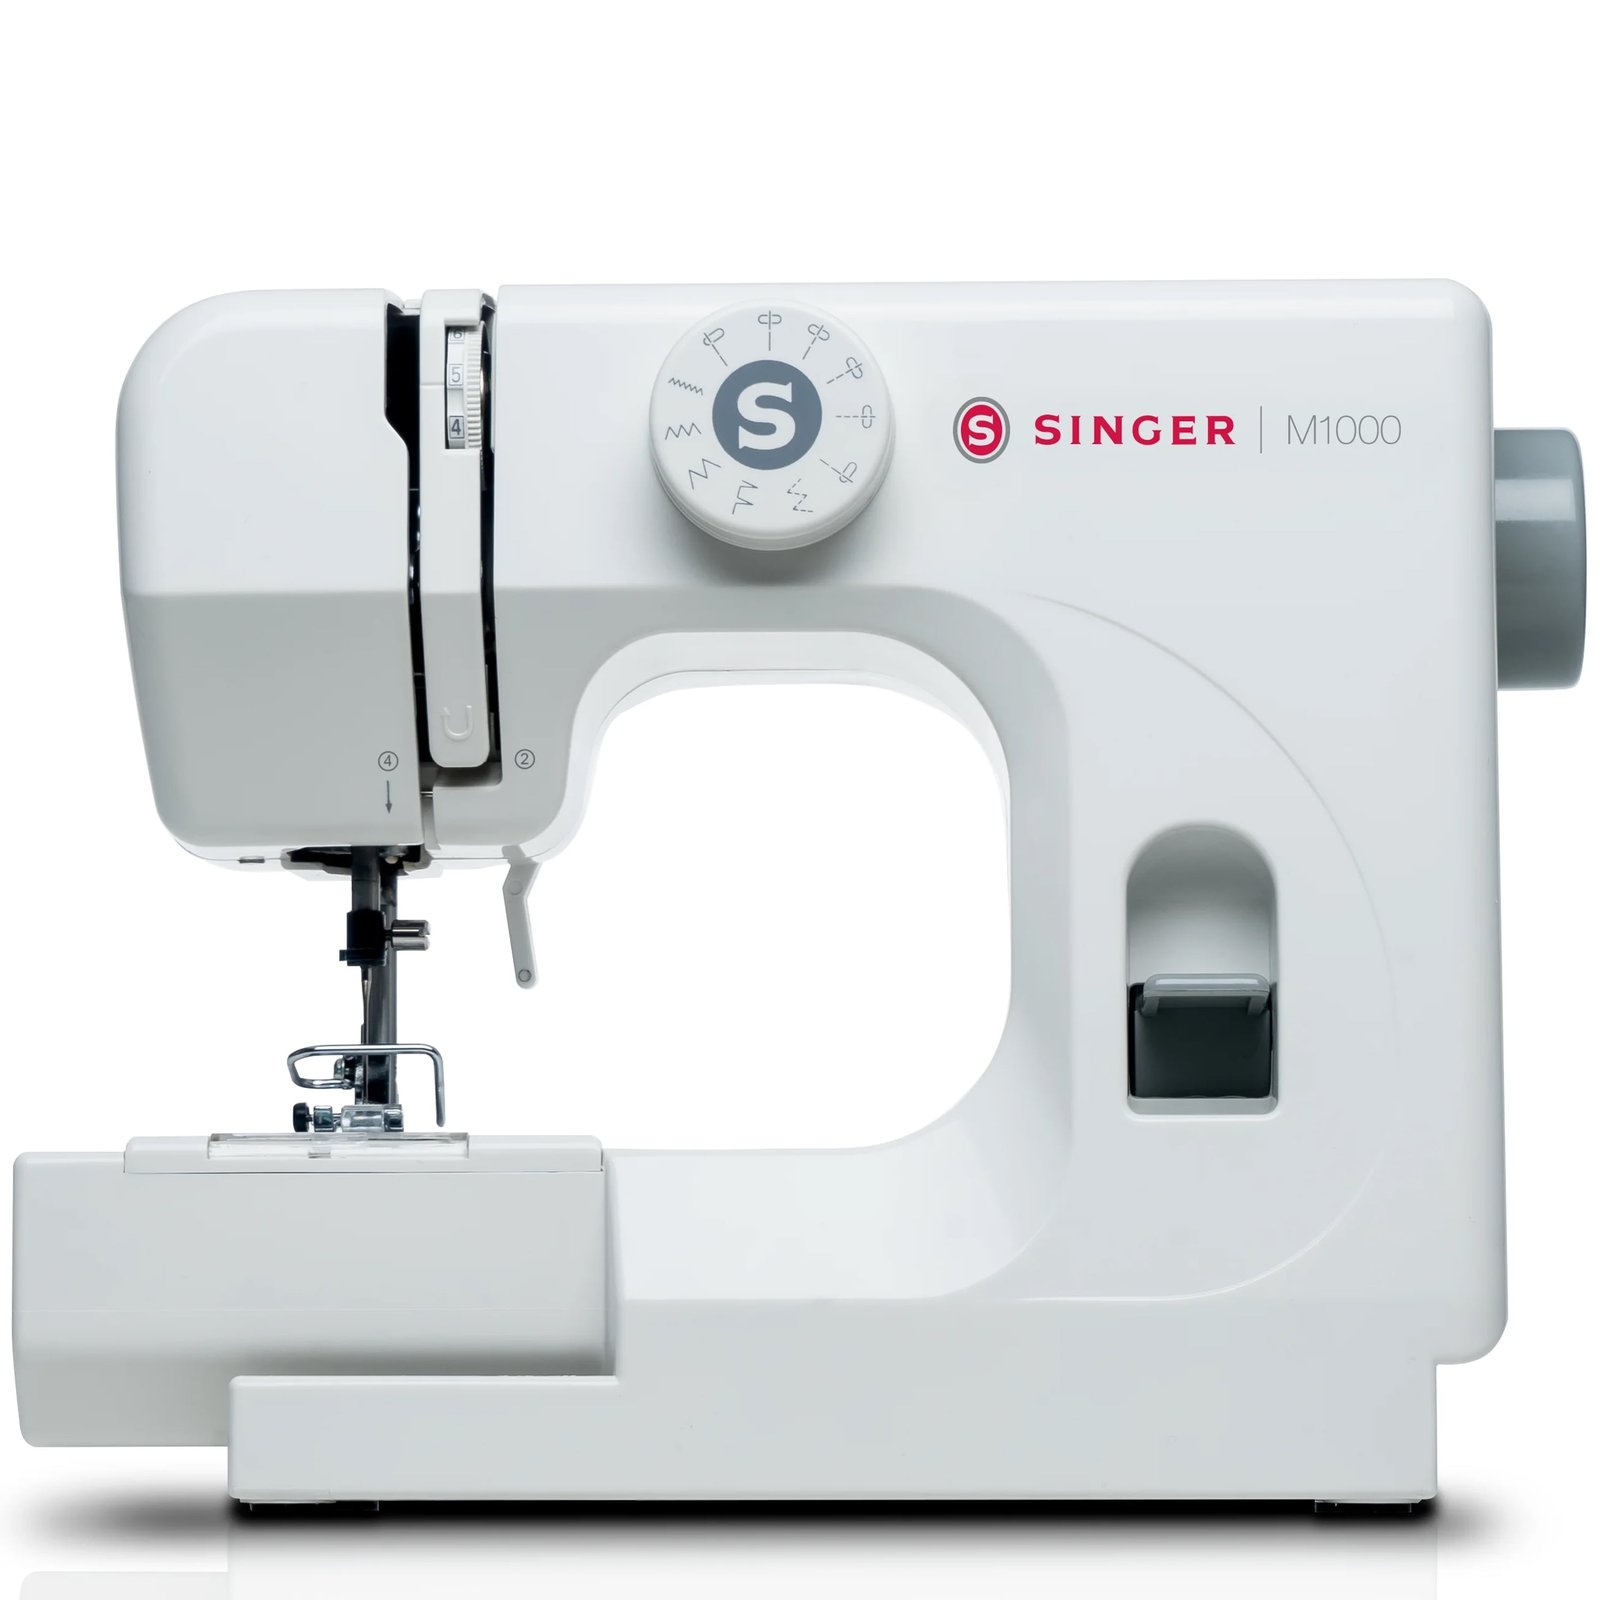
The right machine depends on your specific goals and how often you plan to sew throughout the year.
| Method | How long | Effort | Cost | Best for |
|---|---|---|---|---|
| Mechanical Machine | Fast setup | Low | Low | Repairs & Basics |
| Computerized Machine | Moderate | Medium | Medium | Embroidery & Quilting |
| Heavy-Duty Machine | Slow setup | High | High | Thick Fabrics |
Mechanical machines are the standard for most households because they offer a simple interface and low maintenance. If you plan to sew daily, a computerized model might save you time on repetitive tasks, but it comes with a steeper learning curve. Heavy-duty models are designed for thick materials like leather or canvas; using them for delicate silk requires careful adjustment of needle size and tension to avoid fabric damage.
Manual stitch selection
This method uses physical dials on the front of the machine to choose stitch patterns and length.
- Turn the stitch selector dial to your desired pattern, such as a straight stitch or zigzag.
- Adjust the stitch length knob to the setting recommended for your fabric weight, usually between two and three millimeters for cotton.
- Lower the presser foot using the lever located near the presser bar.
- Press the foot controller gently to start sewing at a steady speed.
It’s very durable because there are fewer electronic parts to fail over time. However, the limitation is that you can’t save custom stitch settings for later use. Always verify your machine’s capabilities by consulting the Singer sewing machine manual provided by the manufacturer. If you find the needle is skipping, ensure you’re using the correct needle size for your fabric type.
Digital pattern adjustment
Computerized models allow you to select stitches using buttons or a touchscreen display.
- Power on the machine and wait for the screen to initialize.
- Use the menu buttons to pick the stitch number listed on the machine’s reference chart.
- Adjust the width and length settings digitally; these machines often suggest a default setting based on the stitch chosen.
- Use the start-stop button if you prefer not to use the foot pedal.
These machines are fantastic for consistent results, as the computer prevents you from selecting incompatible settings. They often include an automatic needle threader, which saves significant time for those with poor eyesight. The main weakness is that electronic components are expensive to repair if they malfunction after the warranty period expires.
Heavy-duty mechanical operation
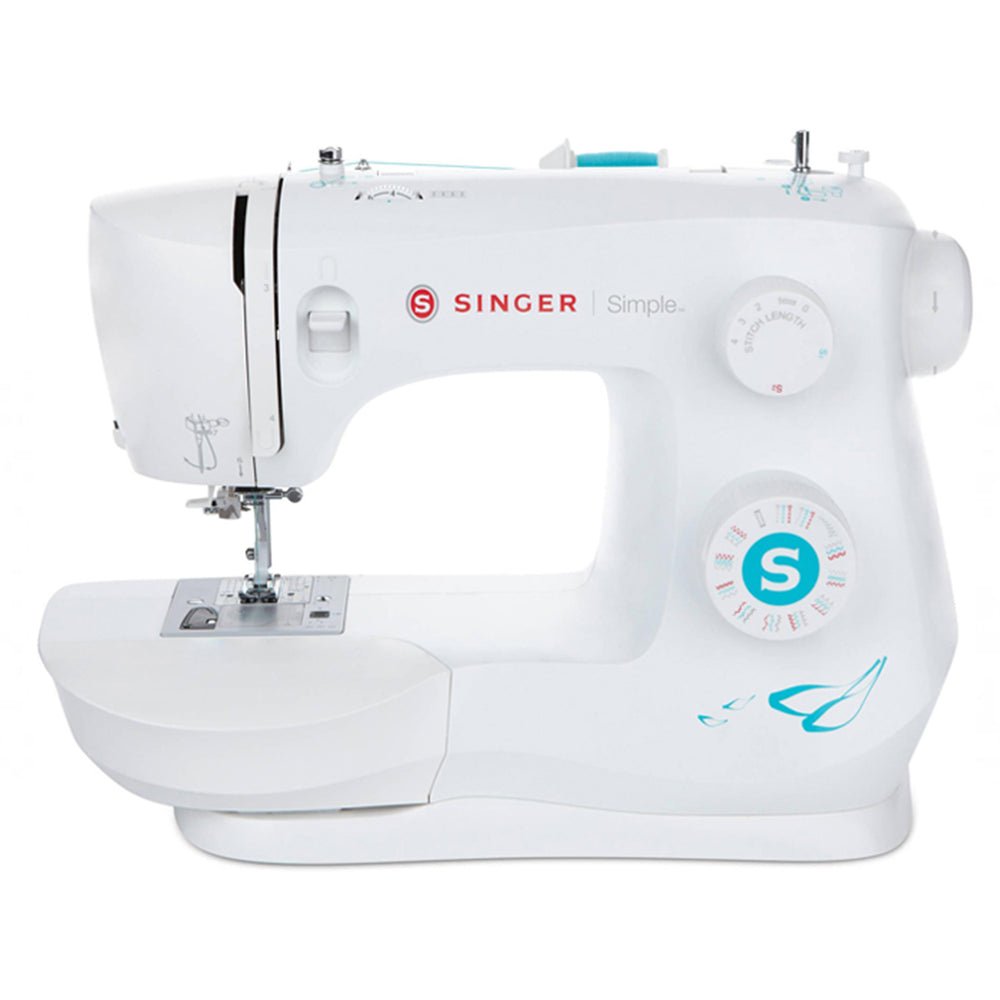
Heavy-duty machines are built with stronger internal motors and metal frames for tougher projects.
- Install a heavy-duty needle, typically size 100/16 or higher, to handle thick thread.
- Set the stitch length to a longer setting, around four millimeters, to accommodate the bulk of the material.
- Increase the presser foot pressure if your model has a dial for this purpose.
- Guide the fabric slowly, as these motors have high torque and can pull material through very quickly.
These machines are a common choice for upholstery or multi-layered denim projects. They’re less prone to skipping stitches when crossing over thick seams. The trade-off is that they’re much louder and heavier than standard models. They aren’t recommended for lightweight fabrics like chiffon, as the aggressive feed dogs can pucker the material.
Which one should you use?
If you’re in a hurry to finish a simple hem, use a mechanical machine because it requires almost no setup time. If you’re doing this for the first time, choose the mechanical machine as well; it teaches you the fundamentals of tension and thread path without the distraction of digital menus. When you want the best possible result regardless of the effort required, a computerized machine is the winner because it provides precise, repeatable stitch quality that’s difficult to replicate by hand or with basic dials.
Remember the trade-off: mechanical machines offer simplicity and longevity, while computerized versions offer speed and advanced features. If your budget is tight, don’t feel pressured to buy the most expensive model; a basic machine with a good quality needle can perform almost any essential task.
The rules that apply whichever way you choose
Regardless of the model, always follow the manufacturer’s instructions regarding electrical safety and cord maintenance. Before you start, ensure the machine is on a flat, stable surface to prevent vibration damage. Check your bobbin tension partway through your project, especially if you change thread brands. At the end of your projects, clean the lint from the bobbin area using a small brush to ensure smooth operation.
If your machine makes a grinding noise, stop immediately and unplug it; never attempt to open the motor housing yourself, as a capacitor can hold a lethal charge even when unplugged. Such repairs are strictly for authorized service technicians. If you’re unsure about a specific setting, always refer to the printed guide that came with your specific unit.
Frequently asked questions
Can I sew leather on a basic machine?
No, most entry-level machines aren’t designed for leather and the motor may overheat or the needle may break. Use a specialized heavy-duty machine if you intend to work with leather or other thick materials. If you force a basic machine to sew through thick hides, you risk bending the internal drive shaft, which often costs more to repair than the machine is worth.
How long does a sewing machine last?
A well-maintained machine can last ten to twenty years, depending on the frequency of use and the environment. Keeping the machine covered when not in use prevents dust from entering the internal gears, which significantly extends the life of the motor. If you sew every day, you should have the machine serviced by a professional regularly to ensure the timing remains accurate.
Is it safe to leave the machine plugged in?
No, you should always unplug the machine when it isn’t in active use to prevent accidental activation. This is especially important if you have children or pets in the home who might touch the foot pedal. Leaving the machine plugged in also exposes the sensitive electronic components to potential power surges, which can damage the internal circuit boards.
What happens if I use the wrong needle?
Using the wrong needle size or type will cause skipped stitches, thread breakage, and potentially damage the needle plate. Always match your needle type to the fabric; for example, use ballpoint needles for knits and sharp needles for woven cotton. If you notice the thread shredding, the most likely cause is an old or dull needle that needs immediate replacement.
How do I know if my tension is correct?
Your tension is correct when the top thread and bobbin thread lock together exactly in the center of the fabric layers. If you see loops of thread on the bottom, your top tension is too loose or the bobbin is incorrectly seated. Always test your settings on a scrap piece of the same fabric you plan to use for your final project.
Final Thoughts
Once you’ve practiced your straight stitches on scrap fabric, you’ll feel ready to tackle your first real project. Don’t worry if it isn’t perfect right away; every seam you sew builds your confidence. Pick out a simple pattern, grab some colorful thread, and enjoy the process of creating something uniquely yours.
{“@context”:”https://schema.org”,”@type”:”FAQPage”,”mainEntity”:[{“@type”:”Question”,”name”:”Can I sew leather on a basic machine?”,”acceptedAnswer”:{“@type”:”Answer”,”text”:”No, most entry-level machines aren’t designed for leather and the motor may overheat or the needle may break. Use a specialized heavy-duty machine if you intend to work with leather or other thick materials. If you force a basic machine to sew through thick hides, you risk bending the internal drive shaft, which often costs more to repair than the machine is worth.”}},{“@type”:”Question”,”name”:”How long does a sewing machine last?”,”acceptedAnswer”:{“@type”:”Answer”,”text”:”A well-maintained machine can last ten to twenty years, depending on the frequency of use and the environment. Keeping the machine covered when not in use prevents dust from entering the internal gears, which significantly extends the life of the motor. If you sew every day, you should have the machine serviced by a professional regularly to ensure the timing remains accurate.”}},{“@type”:”Question”,”name”:”Is it safe to leave the machine plugged in?”,”acceptedAnswer”:{“@type”:”Answer”,”text”:”No, you should always unplug the machine when it isn’t in active use to prevent accidental activation. This is especially important if you have children or pets in the home who might touch the foot pedal. Leaving the machine plugged in also exposes the sensitive electronic components to potential power surges, which can damage the internal circuit boards.”}},{“@type”:”Question”,”name”:”What happens if I use the wrong needle?”,”acceptedAnswer”:{“@type”:”Answer”,”text”:”Using the wrong needle size or type will cause skipped stitches, thread breakage, and potentially damage the needle plate. Always match your needle type to the fabric; for example, use ballpoint needles for knits and sharp needles for woven cotton. If you notice the thread shredding, the most likely cause is an old or dull needle that needs immediate replacement.”}},{“@type”:”Question”,”name”:”How do I know if my tension is correct?”,”acceptedAnswer”:{“@type”:”Answer”,”text”:”Your tension is correct when the top thread and bobbin thread lock together exactly in the center of the fabric layers. If you see loops of thread on the bottom, your top tension is too loose or the bobbin is incorrectly seated. Always test your settings on a scrap piece of the same fabric you plan to use for your final project.”}}]}