How to Get Your Sewing Machine Started: Easy Steps for Beginners
Are you ready to bring your sewing projects to life but don’t know how to get your sewing machine started? You’re not alone.
Many beginners feel stuck at this first step, unsure where to begin or how to set up their machine properly. Imagine the satisfaction of hearing that first smooth hum as your machine comes to life—once you get started, everything else falls into place.
In this guide, you’ll discover simple, clear steps that make starting your sewing machine easy and stress-free. Keep reading, and you’ll be stitching confidently in no time!
Credit: europe.singer.com
Choosing The Right Sewing Machine
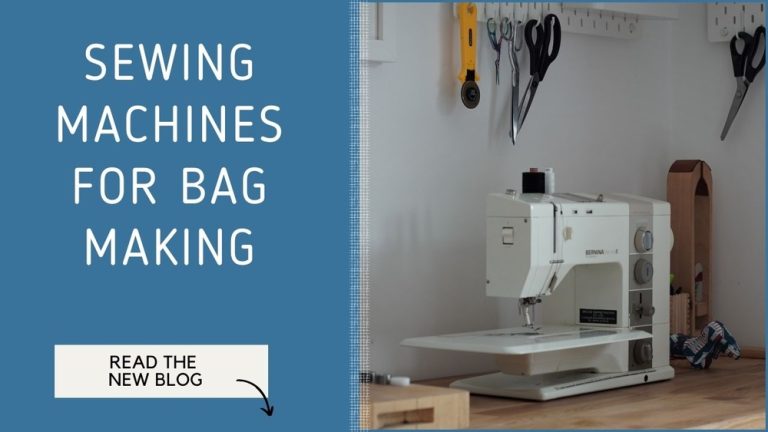
Choosing the right sewing machine is the first step to enjoy sewing. The right machine makes sewing easier and more fun. It fits your needs and skill level. Picking the best machine saves time and frustration. Understand the types and features before buying. Think about your budget too. This guide helps you find the perfect sewing machine.
Types Of Sewing Machines
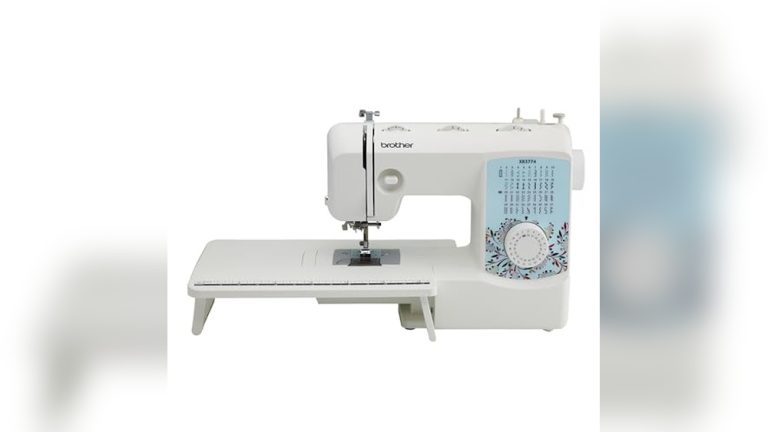
There are three main types of sewing machines. Mechanical machines use manual controls and knobs. They are simple and good for beginners. Electronic machines have buttons and a small screen. They offer more stitch options and speed control. Computerized machines come with many features. They can sew complex patterns and designs. Choose a type that matches your skill and projects.
Features To Look For
Look for basic stitches like straight and zigzag. A strong motor helps sew thick fabrics. Adjustable speed control makes sewing safer. An automatic needle threader saves time. A built-in light brightens your work area. Check the size and weight for easy handling. A free arm helps sew sleeves and cuffs. Extra accessories add value and convenience.
Budget Considerations
Sewing machines come in many price ranges. Set a budget before shopping. Basic mechanical machines cost less. Electronic and computerized machines are pricier. Think about how often you will sew. Spending more can bring better features. But a simple machine works well for beginners. Remember to include extra costs like accessories and maintenance.
Setting Up Your Machine
Setting up your sewing machine is the first step toward successful sewing projects. This process is simple and requires only a few steps. Proper setup ensures smooth operation and fewer problems later.
Unboxing And Assembly
Remove the machine carefully from its box. Check for all parts and accessories listed in the manual. Attach any parts that need assembly, such as the spool pin or presser foot. Follow the instructions that come with your machine. This helps prevent damage and ensures correct setup.
Placing The Machine On A Work Surface
Choose a flat, sturdy table or desk. Make sure the surface is clean and free of clutter. The machine should sit firmly without wobbling. Good lighting helps you see details clearly. Keep the machine near a power outlet for easy access.
Plugging In And Powering On
Insert the power cord into the machine and the outlet. Check that the voltage matches your local power supply. Turn on the machine using the power switch. Listen for the motor sound to confirm it works. Your sewing machine is now ready for the next steps.
Threading Basics
Threading a sewing machine is the first step to start sewing. It may seem tricky but is simple with practice. Proper threading ensures smooth stitches and avoids machine jams.
Understanding the basic parts and how the thread moves helps a lot. Follow these steps carefully to get your machine ready to sew.
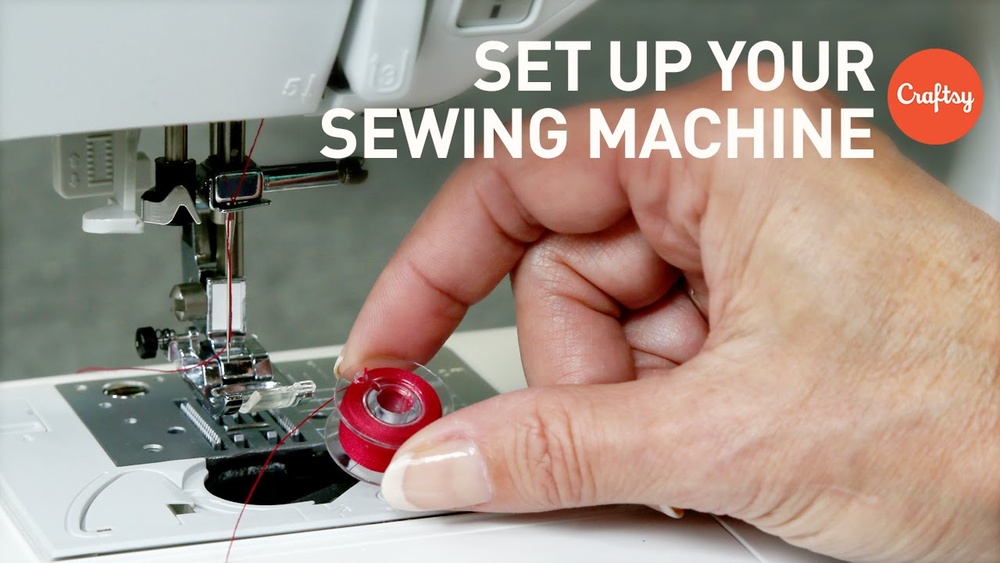
Winding The Bobbin
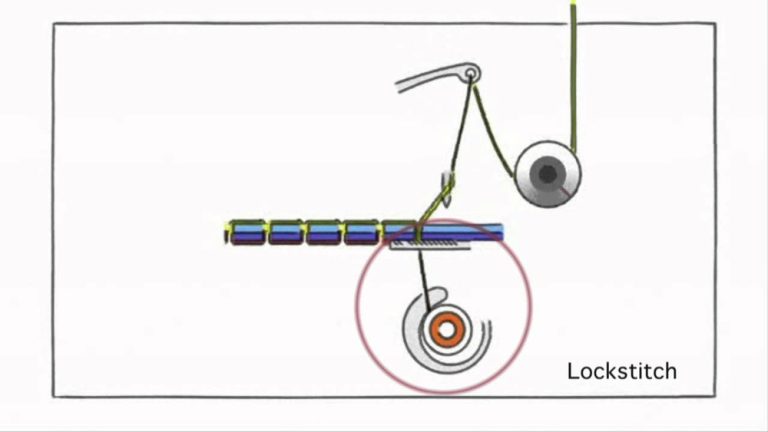
The bobbin holds the lower thread. Start by placing the spool on the spool pin. Guide the thread through the bobbin winder tension disc.
Place the end of the thread into the bobbin hole. Put the bobbin on the bobbin winder spindle. Push the bobbin winder to the right to lock it.
Press the foot pedal or start button to wind the bobbin. Stop when the bobbin is full. Cut the thread and remove the bobbin.
Threading The Upper Thread
Place the spool on the spool pin. Pull the thread through the thread guide. Follow the threading path shown on your machine.
Pass the thread through the tension discs. Pull it up and through the take-up lever. Bring the thread down to the needle area.
Thread the needle from front to back. Leave a few inches of thread to start sewing. Pull both threads under the presser foot.
Common Threading Mistakes
Skipping steps in the threading path causes thread jams. Not winding the bobbin tightly makes loose stitches. Threading the needle incorrectly leads to thread breakage.
Failing to pull enough thread leaves short tails. Using old or weak thread causes frequent snapping. Make sure the presser foot is up when threading.
Choosing And Inserting Needles
Choosing and inserting the right needle is key to start sewing well. Needles affect stitch quality and fabric care. Using the wrong needle can cause damage or poor sewing results.
Knowing needle types and sizes helps pick the best one for your project. Inserting needles properly keeps your machine safe and working smoothly.
Needle Types And Sizes
Sewing needles come in many types. Each type fits different fabrics and threads. For example, universal needles work on most fabrics. Ballpoint needles are for knit fabrics.
Needle sizes range from very thin to thick. Smaller numbers mean thicker needles. Use thin needles for light fabrics like silk. Use thick needles for heavy fabrics like denim.
Check your fabric and thread before choosing. Match the needle to avoid skipped stitches and fabric holes.
How To Insert Needles Safely
Turn off your sewing machine before changing needles. This prevents accidents and damage.
Loosen the needle clamp screw carefully. Remove the old needle straight down without twisting.
Insert the new needle with the flat side facing the right direction. Push it up all the way into the clamp.
Tighten the clamp screw firmly to hold the needle in place. Double-check the needle is secure before sewing.
Follow these steps to keep your machine safe and running well.
Selecting Fabric And Thread
Selecting the right fabric and thread is key to starting your sewing project well. These choices affect how your sewing machine works and the final look of your project.
Choosing beginner-friendly fabrics helps avoid frustration. Matching thread color and type keeps stitches strong and neat.
Best Fabrics For Beginners
Choose cotton or cotton blends for easy sewing. These fabrics are soft and not slippery. They hold stitches well and do not stretch much. Avoid stretchy or very thick fabrics at the start. Linen is also a good option for beginners. It is easy to press and cut. Simple fabrics help you learn basic sewing skills faster.
Matching Thread To Fabric
Select thread that matches fabric color closely. Use polyester thread for most fabrics. It is strong and works on many materials. Cotton thread fits well with natural fabrics like cotton and linen. Check thread weight; lighter weight fits thin fabric. Thicker thread suits heavy fabric better. Proper thread choice prevents thread breakage and uneven stitches.

Credit: www.youtube.com
Starting Your First Stitch
Starting your first stitch on a sewing machine can feel exciting and a bit tricky. It sets the tone for your whole project. Taking small, careful steps helps you sew smoothly. Understanding your machine’s basics makes stitching easier and fun.
Adjusting Stitch Settings
Check your machine’s stitch length and width settings. Choose a simple straight stitch to start. Set the stitch length to about 2.5 mm. Keep stitch width at zero for straight lines. Adjust tension to medium for most fabrics. These settings help create even, clean stitches.
Practicing On Scrap Fabric
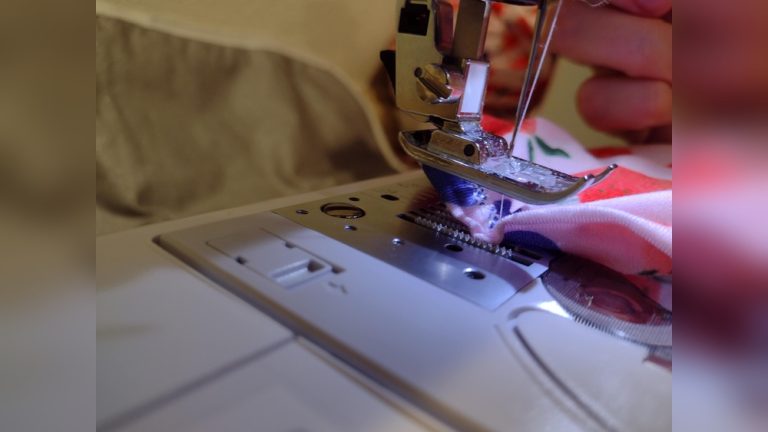
Use scrap fabric to try your settings first. Place fabric under the needle and lower the presser foot. Start sewing slowly to feel the machine’s motion. Watch the stitches form clearly on the fabric. Practice helps you gain control and confidence before the real project.
Troubleshooting Common Issues
If stitches look loose or tight, check thread tension again. Make sure the needle is inserted correctly and is not bent. Rethread the machine if thread breaks or jams happen. Clean the bobbin area to remove lint and dust. Fixing these simple problems keeps stitching smooth.
Maintaining Your Sewing Machine
Maintaining your sewing machine keeps it working well and lasting longer. Regular care stops problems before they start. It helps your machine sew smoothly and avoids damage.
Clean parts and check moving pieces often. This simple care saves money and time. A well-kept machine makes sewing easier and more fun.
Cleaning Tips
Turn off and unplug the machine before cleaning. Remove lint and dust from the bobbin area. Use a small brush or soft cloth for this. Avoid using water or harsh cleaners. Clean the feed dogs and needle plate regularly. Keep the exterior free of dirt and threads.
Regular Maintenance Schedule
Set a routine for machine care every few weeks. Oil the machine as the manual suggests. Change needles often to avoid fabric damage. Test stitches regularly to spot issues early. Store the machine covered to prevent dust buildup.
When To Seek Professional Help
Strange noises or skipped stitches mean it needs a check. If the machine jams often, it may need repair. Avoid fixing complex problems yourself. Experts can adjust tension and replace worn parts. Visit a technician yearly for a full service.

Credit: www.gursewingmachines.com
Frequently Asked Questions
How Do I Thread My Sewing Machine Correctly?
Thread the top spool through the guides, tension discs, and needle. Wind the bobbin and insert it properly. Follow your machine’s manual for specific threading paths to avoid jams and ensure smooth stitching.
What Is The Best Way To Wind A Bobbin?
Place the thread spool on the spindle, guide the thread to the bobbin winder, and engage it. Press the foot pedal gently to wind the bobbin evenly. Stop when full to prevent thread tangling.
How Do I Choose The Right Needle For My Machine?
Select a needle based on fabric type and weight. Use universal needles for most fabrics, ballpoint for knits, and sharp for woven fabrics. Ensure needle size matches your project for optimal stitching.
Why Is My Sewing Machine Not Starting?
Check if the machine is plugged in and the power switch is on. Verify the foot pedal connection and try restarting. Inspect for thread jams or improperly threaded parts that might block operation.
Conclusion
Starting your sewing machine is easier than it seems. Follow each step carefully to avoid mistakes. Check the needle, thread, and power before you begin. Take your time to learn the controls and settings. Practice on scrap fabric to build confidence.
Soon, sewing will feel natural and fun. Keep your machine clean and well-maintained for best results. Enjoy creating your own clothes and crafts. Sewing opens many possibilities. Just start, and you will improve quickly.