Basic Sewing Machine for Hemming: How to Get Clean Results
A basic sewing machine for hemming is the most reliable tool for achieving clean, professional results on most fabrics. While manual hemming is possible with a needle and thread, a machine provides consistent tension and stitch length that hand-sewing often lacks. If you’re working with heavy-duty materials like denim or thick canvas, you’ll need a machine with a powerful motor and a high-clearance presser foot. This varies by model — check the label for fabric weight capacities before you begin your project.
Choosing a Basic Sewing Machine for Hemming
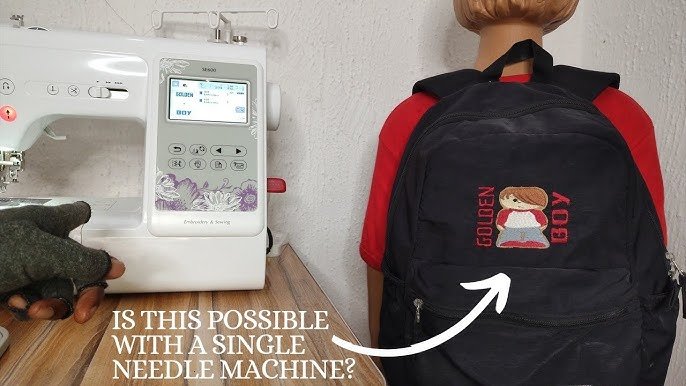
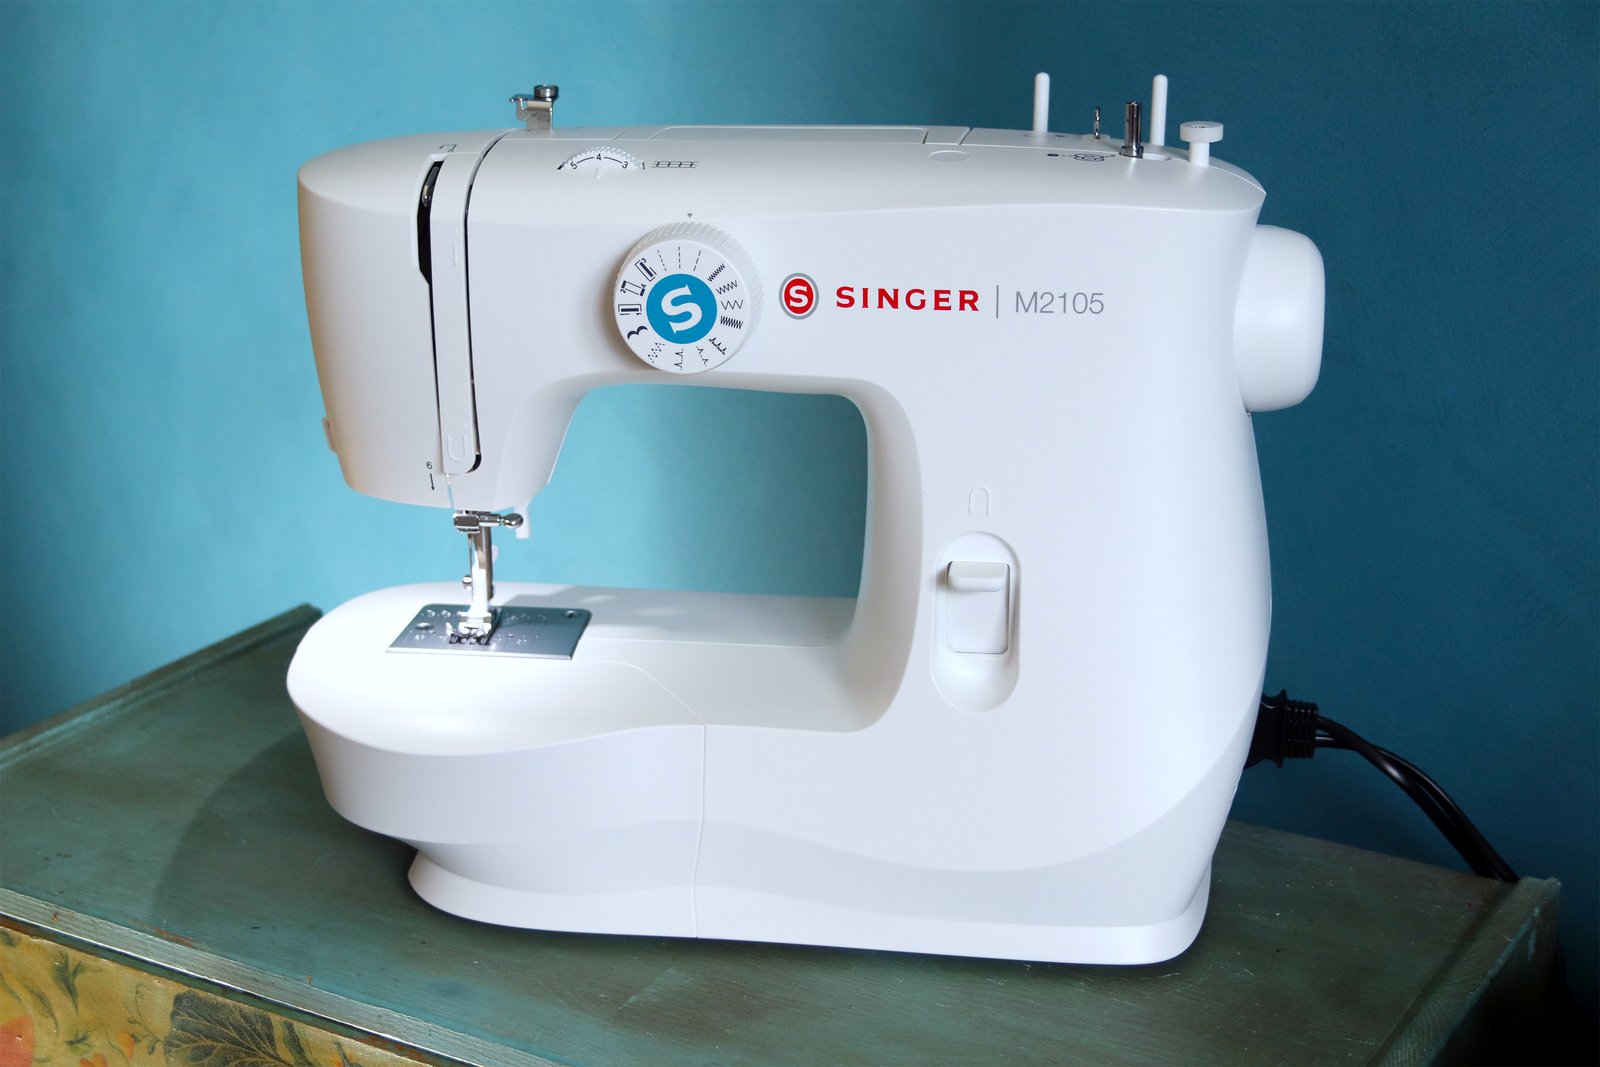
Photo: www.youtube.com on Google
Choosing the right approach depends on the fabric type and the speed you require for your hemming project.
| Method | How long | Effort | Cost | Best for |
|---|---|---|---|---|
| Mechanical Machine | 15 minutes | Low | Low | Everyday cottons |
| Computerized Machine | 10 minutes | Very Low | Medium | Decorative stitches |
| Blind Hemmer | 20 minutes | Medium | High | Invisible finishes |
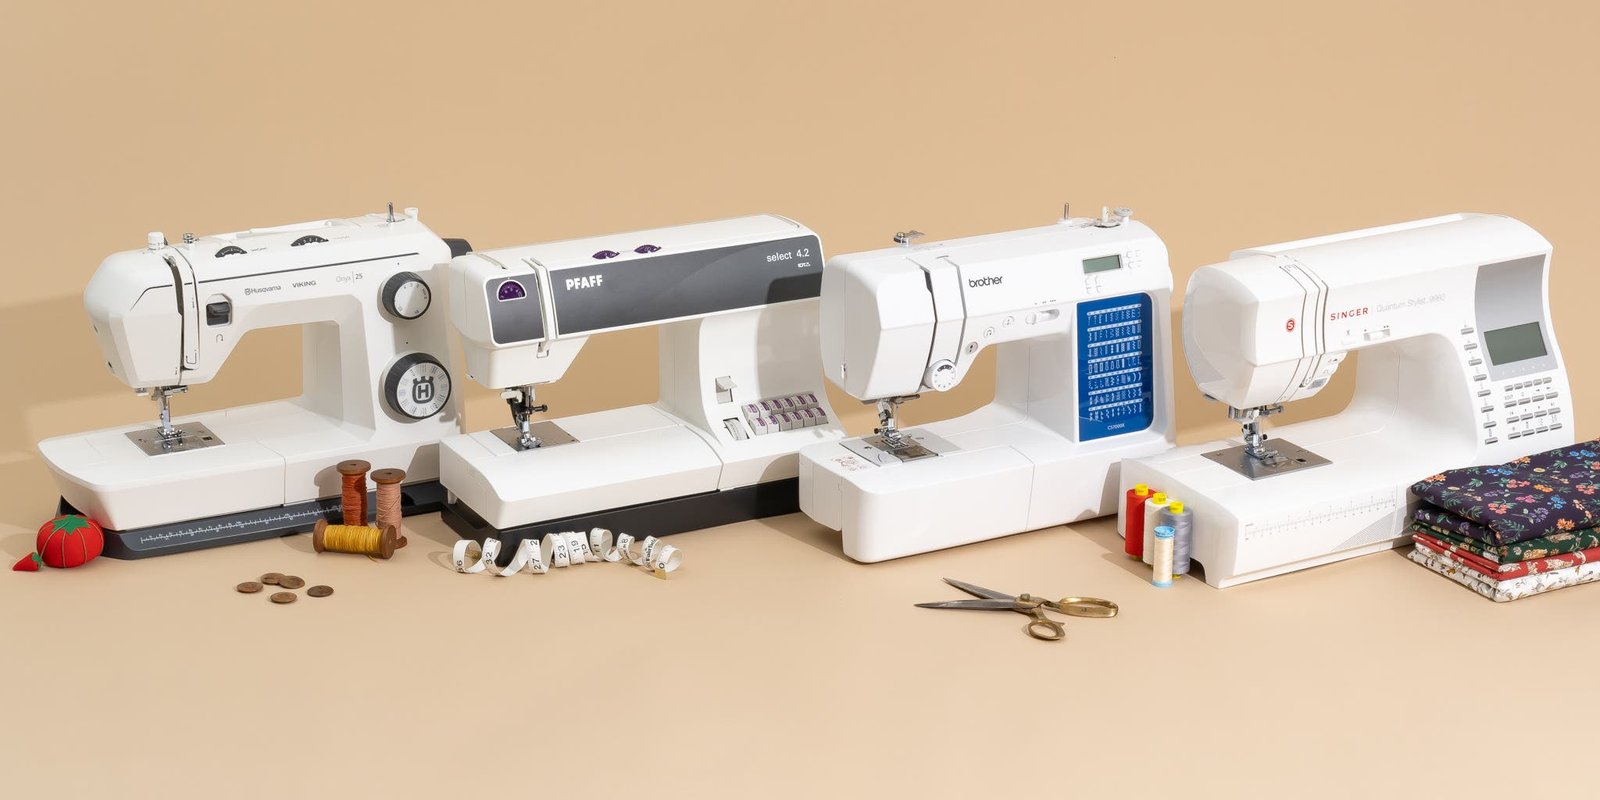
Mechanical machines remain the standard for home users. They offer simplicity and durability, as they lack the sensitive circuit boards that can fail in high-humidity environments. If you want a machine that lasts, choose a mechanical model with a metal internal frame. However, these machines may require manual adjustment of the tension dial when changing fabric weights. If you don’t adjust the tension, your thread will loop or snap, which ruins the hem’s integrity.
Straight Stitching with a Mechanical Machine
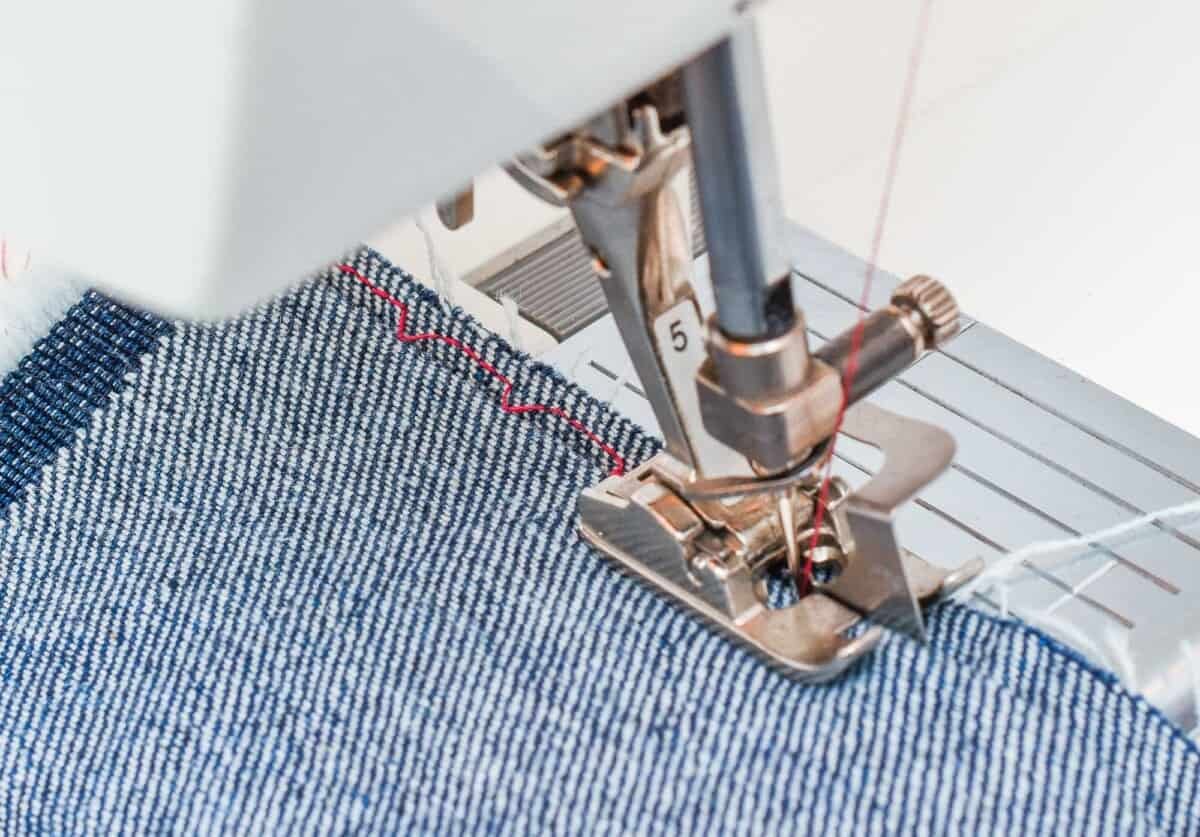
Using a mechanical machine is the most straightforward way to hem garments. You control the speed with a foot pedal, which allows for precise starting and stopping at corners or seams.
- Fold the fabric edge to your desired hem depth and press it flat with an iron.
- Set the machine to a straight stitch with a length of 2.5 to 3.0 millimeters.
- Position the fabric under the presser foot, aligning the edge with the guide mark on the needle plate.
- Sew slowly, keeping the edge aligned with the guide to ensure a straight, even finish.
- Backstitch at the start and end of the hem to lock the threads securely.
This method is excellent for beginners because it uses only one basic stitch type. The main weakness is that the stitch remains visible on the outside of the fabric. If your machine’s power cord is frayed, stop using it immediately, as damaged electrical components pose a fire risk according to Consumer Product Safety Commission guidelines. You should have a qualified technician inspect any damaged power cables.
Utilizing a Blind Hem Foot
A blind hem foot uses a special guide to fold the fabric so the needle catches only a tiny amount of material. This creates a hem that’s nearly invisible from the front.
- Fold the fabric edge twice to hide the raw edge inside the hem.
- Attach the blind hem foot to your machine and select the blind hem stitch setting.
- Align the folded edge of the fabric against the guide on the plastic foot.
- Adjust your needle position so the swing of the stitch barely pierces the main fabric.
- Sew at a steady, slow pace, letting the guide keep the fabric in the correct position.
This technique produces a professional look on skirts and trousers. Its strength is the clean, hidden finish it provides on formal wear. The main weakness is the steep learning curve, as you must adjust the stitch width perfectly to avoid visible loops on the right side of the garment.
Hand Stitching for Delicate Fabrics
Hand hemming is the preferred method for silk, chiffon, or other delicate materials that might snag under a machine presser foot. It allows for complete control over every single stitch.
- Measure and fold your hem, using pins or a temporary basting stitch to hold it in place.
- Use a fine needle and a single strand of thread that matches your fabric color exactly.
- Take a tiny stitch in the garment, then a longer stitch inside the fold of the hem.
- Repeat this process until you reach the start of your hem, keeping the tension loose.
- Tie a secure knot on the inside of the hem and trim the excess thread.
This method is perfect for high-end fabrics that require a soft, flexible finish. It isn’t for large projects like curtains or bedsheets, as the time required is significantly higher than machine methods. If you have limited dexterity, you may find this task tiring; take breaks to prevent strain on your hands and wrists.
Which one should you use?
If you’re in a hurry, use a mechanical sewing machine with a straight stitch. It’s the fastest way to secure a hem without needing complex setup or specialized feet.
If you’re doing this for the first time, choose the straight stitch method on a mechanical machine. It’s the easiest to learn and allows you to see exactly where the needle is moving, which helps you build confidence.
If you want the best possible result, use the blind hem foot. It provides a professional, invisible look that elevates the quality of your finished garment. The trade-off is the extra time needed to calibrate the stitch width and practice on scrap fabric before you touch your good clothes. Most people find that the effort spent on calibration pays off when the final hem looks factory-made. If you don’t test your settings on a scrap piece of fabric first, you risk damaging your main garment with an incorrect stitch, which can be difficult to undo without leaving holes in the material.
The rules that apply whichever way you choose
Regardless of the method, you must always prepare your fabric correctly to ensure the hem stays in place. Start by washing and drying your fabric according to the manufacturer’s instructions to prevent shrinkage after the hem is finished. Always press your fold with an iron before you begin sewing; a crisp crease acts as a physical guide that makes the actual sewing process much smoother.
Check your stitch tension on a scrap piece of the same fabric every time you change your thread or material type. If the thread creates small loops on the underside, your top tension is too loose; if it puckers the fabric, your tension is too tight. At the end of your project, use a seam ripper to remove any temporary basting stitches, then give the hem one final press with a steam iron to set the stitches. If you encounter mechanical issues like a jammed bobbin or a broken needle, stop immediately and consult your machine’s manual. Never attempt to open the motor housing or touch internal electrical components, as these are technician-only tasks. A capacitor inside the machine can hold a lethal electric charge even when the power is unplugged.
Frequently asked questions
Can I hem heavy denim with a basic sewing machine?
Yes, you can hem denim if your machine has a powerful motor and you use a heavy-duty needle. Use a size 100/16 or 110/18 needle to handle the thickness of the fabric. If the machine struggles to move the fabric, don’t force it, as this can bend the needle or damage the internal gears. Check your manual for the maximum fabric thickness your specific model is designed to handle.
Why is my sewing machine skipping stitches?
Skipping stitches is usually caused by an incorrect needle type or a dull needle point. Replace your needle with a new one that matches your fabric weight, such as a sharp point for woven fabrics or a ballpoint for knits. Ensure the needle is inserted fully into the clamp and tightened. If the issue persists, check that your bobbin is wound evenly and inserted correctly in its case.
How long does it take to hem a pair of pants?
This includes the time needed to measure the length, pin the fabric, press the crease, and sew the final hem. If you’re doing this for the first time, allow yourself an extra 10 minutes to practice the stitch on a scrap piece of similar fabric to ensure your settings are correct.
Is it safe to leave my sewing machine plugged in?
No, it isn’t safe to leave your sewing machine plugged in when it isn’t in active use. Always switch off the power and unplug the machine before you change the needle, clean the bobbin area, or leave your workspace. This prevents accidental activation of the foot pedal and protects the machine from potential power surges that could damage the internal electronics.
What happens if I use the wrong thread for my hem?
Using the wrong thread can lead to premature wear or a mismatch in the hem’s appearance. Use polyester thread for most modern fabrics because it has the strength and elasticity to move with the garment. Avoid using old, brittle cotton thread, as it can snap during the sewing process or break down quickly after repeated washes, causing your hem to unravel and require repair.
How do I stop the fabric from puckering?
Puckering often occurs when the thread tension is too high or the stitch length is too short for the fabric weight. Test your settings on a scrap piece of fabric and increase the stitch length slightly if you see the fabric bunching up. Ensure that your presser foot pressure is adjusted correctly if your machine allows it, as too much pressure can stretch the fabric while it’s being fed.
Final Thoughts
Once you feel comfortable with your machine’s settings, try practicing on some scrap fabric before starting your final project. You’ll find that a little patience goes a long way toward getting those edges perfectly straight. Don’t be afraid to experiment with different thread colors to add a unique, personal touch to your clothes.
{“@context”:”https://schema.org”,”@type”:”FAQPage”,”mainEntity”:[{“@type”:”Question”,”name”:”Can I hem heavy denim with a basic sewing machine?”,”acceptedAnswer”:{“@type”:”Answer”,”text”:”Yes, you can hem denim if your machine has a powerful motor and you use a heavy-duty needle. Use a size 100/16 or 110/18 needle to handle the thickness of the fabric. If the machine struggles to move the fabric, don’t force it, as this can bend the needle or damage the internal gears. Check your manual for the maximum fabric thickness your specific model is designed to handle.”}},{“@type”:”Question”,”name”:”Why is my sewing machine skipping stitches?”,”acceptedAnswer”:{“@type”:”Answer”,”text”:”Skipping stitches is usually caused by an incorrect needle type or a dull needle point. Replace your needle with a new one that matches your fabric weight, such as a sharp point for woven fabrics or a ballpoint for knits. Ensure the needle is inserted fully into the clamp and tightened. If the issue persists, check that your bobbin is wound evenly and inserted correctly in its case.”}},{“@type”:”Question”,”name”:”How long does it take to hem a pair of pants?”,”acceptedAnswer”:{“@type”:”Answer”,”text”:”This includes the time needed to measure the length, pin the fabric, press the crease, and sew the final hem. If you’re doing this for the first time, allow yourself an extra 10 minutes to practice the stitch on a scrap piece of similar fabric to ensure your settings are correct.”}},{“@type”:”Question”,”name”:”Is it safe to leave my sewing machine plugged in?”,”acceptedAnswer”:{“@type”:”Answer”,”text”:”No, it isn’t safe to leave your sewing machine plugged in when it isn’t in active use. Always switch off the power and unplug the machine before you change the needle, clean the bobbin area, or leave your workspace. This prevents accidental activation of the foot pedal and protects the machine from potential power surges that could damage the internal electronics.”}},{“@type”:”Question”,”name”:”What happens if I use the wrong thread for my hem?”,”acceptedAnswer”:{“@type”:”Answer”,”text”:”Using the wrong thread can lead to premature wear or a mismatch in the hem’s appearance. Use polyester thread for most modern fabrics because it has the strength and elasticity to move with the garment. Avoid using old, brittle cotton thread, as it can snap during the sewing process or break down quickly after repeated washes, causing your hem to unravel and require repair.”}},{“@type”:”Question”,”name”:”How do I stop the fabric from puckering?”,”acceptedAnswer”:{“@type”:”Answer”,”text”:”Puckering often occurs when the thread tension is too high or the stitch length is too short for the fabric weight. Test your settings on a scrap piece of fabric and increase the stitch length slightly if you see the fabric bunching up. Ensure that your presser foot pressure is adjusted correctly if your machine allows it, as too much pressure can stretch the fabric while it’s being fed.”}}]}