How to Make Sewing Machine Cover: Easy DIY Steps for Protection
Your sewing machine is one of your most valuable tools, so keeping it safe from dust, dirt, and scratches is a must. But why settle for a plain, boring cover when you can make one that fits perfectly and shows off your style?
Making your own sewing machine cover is easier than you think, and it gives you the chance to add a personal touch to your creative space. Ready to protect your machine and add a little flair? Keep reading, and you’ll discover simple steps to create a cover that’s just right for you.
Materials Needed
Making a sewing machine cover starts with gathering the right materials. Choosing good fabric and tools makes the project easier. Quality materials help protect your machine and make the cover last longer.
Fabric Selection
Pick fabric that is strong and durable. Cotton or canvas works well for covers. These fabrics protect against dust and dirt. Choose a fabric with a nice pattern or color you like. Make sure the fabric is easy to clean. Avoid fabrics that are too thin or stretch too much.
Tools And Accessories
You need a few basic tools to make the cover. Scissors or a rotary cutter help cut the fabric neatly. A measuring tape or ruler ensures accurate cuts. Pins or clips hold fabric pieces together while sewing. Sewing thread should match or blend with your fabric. A sewing machine or needle helps stitch the cover parts. Optional items include Velcro, snaps, or elastic for closures.
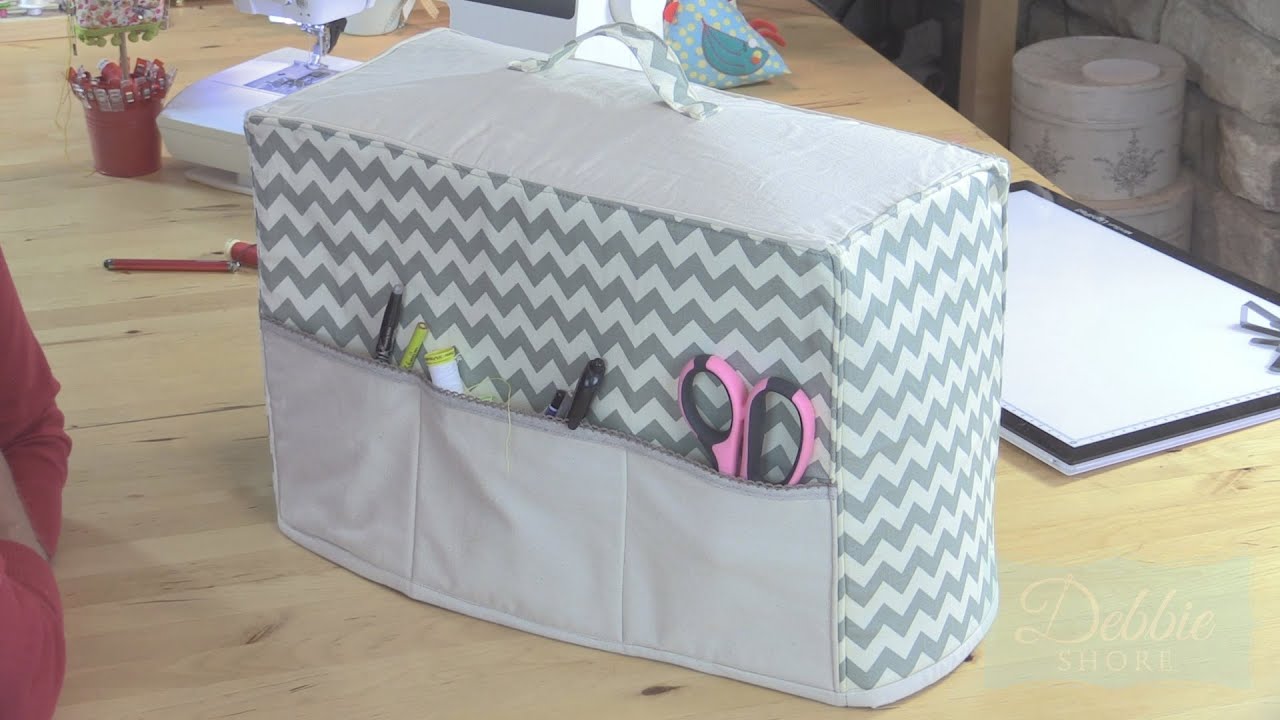
Credit: www.youtube.com
Measuring Your Sewing Machine
Measuring your sewing machine is the first step to making a perfect cover. A well-measured cover protects your machine from dust and damage. It fits snugly and looks neat. Taking accurate measurements saves time and fabric. It helps avoid mistakes and ensures a custom fit.
Key Dimensions To Note
Start by measuring the height of your machine. Measure from the base to the highest point. Next, measure the width from one side to the other. Don’t forget the depth, from front to back. Note any extra parts like knobs or handles. Write down all these numbers carefully. These dimensions guide you in cutting fabric correctly.
Tips For Accurate Measurement
Use a soft tape measure for better accuracy. Keep the tape snug but not tight around the machine. Measure twice to confirm each number. Record measurements clearly on paper or a device. Measure in a well-lit area to avoid mistakes. Take measurements with the machine in its usual position. This ensures the cover fits during everyday use.
Cutting The Fabric
Cutting the fabric is the first step to making a sewing machine cover. This step needs care to get the right shape and size. Accurate cutting saves time and helps the cover fit well. Use the right tools and plan before cutting.
Creating A Template
Start by measuring your sewing machine. Write down the height, width, and depth. Use these numbers to draw a paper template. Make the template with simple shapes like rectangles and curves. This helps you see the size before cutting fabric. Check the template fits by wrapping it around the machine.
Cutting Techniques
Place the template on your fabric. Pin it down to stop slipping. Use sharp fabric scissors for clean cuts. Cut slowly along the edges of the template. Keep the fabric flat to avoid uneven lines. Mark fabric with chalk for better guides. Cut extra fabric for seam allowance. This space helps when sewing the pieces together.
Sewing The Pieces Together
Sewing the pieces together is a key step in making your sewing machine cover. This stage brings your fabric parts to life. It shapes the cover and gives it strength. Sewing must be neat and strong. Otherwise, the cover may fall apart or look messy.
Follow careful steps to join the pieces. Use the right stitch types and proper assembly methods. These details make the cover last longer and fit better.
Stitch Types To Use
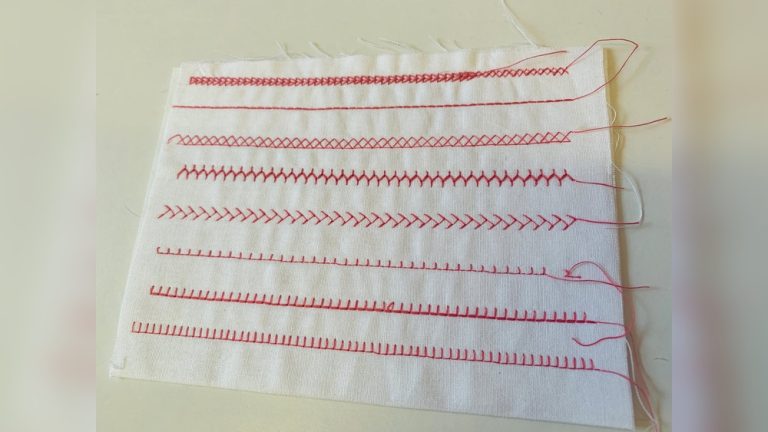
Choose stitch types that hold well. A straight stitch is simple and strong. It works great for most seams. Use a small stitch length for extra strength. A zigzag stitch adds stretch and prevents fraying. This stitch suits edges and curves. For thick fabrics, a reinforced stitch gives extra durability. Pick the stitch type based on fabric and seam location. Test stitches on scrap fabric before sewing your cover.
Assembling The Cover
Start by pinning pieces together. Align edges carefully for a clean fit. Sew slowly to keep the fabric steady. Remove pins as you sew. Press seams open with an iron to reduce bulk. Attach each side piece to the top panel one at a time. Sew the bottom edges last to create the cover’s base. Double-check measurements as you go. This ensures the cover fits your machine snugly.
Adding Finishing Touches
Adding finishing touches to your sewing machine cover makes it look complete and neat. These small details help the cover fit better and last longer. They also give the cover a personal style that matches your space. This part is fun and lets you be creative with simple steps.
Inserting Elastic Or Drawstrings
Elastic or drawstrings help the cover stay on the sewing machine. Elastic fits tightly around the base, stopping the cover from slipping. To add elastic, sew a small casing around the bottom edge. Then, thread the elastic through and sew the ends together. For drawstrings, create a channel near the edge. Thread the string through and tie the ends. This makes the cover easy to remove and secure.
Decorative Options
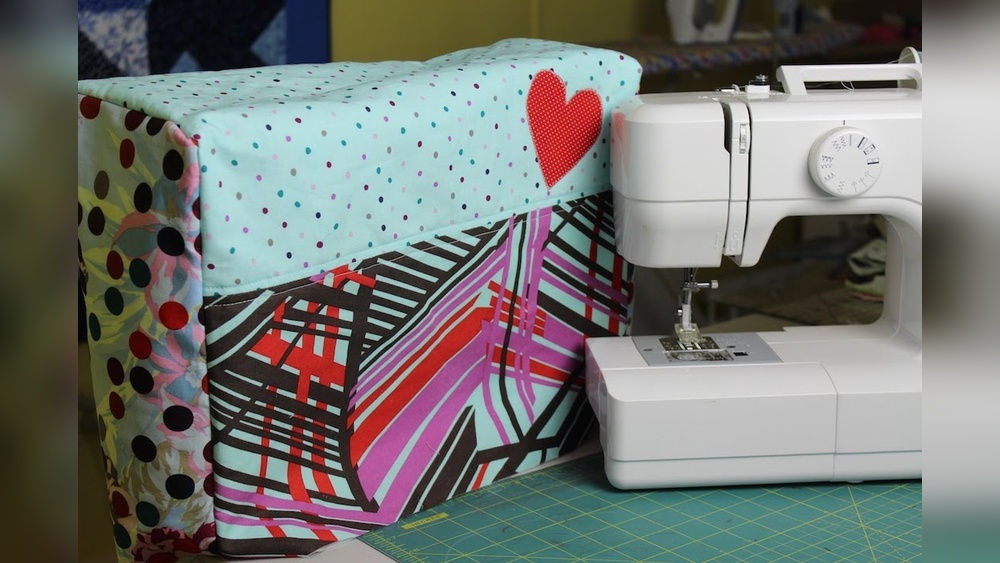
Decorations make the cover unique and pretty. Add lace, ribbons, or fabric patches to the outside. You can sew buttons or small appliques for extra detail. Use fabric paint or markers for simple designs. Choose colors that match your room or your style. These small touches bring charm and personality to your cover.
Maintenance Tips
Keeping your sewing machine cover in good shape helps protect your machine. Proper care extends the cover’s life. It also keeps dust and dirt away from your sewing area.
Cleaning The Cover
Remove the cover from the machine carefully. Shake it outside to remove loose dust. Use a soft brush to clean small dirt spots. For fabric covers, hand wash with mild soap and cold water. Avoid harsh detergents that can damage the fabric. Let the cover air dry completely before using it again. Do not use a dryer as it may shrink the cover.
Storage Advice
Store the cover in a dry place to prevent mold. Fold it neatly to avoid wrinkles or creases. Keep it away from direct sunlight to protect colors. Avoid placing heavy items on the cover during storage. Use a sealed bag or container to protect from dust. Proper storage keeps your cover fresh and ready to use.

Credit: www.sewingtothemoon.com
Frequently Asked Questions
What Materials Are Best For Making A Sewing Machine Cover?
Use durable, washable fabrics like cotton or canvas. Add batting for padding and protection. Choose materials that resist dust and moisture.
How Do I Measure For A Sewing Machine Cover?
Measure the machine’s height, width, and depth. Add extra inches for seam allowances and ease. Accurate measurements ensure a snug fit.
Can I Customize My Sewing Machine Cover Design?
Yes, personalize with fabric prints, embroidery, or appliqué. Add pockets or handles for convenience. Custom covers reflect your style and protect your machine.
How Do I Sew A Simple Sewing Machine Cover?
Cut fabric pieces based on measurements. Sew right sides together, leaving an opening. Turn inside out and finish edges for durability.
Conclusion
Making a sewing machine cover protects your machine from dust and damage. You only need a few materials and simple steps. This project saves money and keeps your machine clean. Plus, you can choose fabric that matches your style. Try creating your own cover to enjoy a neat workspace.
It feels good to finish a useful, handmade item. Keep your sewing machine safe and ready for use. Small efforts bring lasting benefits. Give it a try today!