How to Sew a Hem With a Sewing Machine: A Step-by-Step Guide
You can achieve a professional finish by using a straight stitch and a folded edge, which is exactly how to sew a hem with a sewing machine on most medium-weight fabrics. This process takes about 30 to 45 minutes for a standard pair of pants or a skirt. The difficulty is medium because it requires steady hand control to keep the stitching line straight and even. Before you start, ensure you have a full bobbin of thread that matches your fabric color perfectly, as mismatched thread is the most common sign of a beginner’s work.
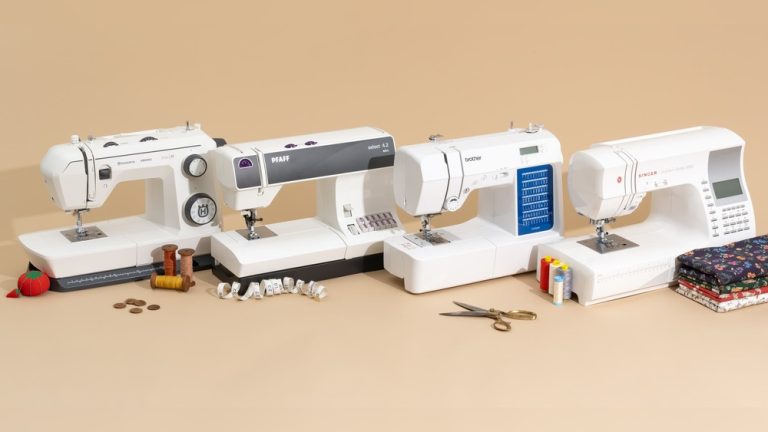
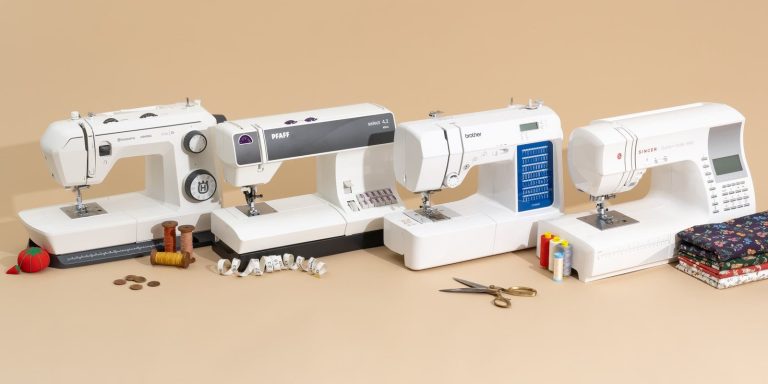
Sewing machine supplies
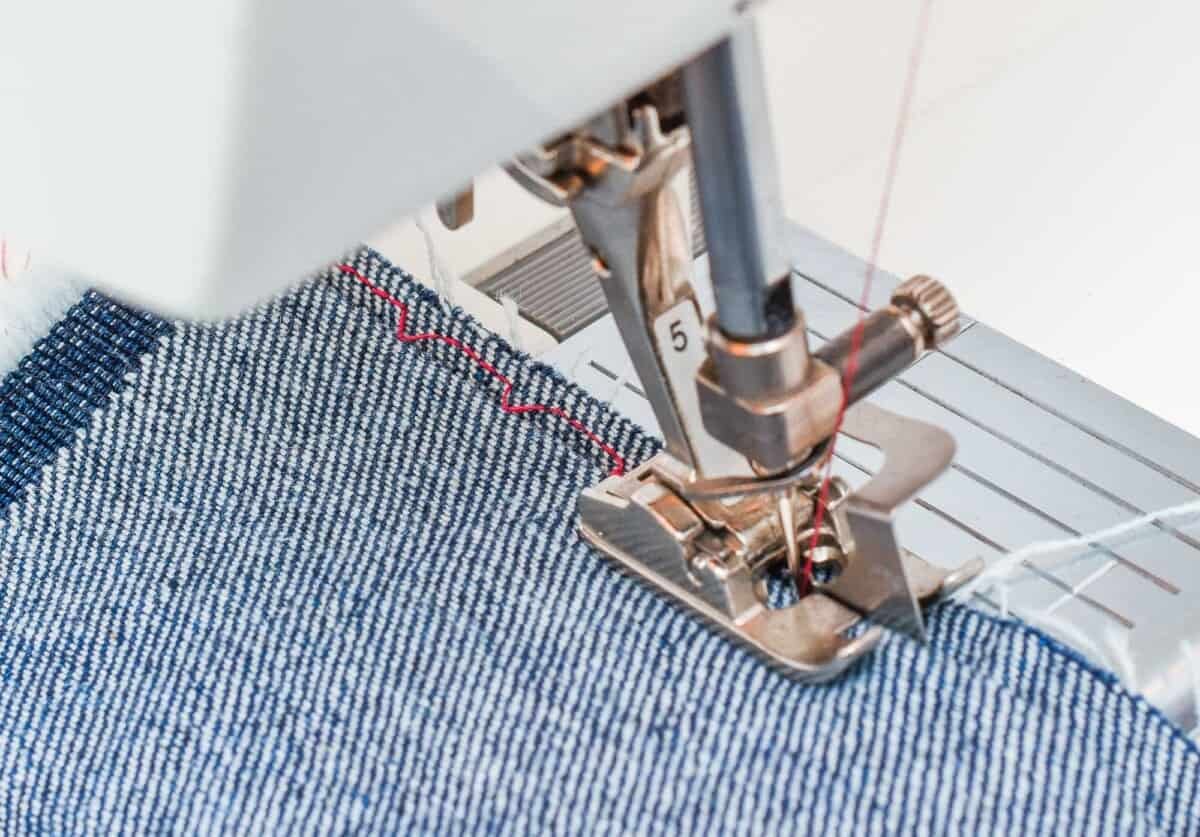
| Item | How much | Why it’s needed | A substitute |
|---|---|---|---|
| Sewing machine | 1 unit | Creates the stitches | Hand needle and thread |
| Thread | 1 spool | Holds the fabric | none — don’t swap this |
| Measuring tape | 1 piece | Ensures even length | Ruler |
| Fabric pins | 10-15 pins | Holds the fold | Sewing clips |
| Iron | 1 unit | Sets the crease | Heavy book |
| Fabric scissors | 1 pair | Trims extra length | Rotary cutter |
Before you start
- Switch off your machine and unplug it before changing the needle or threading the bobbin to prevent accidental activation.
- Clear your workspace of clutter to ensure you have enough room to lay the fabric flat without it dragging on the floor.
- Press your fabric with an iron to remove existing wrinkles, as a clean, flat surface is vital for an accurate measurement.
- Check the Singer sewing machine manual for your specific model to confirm the correct tension settings for your fabric weight.
- If you’re working with delicate silk or heavy denim, consult a professional tailor first, as these fabrics require specialized needles that may damage your machine if you use the wrong type.
How to sew a hem with a sewing machine
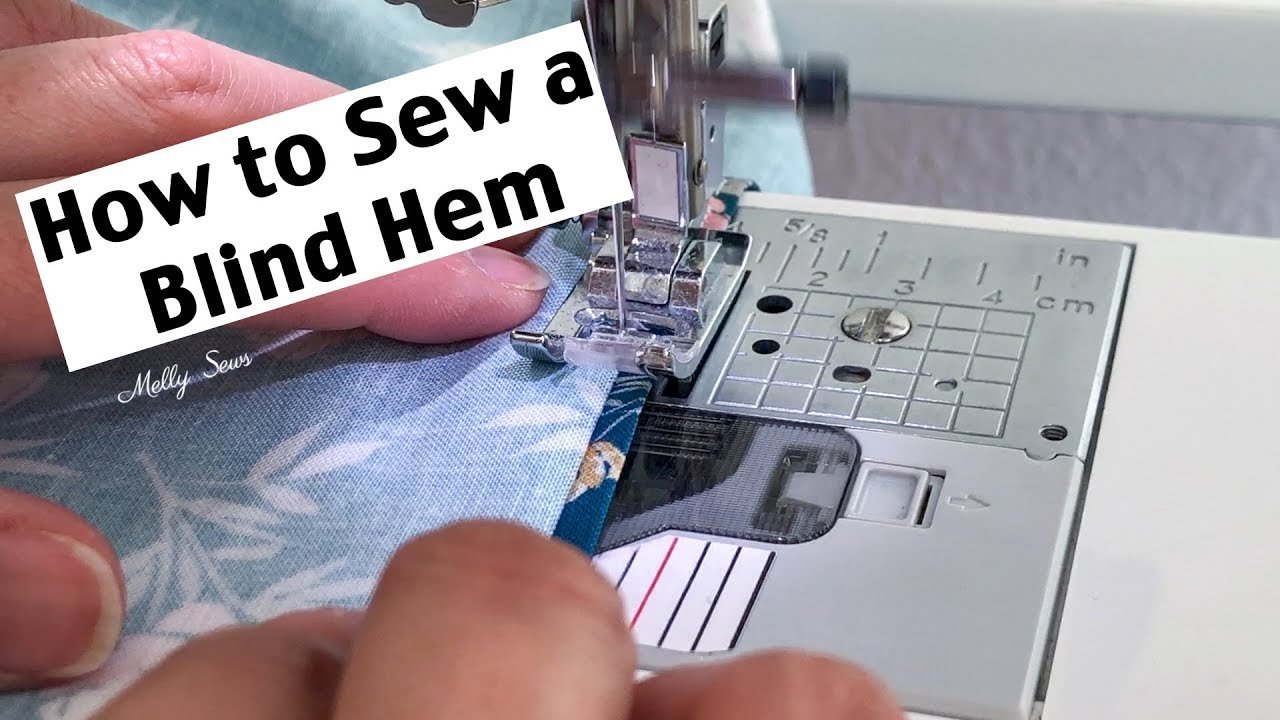
- Measure the desired length from the bottom edge of the garment and mark it with tailor’s chalk or pins every 2 inches along the circumference.
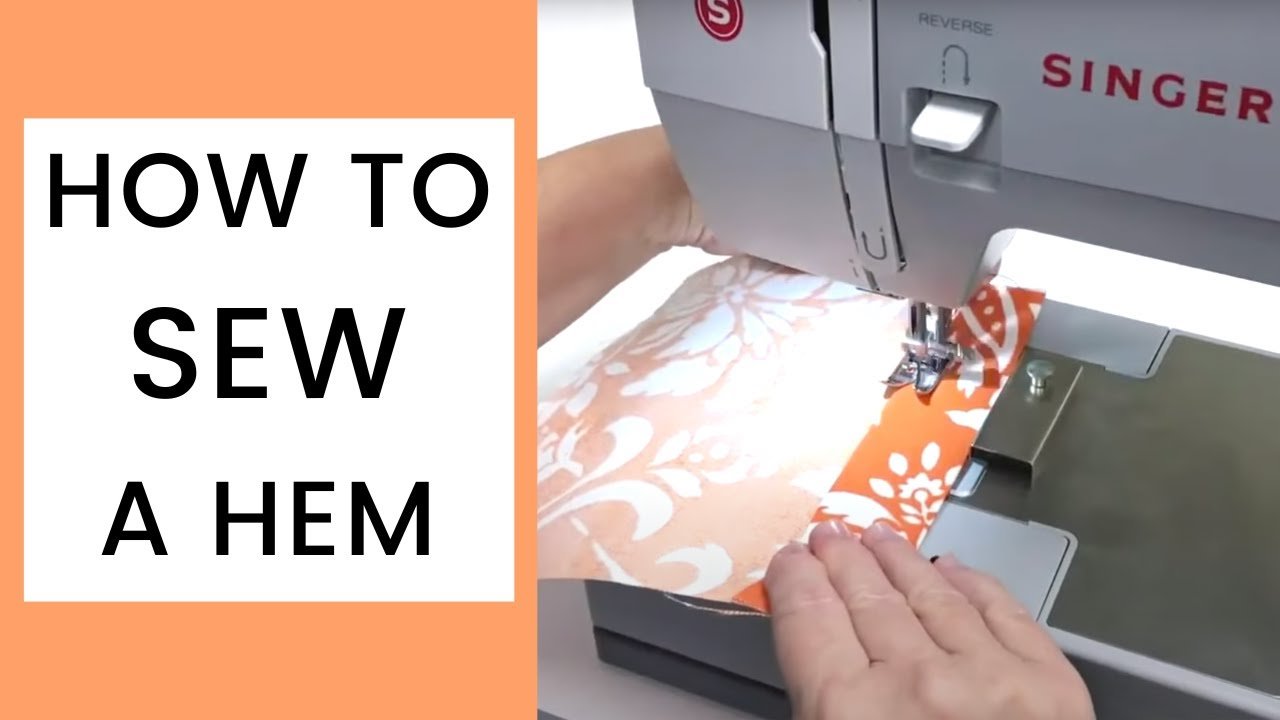
- Fold the fabric upward at your marks to create the hem, ensuring the fold is even all the way around the garment.
- Press the folded edge firmly with a hot iron to set the crease, as this prevents the fabric from shifting while you sew.
- Pin the folded fabric in place, placing pins perpendicular to the edge so your machine needle can pass over them without hitting metal.
- Set your sewing machine to a straight stitch with a length of 2.5 millimeters, which is the standard setting for most woven cotton fabrics.
- Align the edge of your fabric with the 5/8-inch mark on your machine’s throat plate to maintain a perfectly straight line of stitching.
- Sew slowly along the inner edge of the fold, removing pins as you approach the needle to avoid bending your needle or damaging the machine.
- Backstitch at the beginning and the end of the seam for 3 stitches to lock the thread in place and prevent unraveling.
- Trim all loose thread ends close to the fabric using sharp scissors to give the hem a clean, professional appearance.
How to know it worked
You’ll know the hem is secure if the stitching line remains parallel to the bottom edge of the garment throughout the entire circumference. Inspect the underside of the fabric to ensure the bobbin thread hasn’t bunched up, which indicates an issue with your tension settings. A successful hem should lay flat against the garment without any puckering or twisting. If you notice the fabric pulling or bunching, this is a sign that your tension is too high or you stretched the fabric while feeding it through the machine. If the thread loops are loose, the tension is too low. In either case, remove the stitches with a seam ripper and test your settings on a scrap piece of fabric before trying again. If the hem looks straight and the stitches are consistent in length, you have successfully completed the task.
If something goes wrong
| What happened | Why | What to do |
|---|---|---|
| Thread bunching | Tension too high | Lower tension setting |
| Stitches skipping | Dull needle | Change to new needle |
| Fabric puckering | Stretched while sewing | Ease fabric through |
| Needle breaking | Hit a metal pin | Remove pins earlier |
| Hem is uneven | Poor measurement | Measure from floor |
How often to do this
Hemming is typically a one-time task, though fraying or broken threads may necessitate repairs. Check your garment’s label for care instructions, as delicate fabrics might require hand-sewing to prevent damage. If you spot loose threads, re-stitch the area immediately to keep your hem secure and prevent further unraveling.