Sewing Machine for Quilt Making: Essential Features to Look For
A reliable sewing machine for quilt making features a large throat space, a walking foot attachment, and a consistent feed system to handle multiple fabric layers. You should prioritize models offering at least 9 inches of workspace to the right of the needle, as this allows you to maneuver bulky quilt sandwiches without bunching. Choosing a machine with adjustable presser foot pressure ensures that your top fabric doesn’t shift or pucker while you stitch through the batting and backing layers.
Essential tools for quilt making

- Walking Foot: This accessory feeds the top and bottom layers of fabric at the same speed. It’s essential for preventing uneven layers during long straight-line quilting.
- Quarter-Inch Foot: A specialized foot with a guide that helps you maintain a precise 1/4-inch seam allowance. This is the industry standard for accurate piecing.
- Machine Needles: Use “Quilting” or “Microtex” needles in sizes 80/12 or 90/14. These have a sharp point designed to penetrate thick layers without damaging the fibers.
- High-Quality Thread: Choose 100% cotton thread for piecing. Avoid low-quality polyester that may snap or leave excessive lint inside your bobbin case.
- Extension Table: A flat, wide attachment that increases your sewing surface. It keeps the weight of the quilt supported so it doesn’t pull on the needle.
- Maintenance Kit: A small brush and a screwdriver for removing lint from the bobbin area. You can find specific cleaning instructions in your Brother sewing machine user manual regarding how often to perform this task.
If you have a digital walking foot, it will provide superior results; manual clip-on versions work well but require more frequent tension adjustments.
Step-by-step
- Clean the bobbin case area using a soft brush to remove dust and lint. This prevents thread nests that ruin quilt blocks.
- Install a fresh quilting needle before you begin your project to ensure clean, skip-free stitches through the batting.
- Attach the quarter-inch foot and test your seam allowance on two scrap pieces of fabric. A true quarter-inch seam is vital for the blocks to fit together perfectly later.
- Set your stitch length to 2.0mm or 2.5mm for piecing. If you’re topstitching or quilting through the layers, increase this to 3.0mm to accommodate the extra thickness of the batting.
- Attach the walking foot when you move to the quilting phase. This device grips the top of the quilt and pulls it through alongside the feed dogs.
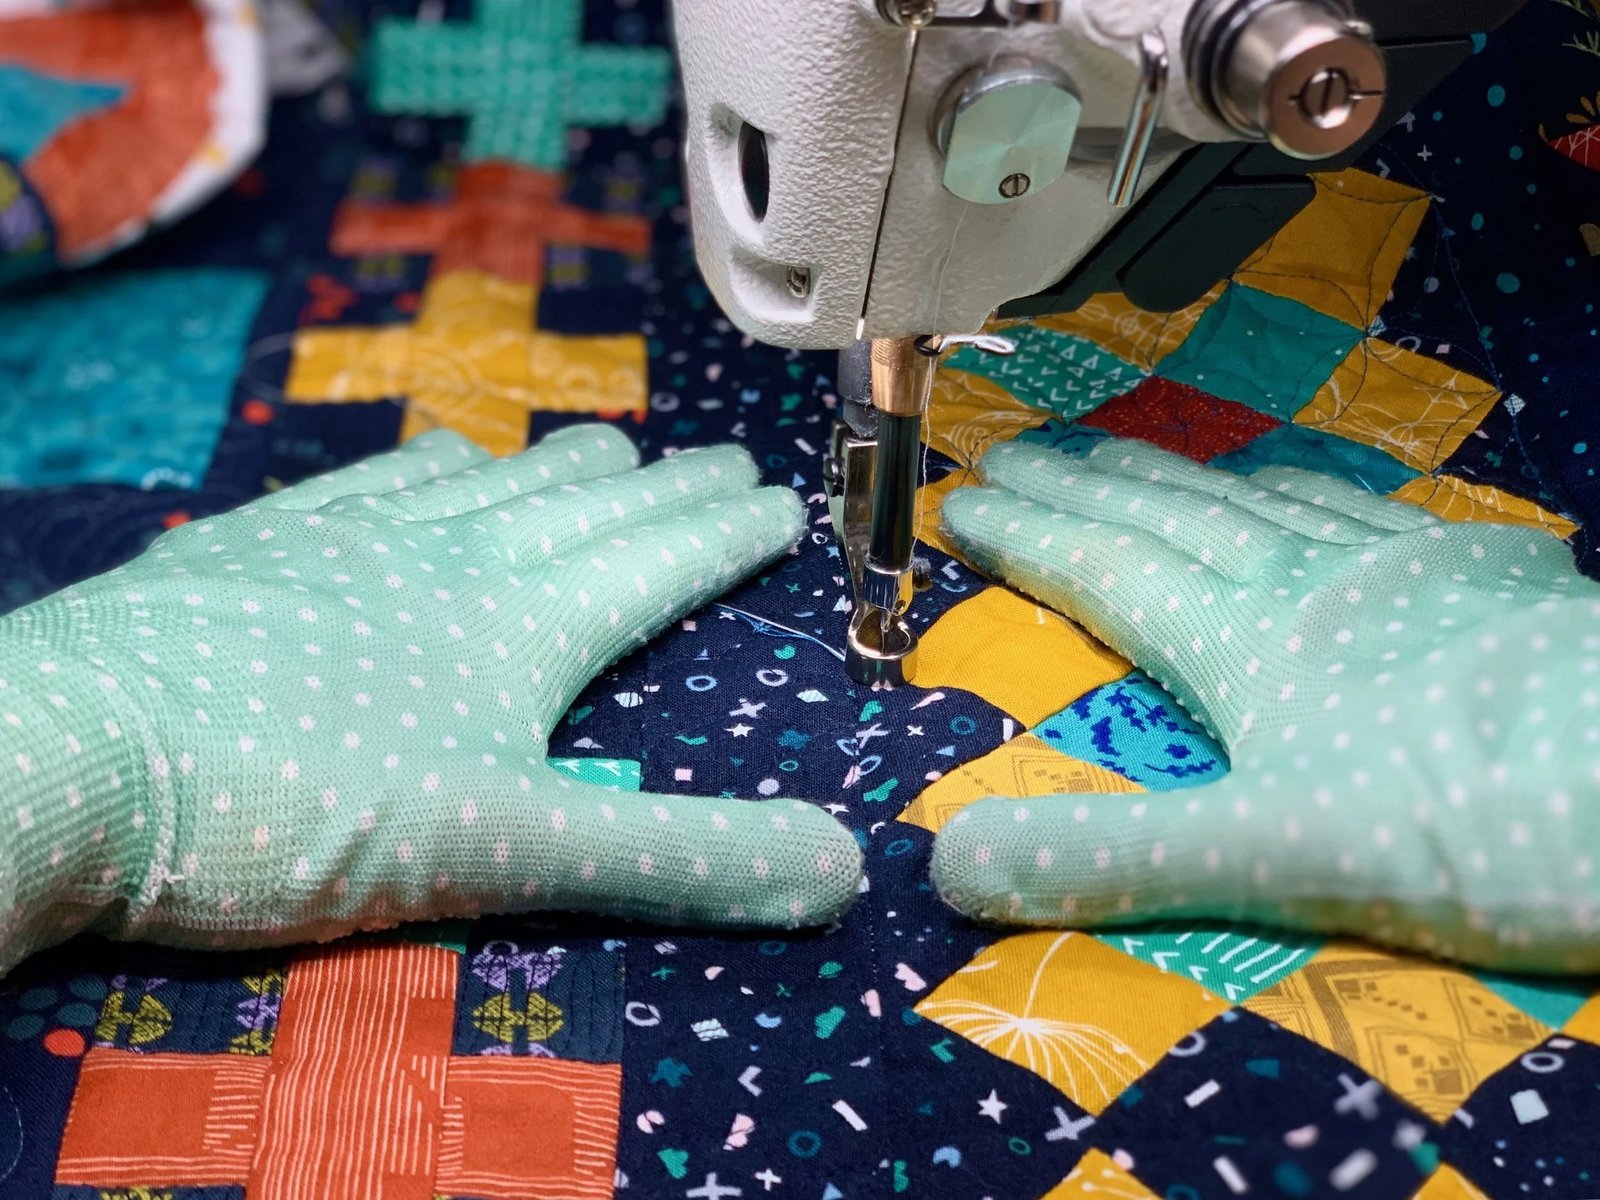
- Roll the quilt into a tight “burrito” or fold it accordion-style to fit the bulk through the throat space. Never force the fabric; if it feels tight, reposition the roll to relieve pressure on the needle.
- Lower the presser foot pressure if your machine allows. For thick quilts, a lower setting prevents the fabric from stretching or distorting under the foot.
- Use a knee lift if your machine has one. This keeps both hands on the quilt at all times, which is a major advantage during complex free-motion or straight-line work.
Tip: Always start with a test sandwich of two fabrics and one layer of batting to verify your tension settings before working on your actual quilt.
Careful: Don’t attempt to repair internal timing or motor issues yourself. A machine that skips stitches or binds often needs a professional technician, as modern machines contain sensitive electronic sensors and timing gears that require specialized tools for calibration.
Factors affecting your workflow
Different project sizes and machine capabilities change how you manage the workload. A machine with a small throat space will require more frequent repositioning of the quilt, which increases the risk of uneven lines.
| Situation | Time/Effort | What is different | Watch for |
|---|---|---|---|
| Small wall hanging | Low effort | Fits easily in throat | Edge alignment |
| Standard throw quilt | Medium effort | Needs rolling/folding | Bunching under arm |
| Queen-size quilt | High effort | Very heavy drag | Needle breakage |
| Free-motion quilting | High skill | No feed dogs used | Tension balance |
To learn how your machine handles thickness, start with a smaller lap-sized quilt before attempting a large bed-sized project.
How to tell you did it right

A good result shows flat, even seams that lie perfectly straight when pressed open. The stitching should be consistent in length, with no loops on the top or the bottom of the fabric. If you pull the fabric gently, the seam should not “grin” or show the thread between the pieces.
A poor result is often wavy or puckered. This usually happens because the top layer of fabric was pushed forward by the presser foot while the feed dogs pulled the bottom layer at a different rate. To prevent this, always ensure your walking foot is properly engaged and that you aren’t pulling or pushing the quilt through the machine. Let the machine do the work. If your blocks are consistently off by a fraction of an inch, your seam allowance is likely slightly too small or too large. Adjust your needle position or guide placement by just one millimeter at a time until your blocks measure exactly as the pattern requires.
Maintenance and project care
Follow the cleaning schedule outlined by the manufacturer, such as the guidance provided by the Consumer Product Safety Commission regarding general home appliance maintenance, to keep your motor running smoothly. After each major project, remove the needle plate and clear out the lint that collects around the feed dogs. If you notice the machine running louder than usual or if the stitches look uneven, it’s time for a professional service. Always keep your machine covered when not in use to prevent dust from settling into the internal gears, which can cause premature wear on the drive belt.
Other ways to do it
Hand quilting
This traditional method uses a simple needle and thread to stitch through all layers. It’s much slower than a machine but allows for intricate, heirloom-quality textures that machines can’t easily replicate.
Longarm rental
You can rent time on a professional longarm machine at a local quilt shop. This provides a massive workspace, allowing you to finish a large quilt in a few hours instead of several days.
Quilt-as-you-go
This method lets you quilt small sections before joining them together. It’s perfect for machines with limited throat space, as you never have to fit a large, heavy quilt under the needle.
Frequently asked questions

Choosing a sewing machine for quilt making
Yes, you can quilt on any standard sewing machine as long as you have enough space to maneuver your fabric. Many people use a basic machine for years by using a walking foot and an extension table to support the weight of the quilt.
Is it safe to use a vintage machine for quilting?
Yes, many vintage machines are excellent for quilting because they feature heavy-duty metal parts and a powerful motor. These machines often handle multiple layers of fabric better than lightweight, modern plastic models.
How long does it take to machine quilt a queen size?
It usually takes between 6 to 12 hours of active sewing, depending on your design and experience level. You should account for extra time to prepare the backing and baste the layers together before you start the actual quilting process.
What happens if my machine gets jammed?
Stop sewing immediately and lift the presser foot to prevent damage to the needle or the timing mechanism. Carefully remove the fabric, cut the thread, and check the bobbin area for tangled loops or lint buildup before you try to sew again.
Do I need a special machine for free-motion quilting?
No, you don’t need a special machine, but you do need to be able to drop or cover your feed dogs. You’ll also need a darning foot, which allows you to move the fabric in any direction while the needle is raised.
Final Thoughts
Finding the right tool makes your creative journey much smoother. Once you’ve picked a machine that feels comfortable, head to a local shop to test a few stitches in person. You’ll quickly see which model fits your hands best, and you won’t regret taking the time to make the perfect choice.
{“@context”:”https://schema.org”,”@type”:”FAQPage”,”mainEntity”:[{“@type”:”Question”,”name”:”Choosing a sewing machine for quilt making”,”acceptedAnswer”:{“@type”:”Answer”,”text”:”Yes, you can quilt on any standard sewing machine as long as you have enough space to maneuver your fabric. Many people use a basic machine for years by using a walking foot and an extension table to support the weight of the quilt.”}},{“@type”:”Question”,”name”:”Is it safe to use a vintage machine for quilting?”,”acceptedAnswer”:{“@type”:”Answer”,”text”:”Yes, many vintage machines are excellent for quilting because they feature heavy-duty metal parts and a powerful motor. These machines often handle multiple layers of fabric better than lightweight, modern plastic models.”}},{“@type”:”Question”,”name”:”How long does it take to machine quilt a queen size?”,”acceptedAnswer”:{“@type”:”Answer”,”text”:”It usually takes between 6 to 12 hours of active sewing, depending on your design and experience level. You should account for extra time to prepare the backing and baste the layers together before you start the actual quilting process.”}},{“@type”:”Question”,”name”:”What happens if my machine gets jammed?”,”acceptedAnswer”:{“@type”:”Answer”,”text”:”Stop sewing immediately and lift the presser foot to prevent damage to the needle or the timing mechanism. Carefully remove the fabric, cut the thread, and check the bobbin area for tangled loops or lint buildup before you try to sew again.”}},{“@type”:”Question”,”name”:”Do I need a special machine for free-motion quilting?”,”acceptedAnswer”:{“@type”:”Answer”,”text”:”No, you don’t need a special machine, but you do need to be able to drop or cover your feed dogs. You’ll also need a darning foot, which allows you to move the fabric in any direction while the needle is raised.”}}]}