Sewing Machine for Clothing: How to Choose the Right Model
A reliable sewing machine for clothing generally features at least 10 built-in stitch patterns and a drop-in bobbin system to ensure consistent tension. Most modern home models handle woven and knit fabrics well, but you should choose a machine with adjustable presser foot pressure to prevent thin fabric from puckering or thick denim from stalling. This guide explains how to select the right features, operate your machine safely, and maintain it for long-term use.
Choosing the Best Sewing Machine for Clothing
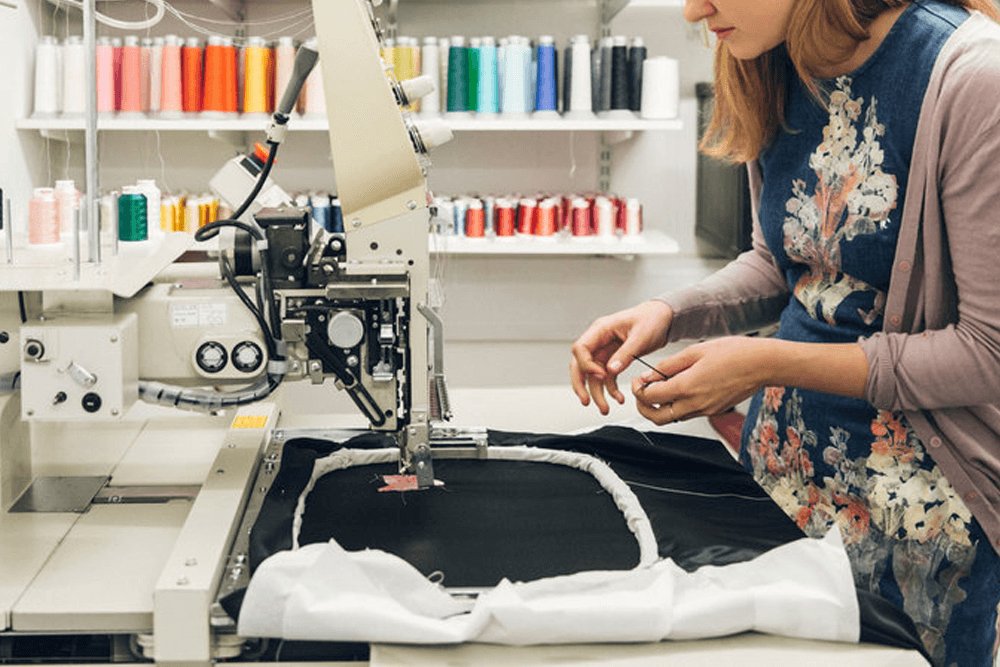
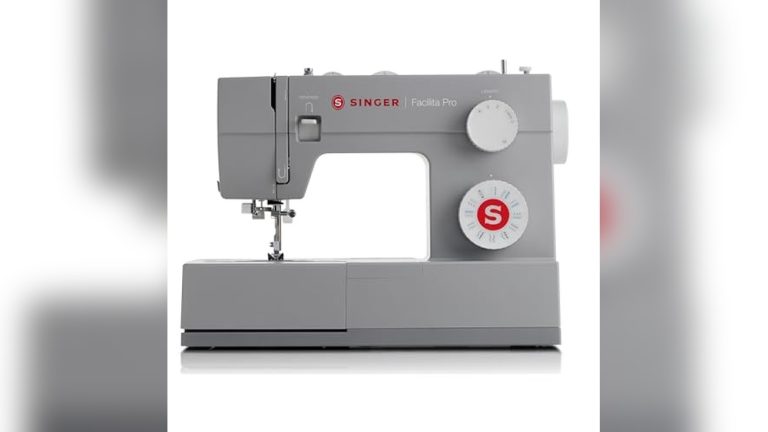
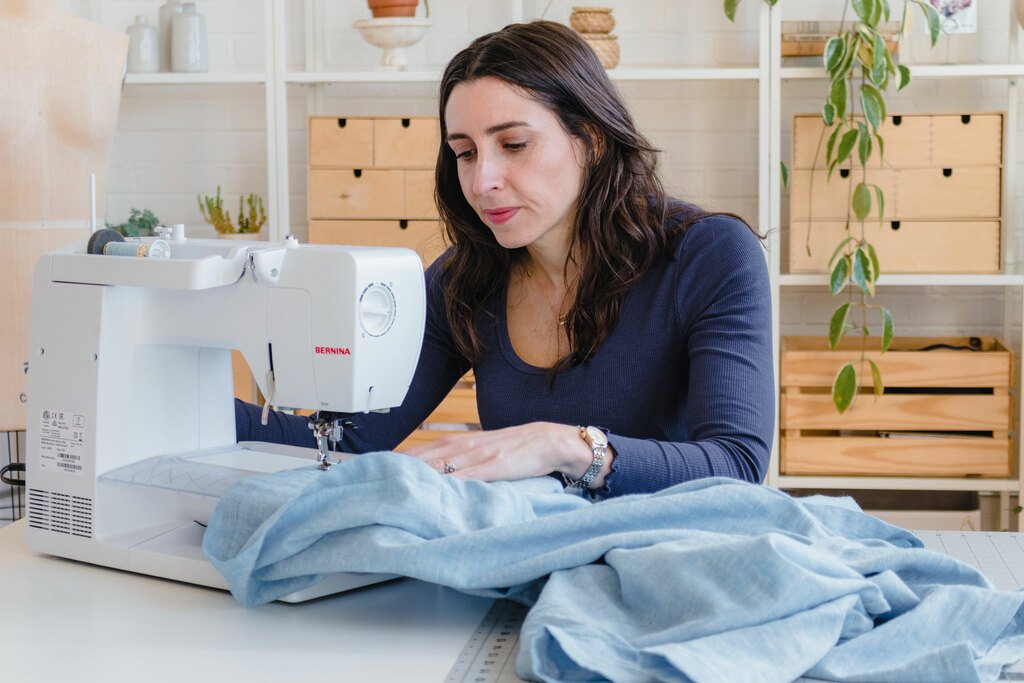
A sewing machine is a mechanical tool designed to interlock two threads to form a seam. It’s intended for anyone wanting to create or repair garments, from simple hems to complex tailored jackets. People often mistakenly believe that a machine with hundreds of decorative patterns is “better” for garment construction. In truth, you only need a straight stitch and a reliable zigzag stitch for most apparel work.
The machine works by using a needle to carry the top thread through the fabric, where a rotary hook or oscillating shuttle catches the thread loop and pulls it around the bobbin. This creates a secure lock stitch. If you’re a beginner, look for a machine with a simple interface, as complex digital menus often hide the basic controls you need to adjust frequently. This varies by model — check the label to see if it includes a free arm, which is essential for sewing narrow items like sleeves and pant legs.
The basic method
- Place your machine on a stable, flat surface. Plug it into a standard wall outlet.
- Wind your bobbin with high-quality polyester thread. Ensure the thread is wound evenly to prevent jams during the first few inches of sewing.
- Thread the machine according to your manual’s diagram. Most modern machines use a numbered path; if you skip one step, the tension will be incorrect and the thread will loop on the bottom.
- Select the straight stitch on your dial or screen. Set the stitch length to 2.5mm, which is the standard for most garment construction.
- Place your fabric under the presser foot. Lower the foot before you start, as the machine can’t form a stitch without the tension discs engaged.
- Press the foot pedal gently to start. If you’re new to this, practice on scraps until you can maintain a straight line along the edge of your fabric.
- Backstitch at the start and end of every seam. This locks the thread in place so the garment doesn’t unravel during wear.
The judgement call that separates a professional result from a homemade one is the seam allowance. You must keep the fabric edge aligned with the guide plate on the needle plate consistently. If your seam allowance wanders, your garment pieces won’t fit together correctly when you reach the final assembly.
Key numbers and settings at a glance
Settings depend heavily on the weight of the fabric you’re using.
| Situation | What to use | Stitch Length | What to watch for |
|---|---|---|---|
| Thin silk or rayon | 60/8 or 70/10 needle | 2.0mm | Puckering or skipped stitches |
| Standard cotton | 80/12 needle | 2.5mm | Balanced thread tension |
| Heavy denim | 100/16 needle | 3.0mm | Breaking needles on thick seams |
| Stretchy knit fabric | Ballpoint needle | 2.5mm zigzag | Fabric waves or stretching |
| Topstitching | Topstitch needle | 3.5mm | Uneven spacing |
What separates good results from bad ones
Preparation and technique
Experienced sewers always press their fabric before they begin. If you sew over wrinkles, your final seam will be distorted. Once you finish a seam, press it open with an iron. This simple step defines the shape of the garment. If you skip pressing, your clothing will look homemade, regardless of how straight your stitches are. Always work in a logical order: stay-stitch curves first to prevent them from stretching out of shape during handling.
The role of tension
The second factor is thread tension. If the bottom thread pulls to the top, your top tension is too tight. If the top thread loops on the bottom, your tension is too loose. Always test your settings on a scrap piece of the exact fabric you’re using. If you change the fabric type, you must reset the tension dial. This is a common mistake: people assume the machine stays set forever, but every change in fabric thickness requires a minor adjustment.
Common problems and quick fixes

| What you notice | What it usually means | What to do first |
|---|---|---|
| Thread bird-nesting | Improper threading | Re-thread top and bobbin |
| Fabric not moving | Feed dogs lowered | Raise feed dog switch |
| Needle breaking | Wrong needle size | Match needle to fabric |
| Skipped stitches | Dull needle | Replace with new needle |
Compliance and safety protocols
Safety rules for electrical machinery are established by organizations like the International Electrotechnical Commission. You must never leave a machine running unattended, as the motor can overheat if the bobbin jams. If the machine makes a grinding noise or smells like burning plastic, turn it off immediately and unplug it. Never attempt to open the motor housing or touch internal capacitors, as these can store a lethal electric charge even when the power is off. Such work requires a professional technician. If you’re using an older machine, ensure it doesn’t have frayed wires, as these pose a fire risk in any home environment. Always keep your fingers away from the needle area while the machine is in motion to prevent puncture injuries.
Maintaining your equipment
To keep your machine running smoothly, remove the needle plate and clear out the lint regularly.
When to use a different approach
This approach is the wrong choice if you’re working with industrial-grade leather or heavy upholstery canvas. Home machines are built with plastic gears that will crack under the strain of thick, dense materials. For those tasks, you need an industrial walking-foot machine designed for heavy-duty torque. Additionally, don’t attempt to sew extremely delicate fabrics like chiffon without a specialized throat plate, as the fabric will be sucked into the needle hole. Use a straight-stitch plate instead to support the fabric during the stitching process.
Frequently asked questions

Can I use a regular machine for heavy denim?
Yes, you can use a regular machine for denim if you use a size 100/16 needle and a longer stitch length of 3.0mm. Ensure you sew slowly over thick seams to avoid breaking the needle or stalling the motor.
Why is my thread bunching underneath?
This almost always means the top thread wasn’t threaded through the tension discs correctly. Re-thread the entire machine with the presser foot in the “up” position to ensure the thread seats properly.
How long should a needle last?
A needle should be changed after every project or as soon as you notice skipped stitches, fabric damage, or a ‘thumping’ sound. A dull needle will damage your fabric and cause skipped stitches.
Is it safe to leave the machine plugged in?
No, you should always unplug your machine when you aren’t actively using it. This prevents accidental activation and protects the internal electronics from power surges.
What happens if I use the wrong needle size?
Using the wrong size will cause skipped stitches, puckering, or holes in your fabric. Always match the needle size to the weight of your fabric and thread for the best results.
Final Thoughts
Finding the perfect machine is just the beginning of your creative journey. Once you’ve set up your workspace, don’t be afraid to experiment with scrap fabric to learn how your new tool feels. You’ll soon find that your confidence grows with every project, so pick a simple pattern and start stitching today.
{“@context”:”https://schema.org”,”@type”:”FAQPage”,”mainEntity”:[{“@type”:”Question”,”name”:”Can I use a regular machine for heavy denim?”,”acceptedAnswer”:{“@type”:”Answer”,”text”:”Yes, you can use a regular machine for denim if you use a size 100/16 needle and a longer stitch length of 3.0mm. Ensure you sew slowly over thick seams to avoid breaking the needle or stalling the motor.”}},{“@type”:”Question”,”name”:”Why is my thread bunching underneath?”,”acceptedAnswer”:{“@type”:”Answer”,”text”:”This almost always means the top thread wasn’t threaded through the tension discs correctly. Re-thread the entire machine with the presser foot in the \”up\” position to ensure the thread seats properly.”}},{“@type”:”Question”,”name”:”How long should a needle last?”,”acceptedAnswer”:{“@type”:”Answer”,”text”:”A needle should be changed after every project or as soon as you notice skipped stitches, fabric damage, or a ‘thumping’ sound. A dull needle will damage your fabric and cause skipped stitches.”}},{“@type”:”Question”,”name”:”Is it safe to leave the machine plugged in?”,”acceptedAnswer”:{“@type”:”Answer”,”text”:”No, you should always unplug your machine when you aren’t actively using it. This prevents accidental activation and protects the internal electronics from power surges.”}},{“@type”:”Question”,”name”:”What happens if I use the wrong needle size?”,”acceptedAnswer”:{“@type”:”Answer”,”text”:”Using the wrong size will cause skipped stitches, puckering, or holes in your fabric. Always match the needle size to the weight of your fabric and thread for the best results.”}}]}