How to Janome Sew: Expert Threading and Tension Setup Guide
To janome sew effectively, you must first verify that your machine is threaded according to the specific path outlined in your model’s instruction manual, which typically involves setting the tension dial to a neutral position between three and five. Most modern machines from this brand require a standard needle size of 80/12 or 90/14 for general cotton fabrics. This guide covers the essential setup, operation, and maintenance procedures required to operate these machines reliably for common home projects.
Understanding the Machine
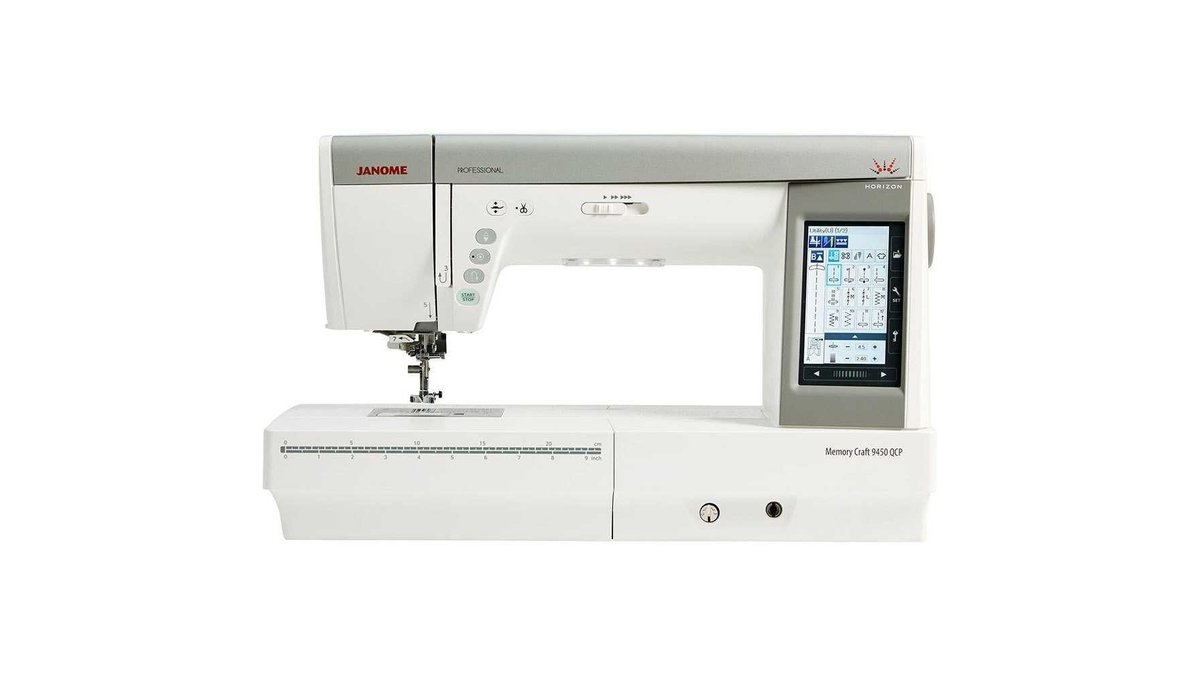
A sewing machine from this manufacturer is a precision tool designed to interlock threads through fabric using a needle and a bobbin system. It’s intended for home hobbyists, quilters, and garment makers who need consistent stitch quality across various fabric weights. People often assume that the tension dial is a volume knob for the thread’s tightness, but it’s actually a mechanism that controls how much thread is pulled from the spool versus the bobbin.
The fundamental rule of operation is that the top thread and the bobbin thread must meet in the middle of the fabric layers to create a balanced stitch. If the threads aren’t balanced, the seam will either pucker or pull apart. This varies by model—check the label on your machine for the specific needle and thread weight limitations. Because these machines are built with mechanical precision, you should avoid forcing fabric through the presser foot; let the feed dogs pull the material at their own pace.
The basic Janome sew method
- Place your spool on the horizontal pin and secure it with the appropriate spool cap to prevent the thread from snagging.
- Follow the numbered thread path printed on the machine cover, passing the thread through the tension discs and the take-up lever.
- Insert the needle until it hits the stopper, ensuring the flat side of the shank faces the back of the machine, and tighten the screw firmly.
- Load your pre-wound bobbin into the race, ensuring the thread pulls off in the direction indicated on the bobbin cover plate, usually counter-clockwise.
- Use the handwheel to lower the needle into the needle plate, then raise it back up to catch the bobbin thread through the slot.
- Pull both the top and bobbin threads under the presser foot and toward the back of the machine, leaving at least 4 inches of tail.
- Lower the presser foot and begin stitching at a slow, controlled speed to ensure the first few lock stitches are secure.
The decision to change your needle is the most important factor in a professional result; if you’re sewing denim, use a size 100/16 needle, but if you’re working with silk, switch to a 70/10 needle. If you lack the manual for your specific machine, you can find the official Janome support documentation to confirm the recommended settings for your specific serial number.
Key numbers and settings at a glance
The settings below assume the use of standard polyester thread and a medium-weight cotton fabric.
| Situation | What to use | How long | What to watch for |
|---|---|---|---|
| Thin silk | Size 70/10 needle | Short stitch length | Fabric bunching |
| Cotton quilting | Size 80/12 needle | Medium stitch length | Thread nesting |
| Heavy denim | Size 100/16 needle | Long stitch length | Broken needles |
| Decorative satin | Size 75/11 needle | Tight zigzag width | Skipped stitches |
| Knits/Jersey | Ballpoint needle | Medium zigzag | Puckered seams |
What separates good results from bad ones
Preparation and sequencing
Experienced users always test their stitch on a scrap piece of the exact fabric they’re using before starting the project. This confirms that the tension is balanced and the needle point is sharp enough to penetrate the weave without damaging fibers. If you start on your final fabric without testing, you risk creating holes or knots that are difficult to remove.
Monitoring during the process
When you sew, keep your hands flat on the fabric surface to guide it gently. Don’t push or pull the fabric, as this causes the needle to bend and can strike the needle plate, which often damages the timing of the machine. If you notice the machine sounds louder than usual, stop immediately. Check the bobbin area for thread nests or lint buildup. This is a common mistake that, if ignored, can lead to expensive internal jams that require a professional technician to resolve.
Common problems and quick fixes
Photo: www.youtube.com on Google
| What you notice | What it usually means | What to do first |
|---|---|---|
| Loops on the bottom | Tension is too loose | Increase tension dial |
| Thread breaking | Needle is dull | Replace the needle |
| Fabric puckering | Thread path obstruction | Re-thread the machine |
| Machine jamming | Lint in the bobbin | Clean the bobbin case |
Regulations and Safety Rules
Electrical safety is the primary concern when operating household machinery. Never leave a plugged-in machine unattended, especially if there are children nearby who might activate the foot controller. If the power cord shows any signs of fraying or exposed wires, stop using the machine immediately. Don’t attempt to repair the internal electrical motor yourself, as this can void your warranty and creates a risk of electric shock. Always consult a certified service center for internal mechanical or electrical repairs.
Keeping it working afterwards
To ensure long-term performance, clean the lint out of the bobbin area after every eight hours of use. You can use a small brush to sweep away dust, but avoid canned air, which pushes debris deeper into the motor. Store your machine in a clean, dry area with a dust cover to prevent grime from settling in the tension discs. If the machine feels stiff when you turn the handwheel, it’s a sign that the old lubricant has dried out and the machine needs a professional tune-up.
When to use a different approach
This machine isn’t designed for heavy industrial materials like thick leather or heavy-duty upholstery vinyl. If you try to force these materials through, you’ll likely break the internal gears or bend the needle bar. For heavy leather, use a machine specifically designed for industrial use with a walking foot. Additionally, if you’re working with extremely fine lace or delicate organza, a standard needle plate might cause the fabric to get sucked into the bobbin area. In these cases, a straight-stitch needle plate is a better choice to provide more support for the fabric.
Frequently asked questions
Can I use any thread in my machine?
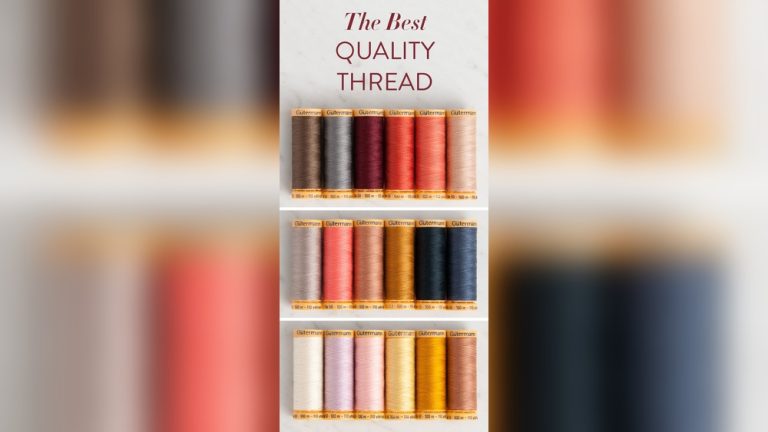
No, you should use high-quality polyester or cotton-wrapped polyester thread for the best results. Cheap, dusty thread can clog the tension discs and build up lint in the bobbin case, which leads to frequent tangling and uneven stitch quality over time.
Why is my needle breaking?
Your needle is likely breaking because it’s either the wrong size for the fabric or it’s hitting the needle plate. Ensure you’re using the correct needle type and that it’s fully inserted into the clamp before you start sewing.
How long should a needle last?
A needle typically lasts for about eight hours of active sewing time before the tip begins to dull. Once the tip is dull, it will start to snag the fabric and cause skipped stitches, so it’s best to replace it at the start of every new project.
Is it safe to leave the machine plugged in?
No, it isn’t safe to leave the machine plugged in when it isn’t in use. Always disconnect the power cord to prevent accidental activation and to protect the machine’s internal electronics from power surges.
What happens if I pull the fabric while sewing?
Pulling the fabric causes the needle to deflect, which can lead to broken needles or damage to the needle plate. Always let the feed dogs move the fabric at their own speed to ensure a straight and even seam.
Final Thoughts
Once you’ve finished your first project, take a moment to clean the bobbin area with a small brush to keep things running smoothly. Don’t be afraid to experiment with different decorative stitches on scrap fabric. You’ll find that your confidence grows every time you sit down to create something beautiful.
{“@context”:”https://schema.org”,”@type”:”FAQPage”,”mainEntity”:[{“@type”:”Question”,”name”:”Can I use any thread in my machine?”,”acceptedAnswer”:{“@type”:”Answer”,”text”:”No, you should use high-quality polyester or cotton-wrapped polyester thread for the best results. Cheap, dusty thread can clog the tension discs and build up lint in the bobbin case, which leads to frequent tangling and uneven stitch quality over time.”}},{“@type”:”Question”,”name”:”Why is my needle breaking?”,”acceptedAnswer”:{“@type”:”Answer”,”text”:”Your needle is likely breaking because it’s either the wrong size for the fabric or it’s hitting the needle plate. Ensure you’re using the correct needle type and that it’s fully inserted into the clamp before you start sewing.”}},{“@type”:”Question”,”name”:”How long should a needle last?”,”acceptedAnswer”:{“@type”:”Answer”,”text”:”A needle typically lasts for about eight hours of active sewing time before the tip begins to dull. Once the tip is dull, it will start to snag the fabric and cause skipped stitches, so it’s best to replace it at the start of every new project.”}},{“@type”:”Question”,”name”:”Is it safe to leave the machine plugged in?”,”acceptedAnswer”:{“@type”:”Answer”,”text”:”No, it isn’t safe to leave the machine plugged in when it isn’t in use. Always disconnect the power cord to prevent accidental activation and to protect the machine’s internal electronics from power surges.”}},{“@type”:”Question”,”name”:”What happens if I pull the fabric while sewing?”,”acceptedAnswer”:{“@type”:”Answer”,”text”:”Pulling the fabric causes the needle to deflect, which can lead to broken needles or damage to the needle plate. Always let the feed dogs move the fabric at their own speed to ensure a straight and even seam.”}}]}