How to Use a Serger Machine for Beginners: A Step-by-Step Guide
Beginners can master serging by threading multiple spools and guiding fabric through the blades to create a clean, finished seam. You’ll typically work with three or four threads at once to lock the fabric edge. This guide explains how to set up your machine and achieve consistent results.
How the serger machine works for beginners
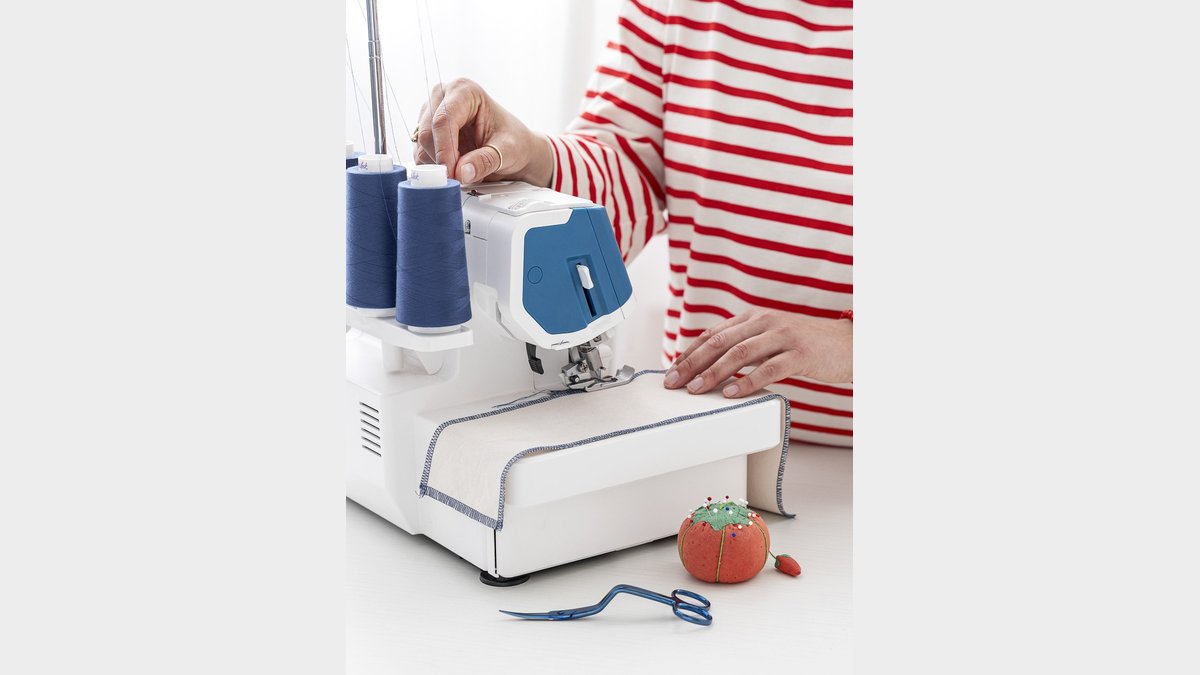
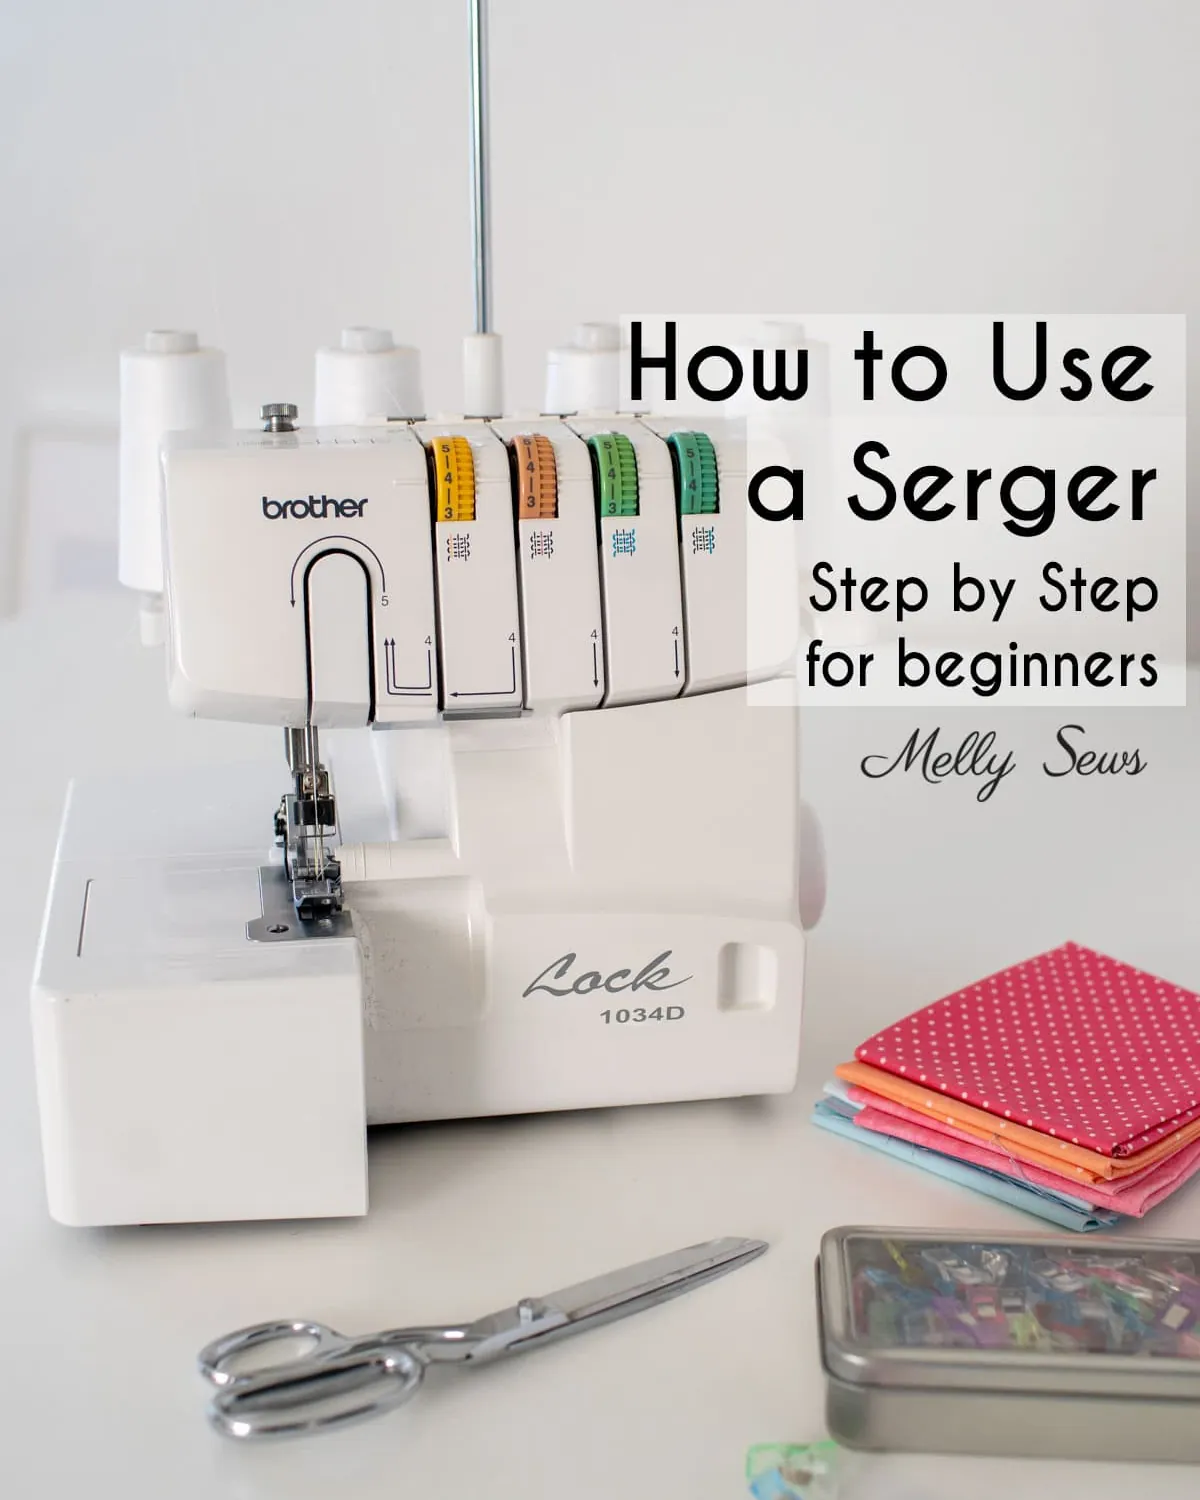
A serger, or overlock machine, is a specialized tool that cuts, sews, and finishes a fabric edge in one quick pass. It’s designed for knit fabrics and finishing raw edges on woven materials. Many people mistakenly believe it replaces a standard sewing machine entirely, but it’s actually a partner tool.
A serger uses loopers instead of a traditional bobbin to create a secure chain stitch. This mechanism relies on precise tension settings to ensure the threads lock exactly at the fabric edge. If the tension is too loose, the seam will pull apart; if it’s too tight, the fabric will pucker.
Setting up your machine
- Place four spools of thread on the spool pins, ensuring they unwind smoothly without tangling in the guides.
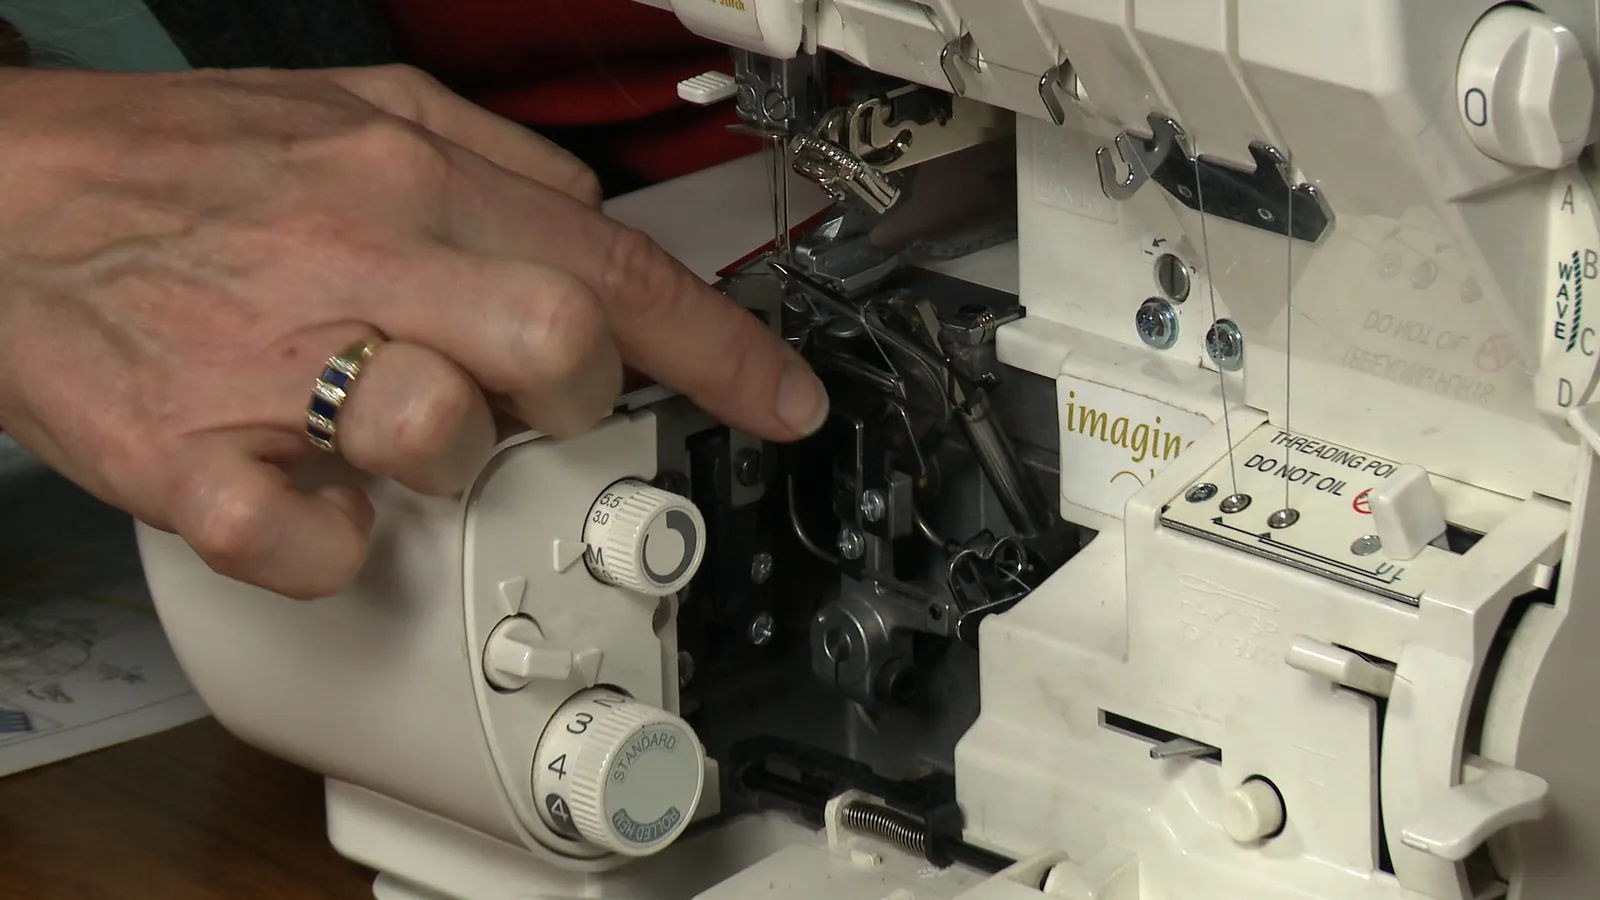
- Follow the color-coded threading diagram on your specific machine, which usually requires threading the upper looper first.
- Thread the lower looper, then the needles, making sure each thread sits correctly in its tension disc.
- Turn the handwheel toward you to ensure the needles and loopers move freely without catching on each other.
- Place a scrap piece of fabric under the presser foot and lower it to begin sewing a test chain.
- Adjust the stitch length dial to 2.5mm for standard medium-weight cotton fabrics, or increase it for thicker materials.
- Set the cutting width to match the distance between the blade and the needle to prevent uneven seams.
The key judgement call is balancing the differential feed. If your fabric stretches out while sewing, increase the differential feed setting to push more fabric under the foot; if it bunches up, decrease it. If you’re unsure about a specific setting, consult the Brother sewing machine support pages for your model’s manual.
Key settings for common fabrics
| Situation | What to use | How long | What to watch for |
|---|---|---|---|
| Lightweight knits | 4-thread stitch | 2.0mm length | Fabric stretching |
| Heavy denim | 4-thread stitch | 3.5mm length | Needle breakage |
| Woven edges | 3-thread stitch | 3.0mm length | Blade sharpness |
| Decorative edges | 2-thread flatlock | 2.5mm length | Thread tension |
| Silk fabrics | 3-thread narrow | 1.5mm length | Puckering |
Achieving high-quality seams
Experienced users always test their stitch on a double layer of the exact fabric they intend to use. They never skip the test scrap, as even a small change in fabric weight requires a tension adjustment. The order of operations is critical; always thread the loopers before the needles to avoid tangling.
Partway through a long seam, check the back of the fabric to ensure the loopers are interlocking perfectly. If you see loops hanging off the edge, your tension is too loose. Keep your hands flat on the machine bed and let the feed dogs pull the fabric through naturally. Never pull or push the fabric, as this forces the machine and causes the blade to cut crookedly.
Troubleshooting common issues
| What you notice | What it usually means | What to do first |
|---|---|---|
| Thread snapping | Incorrect threading | Re-thread all spools |
| Uneven seam edge | Dull cutting blade | Clean blade area |
| Puckered fabric | Tension is too high | Lower tension numbers |
| Skipped stitches | Bent needle tip | Replace with new needle |
If your thread snaps repeatedly despite re-threading, check the spool orientation. A spool unwinding clockwise instead of counter-clockwise creates unnecessary drag.
When your seam edge remains uneven after cleaning, inspect the blade for tiny nicks. A dull blade often leaves frayed threads rather than a clean cut. If you see jagged edges, replace the blade immediately to prevent motor strain.
For puckered fabric, test your tension on a scrap piece of the same material first. If the fabric still bunches, your presser foot pressure may be too high. Reduce the pressure dial by one increment at a time.
If skipped stitches persist after swapping the needle, ensure you’re using the correct point type for your fabric. A ballpoint needle will skip on woven cotton, while a sharp needle will snag on knits.
Following safety and care rules
Sergers contain sharp blades that cut fabric as you sew, so keep your fingers clear of the presser foot area at all times. Never attempt to service the internal motor or electrical components yourself, as these require professional maintenance. If the machine makes a grinding noise or smells like burning plastic, unplug it immediately and take it to an authorized repair technician. Only clean the lint from the looper area using a soft brush as recommended in your user manual.
Maintaining your machine
Keep your machine running smoothly by cleaning out the lint after every project. Lint buildup inside the looper area can cause tension issues and eventually jam the mechanical parts. Use a small brush or a vacuum attachment to reach tight corners.
Apply a single drop of sewing machine oil to the points indicated in your service manual as needed based on your frequency of use. If the machine sits unused for a long time, the oil can dry out, so test it on scrap fabric before starting a new garment.
When to use a different approach
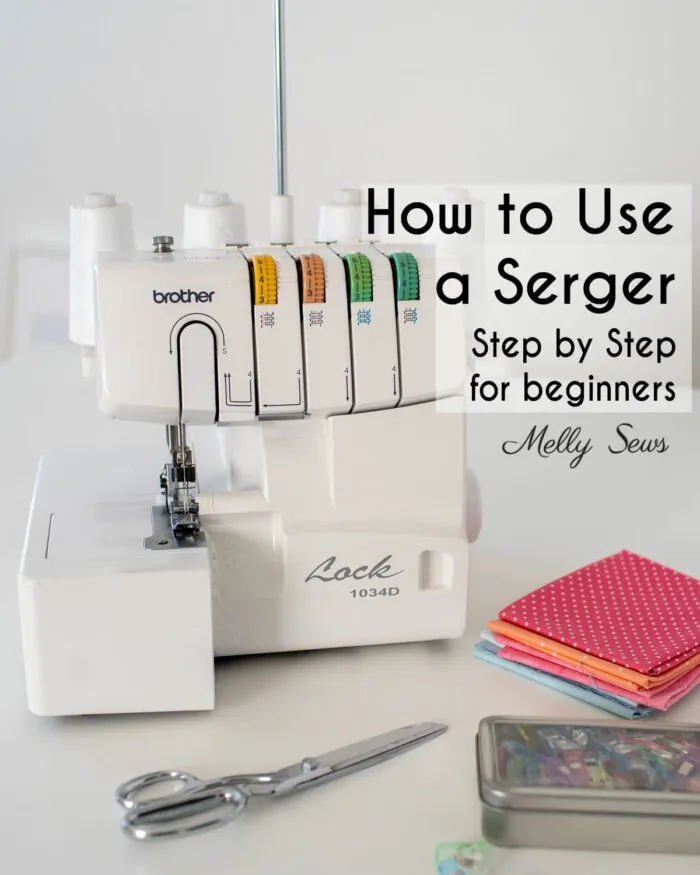
This machine isn’t for sewing curves that require a stop-and-start motion, as the blade is fixed and will cut through your work. For tight curves or complex shapes, use a standard sewing machine to maintain control.
Additionally, don’t use a serger for inserting zippers, as the bulky seam allowance makes the application uneven. Use a standard sewing machine with a zipper foot for these tasks. If you’re working with extremely delicate lace, test the stitch first, as the blades may catch and tear the intricate fibers.
Frequently Asked Questions
Can I use regular thread in my serger?
Yes, you can use regular sewing thread, but it’s often too thick for the looper mechanisms. Most users prefer specialized lightweight serger thread, which is thinner and prevents the machine from becoming bulky or jamming during high-speed operation.
How often do I need to change the blades?
It depends on the amount of use, but you should change the blade when you notice the fabric edge is fraying instead of cutting clean. Consult your owner’s manual for specific guidance on how often to replace them based on your sewing habits.
Is it safe to serge over pins?
No, never serge over pins, as the blade will hit the metal and shatter instantly. This can damage the knife edge and send metal shards toward your eyes, so always remove pins before they reach the presser foot.
How long does it take to learn threading?
It usually takes 30 to 60 minutes of practice to become comfortable with the path. Start by using different colored threads for each spool, which makes it much easier to see which path each thread follows through the machine.
Why is my fabric bunching up?
It usually means your differential feed is set too low for the fabric type. Increase the setting until the fabric lies flat and moves smoothly, as this compensates for the natural stretch of the material being fed into the blades.
What happens if I lose the tension?
The seam will become loose and fail to lock the edges, which ruins the structural integrity of the garment. Reset all dials to the factory default settings, which are marked on the machine, and test on a scrap piece until it looks balanced.
Can I turn off the knife?
Yes, most machines have a switch to retract or lock the knife into an upright position. This is useful when you want to sew a seam without cutting the fabric edge, such as when you’re working on a folded hem.
Conclusion
Proper maintenance and patience with the threading process will make the machine a reliable part of your sewing room. Take your time during the setup phase, and always keep a scrap piece of fabric nearby for testing your tension settings. As you practice, you’ll find that the speed and professional finish of a serger are worth the initial learning curve.
{“@context”:”https://schema.org”,”@type”:”FAQPage”,”mainEntity”:[{“@type”:”Question”,”name”:”Can I use regular thread in my serger?”,”acceptedAnswer”:{“@type”:”Answer”,”text”:”Yes, you can use regular sewing thread, but it’s often too thick for the looper mechanisms. Most users prefer specialized lightweight serger thread, which is thinner and prevents the machine from becoming bulky or jamming during high-speed operation.”}},{“@type”:”Question”,”name”:”How often do I need to change the blades?”,”acceptedAnswer”:{“@type”:”Answer”,”text”:”It depends on the amount of use, but you should change the blade when you notice the fabric edge is fraying instead of cutting clean. Consult your owner’s manual for specific guidance on how often to replace them based on your sewing habits.”}},{“@type”:”Question”,”name”:”Is it safe to serge over pins?”,”acceptedAnswer”:{“@type”:”Answer”,”text”:”No, never serge over pins, as the blade will hit the metal and shatter instantly. This can damage the knife edge and send metal shards toward your eyes, so always remove pins before they reach the presser foot.”}},{“@type”:”Question”,”name”:”How long does it take to learn threading?”,”acceptedAnswer”:{“@type”:”Answer”,”text”:”It usually takes 30 to 60 minutes of practice to become comfortable with the path. Start by using different colored threads for each spool, which makes it much easier to see which path each thread follows through the machine.”}},{“@type”:”Question”,”name”:”Why is my fabric bunching up?”,”acceptedAnswer”:{“@type”:”Answer”,”text”:”It usually means your differential feed is set too low for the fabric type. Increase the setting until the fabric lies flat and moves smoothly, as this compensates for the natural stretch of the material being fed into the blades.”}},{“@type”:”Question”,”name”:”What happens if I lose the tension?”,”acceptedAnswer”:{“@type”:”Answer”,”text”:”The seam will become loose and fail to lock the edges, which ruins the structural integrity of the garment. Reset all dials to the factory default settings, which are marked on the machine, and test on a scrap piece until it looks balanced.”}},{“@type”:”Question”,”name”:”Can I turn off the knife?”,”acceptedAnswer”:{“@type”:”Answer”,”text”:”Yes, most machines have a switch to retract or lock the knife into an upright position. This is useful when you want to sew a seam without cutting the fabric edge, such as when you’re working on a folded hem.”}}]}