How Much Are Serger Sewing Machines: Price Ranges Explained
You can expect to pay between $200 and $1,200 for a new machine, as the cost of serger sewing machines depends heavily on the number of threads and the level of automation.
Cost of serger sewing machines
-
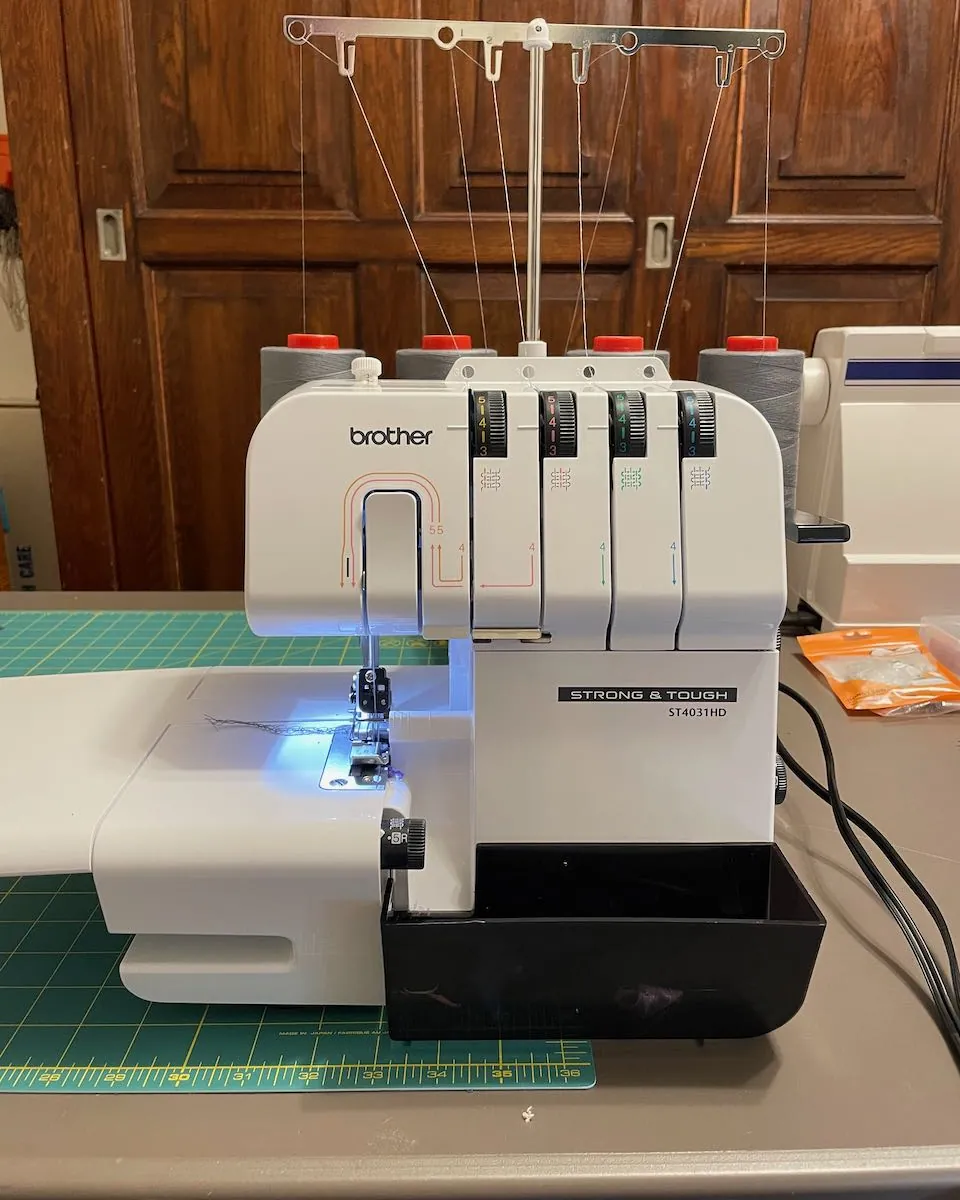
Mechanical Entry-Level: $200–$400 for basic 3-4 thread models with manual tension dials. These machines require you to adjust every thread path by hand. If you struggle with inconsistent stitches, check your tension settings before assuming the machine is broken.
-
Intermediate Electronic: $450–$700 for machines featuring built-in rolled hem settings and differential feed. Use the differential feed to prevent puckering on thin knits or stretching on jersey fabrics.
-
Advanced Air-Thread: $800–$1,200 for models using air-pressure systems for rapid looper threading. This feature saves roughly fifteen minutes of frustration per setup.
-
Industrial Grade: $1,300+ for high-speed machines designed for constant, heavy-duty production work. These lack the portability of home models.
-
Used Market: $100–$300 for older, well-maintained machines. Always test the motor for a burning smell before buying.
Why Prices Vary by Model
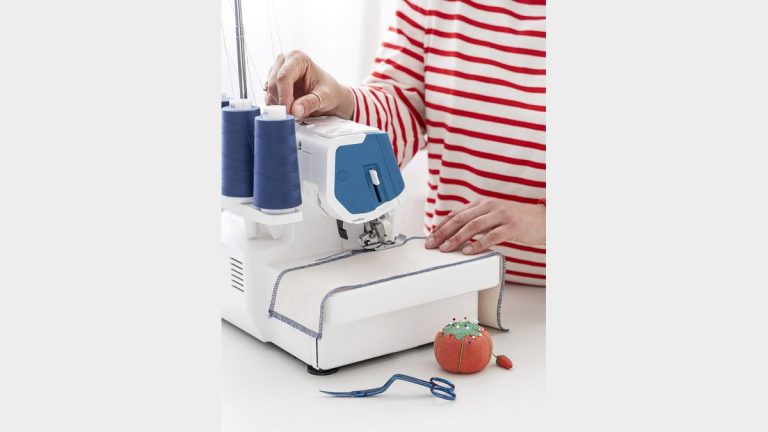
The cost of a serger is mostly determined by the complexity of its internal mechanics. Unlike a standard sewing machine, a serger must time the movement of two loopers and one or two needles to create a secure overlock stitch. If the machine uses manual threading, you must guide the thread through a series of color-coded paths, which takes time and patience to learn.
Higher-end models replace these manual paths with air-threading tubes. When you press a button or a lever, a burst of air carries the thread through the looper channels automatically. This feature adds significant value to the machine because it removes the most common frustration for new users. If you’re a beginner, you might find the manual threading process challenging, so look for “easy-thread” or “air-thread” labels.
Automation also drives the price upward. Expensive machines often include automatic tension adjustment, which senses the thickness of your fabric and changes the thread tightness for you. If you switch from thin silk to thick denim, a cheaper model requires you to manually adjust four different dials to prevent puckering.
A professional model handles this adjustment internally. You can verify the specific tension system and threading method by checking the official product specifications provided by the manufacturer. These technical documents confirm which features are included in each specific model series.
When Serger Costs Change

The price on the box is rarely the final cost of ownership. You must account for specialized feet, high-quality thread, and the maintenance required to keep the cutting blades sharp.
Standard blades dull quickly under heavy use, which forces the machine to pull fabric and eventually damages the internal timing. You can tell your blades are failing when the edge of the fabric begins to fray rather than showing a clean, crisp cut.
If you’re choosing between a new model and a refurbished one, check the warranty coverage first. Authorized dealers provide a safety net for mechanical failures, but refurbished units often lack parts support for proprietary tension assemblies. You’ll spend more in ruined silk and jersey than you would have saved on the cheaper machine.
How to Set Up Your New Serger
- Place the machine on a flat, stable table. Ensure there’s at least 12 inches of space on your left side to allow the fabric to exit the machine freely.
- Plug the power cord into a grounded wall outlet. If you’re using an extension cord, ensure it’s rated for at least 15 amps to prevent voltage drops.
- Install four spools of serger thread onto the top pins. Ensure the thread feeds off the top of the spool smoothly without catching on the spool cap or the machine body.
- Follow the color-coded threading diagram printed on the inside cover of your machine. Start with the lower looper, then move to the upper looper, and finish with the two needles.
- Set the differential feed dial to 1.0 for standard cotton fabrics. If you’re sewing knit fabric, increase this setting above 1.0 to prevent the material from stretching out while stitching.
- Perform a test run on a scrap piece of fabric. Check that the stitches lie flat on the edge of the cloth and that the cutting blade trims the desired amount of the seam allowance.
- Adjust the stitch length dial to 3mm for most projects. If the seam is too loose, tighten the needle thread tension by half a number at a time until the seam is secure.
The Mistakes That Ruin Serger Results

- Forgetting to clean the lint: Leaving fabric dust inside the looper area causes the needles to jam and can damage the timing gears.
- Using standard sewing thread: Using low-quality thread causes excessive lint buildup and frequent snapping, which ruins your seam integrity.
- Forcing the fabric through: Pulling the fabric while the machine is running bends the needles and causes them to strike the throat plate.
- Ignoring blade dullness: Continuing to sew with a dull blade shreds the fabric edge instead of cutting it, leading to messy, weak seams.
Frequently Asked Questions
Can I use a serger for regular sewing?
A serger is designed for finishing edges and joining seams simultaneously, but it can’t perform tasks like buttonholes or topstitching. It acts as a companion to your regular sewing machine rather than a total replacement. If you only have a serger, you’ll find it impossible to finish certain projects that require straight-line stitching in the middle of a fabric piece.
How long do serger blades last?
The cutting blades typically last for 6 to 12 months of moderate use before they need sharpening or replacement. You’ll notice the blades are failing when the fabric edge starts to look frayed or ragged after a cut. Always keep a spare set of blades on hand to avoid stopping your project when they become dull during a long session.
Is it safe to buy a used serger?
Buying a used machine is safe if you can test the threading and the cutting action before you pay. Bring a piece of scrap fabric and test the machine to ensure the looper timing is correct and the motor runs smoothly without grinding sounds. If the machine has been sitting in a garage for years, expect to pay for a professional service to clean and oil the internal parts.
What happens if I lose the manual?
You can download the instruction manual for almost any modern machine from the manufacturer’s website by searching for the model number. If the machine is very old, look for a serial number on the base or the back of the unit. The manual contains the exact threading path and maintenance schedule specific to your machine’s unique design.
Does the number of threads matter?
The number of threads determines the strength and type of stitch you can produce on different fabrics. A 4-thread machine is the standard for most home sewing, while 2-thread models are mostly for light-duty finishing. If you plan to sew heavy denim or outdoor gear, look for a machine that supports at least 4 threads to ensure the seams don’t pull apart.
How often should I oil the machine?
You should apply one drop of sewing machine oil to the moving parts every 20 to 30 hours of use. Check the manual for the specific oiling points, as over-oiling can attract lint and cause the machine to seize up. Never use household oil, as it can gum up the delicate gears and permanently damage the machine’s timing.
Conclusion
The total investment for your serger setup should include the cost of the machine plus a small budget for spare needles, extra spools of thread, and a basic cleaning kit. By maintaining the machine with regular cleaning and sharp blades, you ensure it performs reliably for many years of garment construction.
{“@context”:”https://schema.org”,”@type”:”FAQPage”,”mainEntity”:[{“@type”:”Question”,”name”:”Can I use a serger for regular sewing?”,”acceptedAnswer”:{“@type”:”Answer”,”text”:”A serger is designed for finishing edges and joining seams simultaneously, but it can’t perform tasks like buttonholes or topstitching. It acts as a companion to your regular sewing machine rather than a total replacement. If you only have a serger, you’ll find it impossible to finish certain projects that require straight-line stitching in the middle of a fabric piece.”}},{“@type”:”Question”,”name”:”How long do serger blades last?”,”acceptedAnswer”:{“@type”:”Answer”,”text”:”The cutting blades typically last for 6 to 12 months of moderate use before they need sharpening or replacement. You’ll notice the blades are failing when the fabric edge starts to look frayed or ragged after a cut. Always keep a spare set of blades on hand to avoid stopping your project when they become dull during a long session.”}},{“@type”:”Question”,”name”:”Is it safe to buy a used serger?”,”acceptedAnswer”:{“@type”:”Answer”,”text”:”Buying a used machine is safe if you can test the threading and the cutting action before you pay. Bring a piece of scrap fabric and test the machine to ensure the looper timing is correct and the motor runs smoothly without grinding sounds. If the machine has been sitting in a garage for years, expect to pay for a professional service to clean and oil the internal parts.”}},{“@type”:”Question”,”name”:”What happens if I lose the manual?”,”acceptedAnswer”:{“@type”:”Answer”,”text”:”You can download the instruction manual for almost any modern machine from the manufacturer’s website by searching for the model number. If the machine is very old, look for a serial number on the base or the back of the unit. The manual contains the exact threading path and maintenance schedule specific to your machine’s unique design.”}},{“@type”:”Question”,”name”:”Does the number of threads matter?”,”acceptedAnswer”:{“@type”:”Answer”,”text”:”The number of threads determines the strength and type of stitch you can produce on different fabrics. A 4-thread machine is the standard for most home sewing, while 2-thread models are mostly for light-duty finishing. If you plan to sew heavy denim or outdoor gear, look for a machine that supports at least 4 threads to ensure the seams don’t pull apart.”}},{“@type”:”Question”,”name”:”How often should I oil the machine?”,”acceptedAnswer”:{“@type”:”Answer”,”text”:”You should apply one drop of sewing machine oil to the moving parts every 20 to 30 hours of use. Check the manual for the specific oiling points, as over-oiling can attract lint and cause the machine to seize up. Never use household oil, as it can gum up the delicate gears and permanently damage the machine’s timing.”}}]}