How to Serger Sewing Machine: Master Threading and Seams
You master a serger sewing machine by threading multiple spools and adjusting the differential feed to finish seams and cut fabric edges simultaneously.
Gathering your serger sewing machine supplies
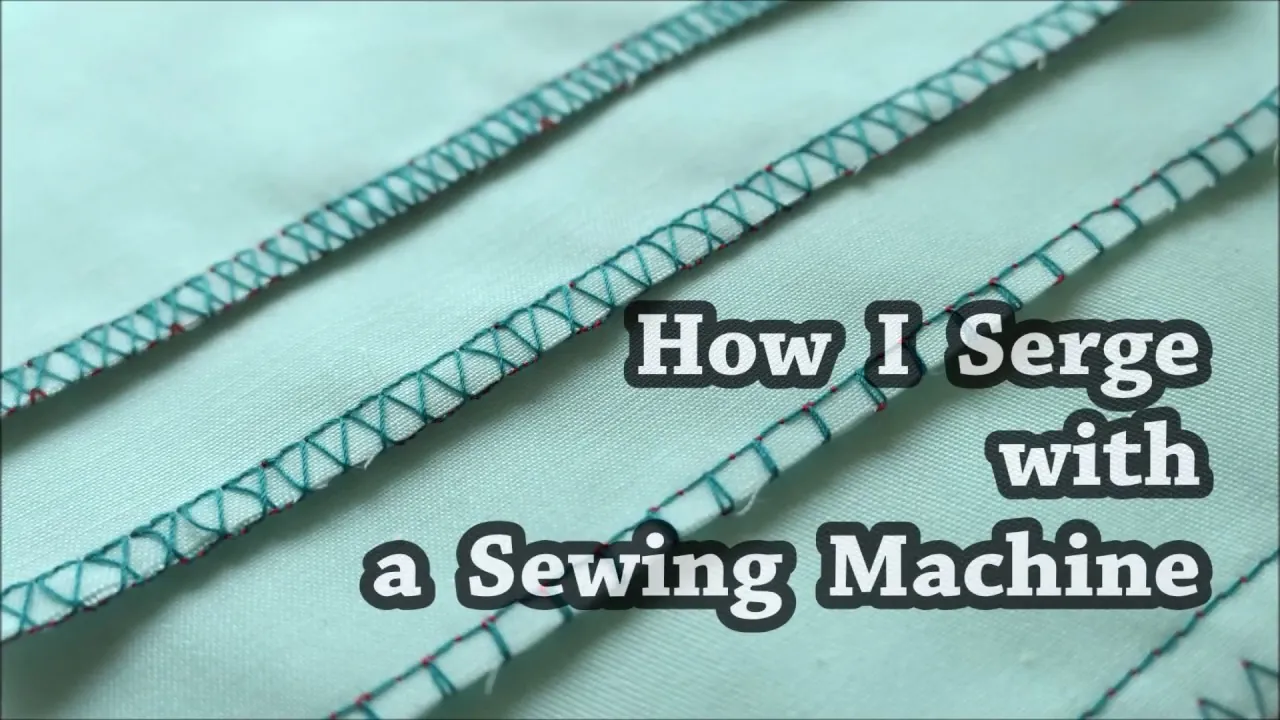
To operate your machine effectively, you need to have the following items ready on your workspace:
- Four spools of high-quality serger thread, which are thinner than standard sewing machine thread.
- A pair of sharp fabric shears for clearing thread tails.
- Tweezers for reaching into tight areas while threading the lower and upper loopers.
- A small screwdriver to adjust the blade or change needles as the manufacturer recommends.
- Scrap fabric of the same weight as your project for test stitching.
- A lint brush to clean the feed dogs after every project.
Standard thread often causes uneven tension because it’s too thick for the looper eyes. If your stitches look looped or loose, switch back to specialized serger thread immediately.
Keep your scrap fabric pieces at least six inches long. Testing on smaller scraps often fails to reveal tension issues that only appear after the machine reaches full speed.
If you notice the fabric bunching, check your needle point first. Using a universal needle instead of the recommended ballpoint type can damage delicate knits, as the sharp tip may pierce or snag the fibers. Always match your needle type to the specific elasticity of your material.
Operating Your Machine Step by Step
- Place four spools of thread on the spool pins and pull the threads through the machine guides following the color-coded path.
- Thread the lower looper first, then the upper looper, and finally the needles, as the order matters to prevent tangled threads.
- Set your stitch length to 2.5mm and the differential feed to 1.0 for most woven fabrics.
- Engage the cutting blade so it sits flush against the edge of your fabric.
- Place your fabric under the presser foot and press the foot pedal gently to start the chain of thread.
- Guide the fabric edge along the blade, but don’t push or pull; let the feed dogs move the material at their own speed.
- Finish the seam by sewing off the edge of the fabric and leaving a long tail of thread.
Tip: Always test your tension on a scrap piece of fabric before you start your main project. Careful: If the machine makes a loud grinding noise, stop immediately and check for tangled thread in the looper area. If you need to replace internal components, consult a professional technician, as opening the main housing can void your warranty.
Adjusting for Different Fabrics
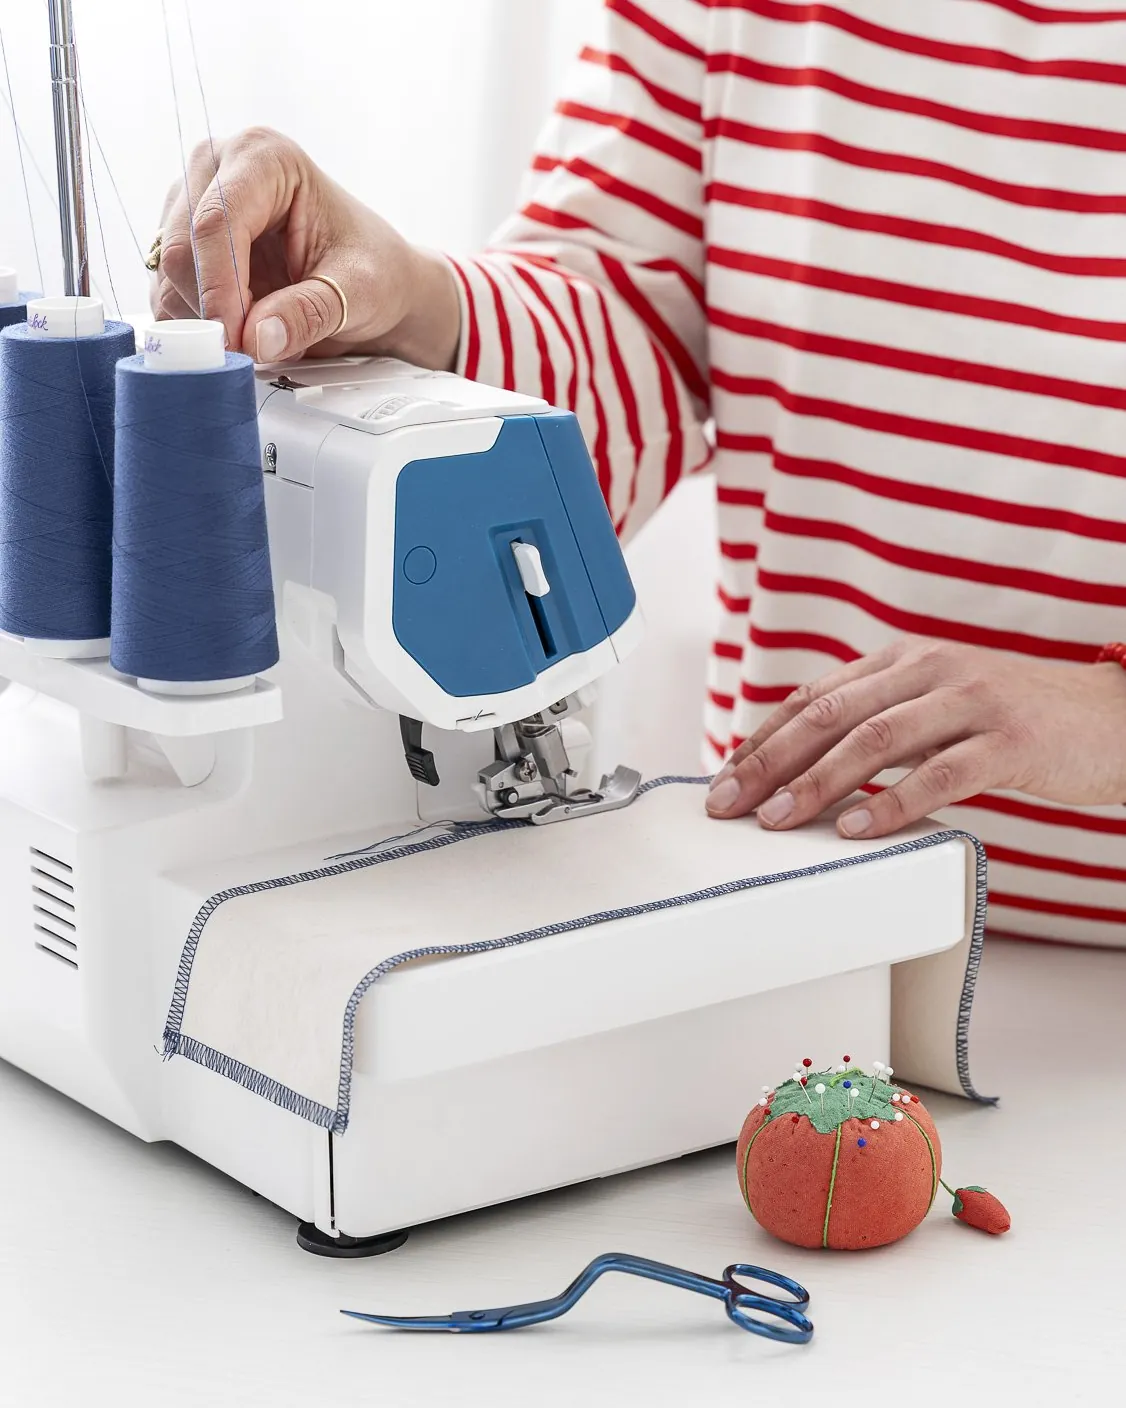
Different materials require specific settings to ensure the seam lays flat and doesn’t pucker. Start with these standard settings, but adjust based on your fabric’s weight.
| Fabric Type | Stitch Length | Differential Feed | Tension Setting |
|---|---|---|---|
| Lightweight Silk | 2.0mm | 0.8 | Low |
| Cotton Woven | 2.5mm | 1.0 | Medium |
| Heavy Denim | 3.0mm | 1.2 | High |
| Stretchy Knit | 2.5mm | 1.5 | Medium |
It’s always safer to start with the neutral 1.0 differential feed and increase it only if the fabric begins to ripple.
If your fabric ripples behind the presser foot, the fabric is being stretched; increase the differential feed to feed more fabric under the needle. Conversely, if the seam looks wavy or stretched out, increase the differential feed to prevent the fabric from stretching.
Many beginners make the mistake of adjusting tension first when puckering occurs. This rarely solves the issue and often ruins the stitch balance. Always adjust the feed before touching the tension dials. If you’re working with slippery synthetics, use a shorter stitch length to prevent the layers from shifting during the feed process.
Verifying Your Stitch Quality
A good result shows a balanced stitch where the loops meet exactly at the fabric edge without pulling the material. A poor result often features loops that hang off the edge or a seam that puckers tight. This usually happens because the needle tension is too high or the differential feed is set incorrectly.
If your thread loops hang off the fabric edge, decrease your needle tension by one increment at a time. If the seam puckers, your differential feed is likely set too high for the fabric weight.
Always test on two layers of your actual fabric rather than a single scrap. A single layer lacks the structural resistance that creates real-world tension issues. Failing to account for this extra thickness leads to seams that snap under pressure during the first wash.
Maintenance and Safety Rules
Follow the manufacturer’s guidance regarding oiling your machine, as most modern models require specific lubricants and application points. Using general-purpose household oil often gums up internal gears, leading to a permanent seizure that voids your warranty.
After every session, power down the machine and clear away loose lint from the blade and looper area using a dedicated soft brush or low-pressure canned air.
If the machine begins to skip stitches, replace the needles immediately. Dull points are the most common cause of poor seam quality. If the machine requires internal timing adjustments or motor repair, contact an authorized service center. Attempting to bypass these professional calibrations usually causes irreparable damage to the drive shaft.
Alternative Sewing Methods

Using a standard sewing machine
You can use a zigzag stitch on a regular machine to mimic a serger finish. This takes longer and doesn’t trim the edge, but it works for occasional repairs. The cost is zero if you already own the machine, though the result will be bulkier than a professional serged edge.
Using pinking shears
Pinking shears cut fabric in a zigzag pattern to slow down fraying. This is a manual method that requires no machine, making it perfect for small, quick tasks. It doesn’t create a reinforced seam, so it’s best used on hidden fabric edges that don’t see heavy wear.
Hand-sewn overcast stitch
You can finish edges by hand using a simple overcast stitch. This is the slowest method, but it provides the most control for delicate fabrics like silk. It’s ideal for couture projects where you need to avoid the heavy thread buildup that a serger creates.
Frequently asked questions
How often should I oil my serger?
You should oil your machine after every 10 to 15 hours of use, or as specified in your owner’s manual. If you notice the machine running louder than usual or if it has been sitting for several months, apply a drop of machine oil to the moving parts before starting your next project.
Can I use a serger to join seams?
Yes, you can use a serger to join seams, which is common when working with knit fabrics. The machine sews, cuts, and finishes the edge in one motion, creating a durable seam that stretches with the fabric. Always use a four-thread stitch for maximum strength when joining two pieces of fabric together.
How long does it take to thread a serger?
It typically takes 5 to 10 minutes to thread a serger once you’re familiar with the path. If you’re a beginner, allow up to 20 minutes for your first few attempts. You can speed up the process by tying new threads to the old ones and pulling them through the machine guides carefully.
Is it safe to leave the blade engaged while sewing?
Yes, it’s safe to leave the blade engaged as long as you keep your fingers well away from the cutting area. If you’re sewing over pins, remove them before they reach the blade, as hitting a metal pin can chip the blade and ruin your fabric edges.
Why is my serger thread bunching up?
Thread bunching usually happens when the tension settings are incorrect or the machine isn’t threaded in the proper sequence. Ensure that every thread is seated firmly between the tension discs. If the problem continues, re-thread the entire machine from scratch, following the color-coded diagram printed inside your machine’s front cover.
Conclusion
Once you’ve practiced on some scrap fabric, you’ll feel much more confident tackling your first real garment. Don’t worry if your initial stitches aren’t perfect; it’s all part of the process. Grab a fun pattern you’ve been eyeing, pick out some colorful thread, and enjoy seeing your projects come together so professionally.
{“@context”:”https://schema.org”,”@type”:”FAQPage”,”mainEntity”:[{“@type”:”Question”,”name”:”How often should I oil my serger?”,”acceptedAnswer”:{“@type”:”Answer”,”text”:”You should oil your machine after every 10 to 15 hours of use, or as specified in your owner’s manual. If you notice the machine running louder than usual or if it has been sitting for several months, apply a drop of machine oil to the moving parts before starting your next project.”}},{“@type”:”Question”,”name”:”Can I use a serger to join seams?”,”acceptedAnswer”:{“@type”:”Answer”,”text”:”Yes, you can use a serger to join seams, which is common when working with knit fabrics. The machine sews, cuts, and finishes the edge in one motion, creating a durable seam that stretches with the fabric. Always use a four-thread stitch for maximum strength when joining two pieces of fabric together.”}},{“@type”:”Question”,”name”:”How long does it take to thread a serger?”,”acceptedAnswer”:{“@type”:”Answer”,”text”:”It typically takes 5 to 10 minutes to thread a serger once you’re familiar with the path. If you’re a beginner, allow up to 20 minutes for your first few attempts. You can speed up the process by tying new threads to the old ones and pulling them through the machine guides carefully.”}},{“@type”:”Question”,”name”:”Is it safe to leave the blade engaged while sewing?”,”acceptedAnswer”:{“@type”:”Answer”,”text”:”Yes, it’s safe to leave the blade engaged as long as you keep your fingers well away from the cutting area. If you’re sewing over pins, remove them before they reach the blade, as hitting a metal pin can chip the blade and ruin your fabric edges.”}},{“@type”:”Question”,”name”:”Why is my serger thread bunching up?”,”acceptedAnswer”:{“@type”:”Answer”,”text”:”Thread bunching usually happens when the tension settings are incorrect or the machine isn’t threaded in the proper sequence. Ensure that every thread is seated firmly between the tension discs. If the problem continues, re-thread the entire machine from scratch, following the color-coded diagram printed inside your machine’s front cover.”}}]}