How To Sew A French Seam
If you want your sewing projects to look neat and professional, mastering the French seam is a game changer. This simple technique hides raw edges inside a clean, strong seam, giving your clothes and crafts a polished finish.
Whether you’re sewing delicate fabrics or just want your work to last longer, knowing how to sew a French seam will make a big difference. Keep reading, and you’ll learn step-by-step how to create flawless seams that will impress everyone who sees your work.
Your sewing skills are about to level up!
Materials Needed
Preparing to sew a French seam means gathering the right materials. The right fabric and tools make the process smooth and give neat results. This section covers the essentials you need before starting.
Fabric Selection
Choose fabric that is lightweight to medium weight. Cotton, silk, or linen works well. Avoid thick or bulky fabrics. Thin, sheer fabrics also suit French seams. The fabric should be easy to cut and sew. Pre-wash fabric to prevent shrinking later.
Tools Required
You need basic sewing tools for French seams. A sewing machine is important for straight, clean stitches. Sharp fabric scissors or rotary cutters help with precise cutting. Pins or clips hold fabric pieces together. Use a measuring tape or ruler to check seam allowances. A seam ripper fixes any mistakes. Iron and ironing board press seams flat for a professional finish.
Preparing The Fabric
Preparing the fabric is the first important step in sewing a French seam. It helps you get clean and neat results. Taking time to prepare fabric carefully saves effort later. This step includes measuring, cutting, and marking the fabric accurately.
Measuring And Cutting
Start by measuring the fabric with a ruler or tape measure. Check the size needed for your project. Use a fabric marker or chalk to draw straight lines. Cut the fabric along these lines using sharp scissors. Make sure the edges are smooth and even. Accurate cutting keeps the seam strong and tidy.
Marking Seam Lines
Next, mark the seam lines on the fabric. Use a fabric pencil or tailor’s chalk to draw the seam allowance. Usually, 1/4 to 3/8 inch is enough for French seams. Mark both sides of the fabric pieces. These lines guide you while sewing and folding. Clear markings help keep the seam straight and precise.
Sewing The First Seam
Sewing the first seam is the base step for a clean French seam. It hides raw edges inside the fabric. This step requires precision and care. The fabric must be placed and stitched correctly. Small mistakes here will show on the finished seam.
Stitching With Wrong Sides Together
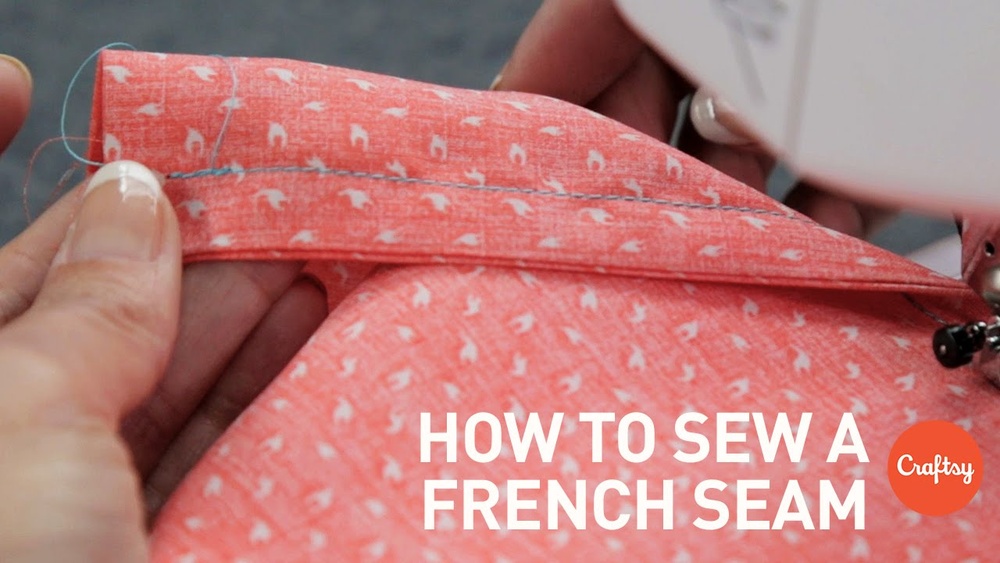
Start by placing the fabric pieces with wrong sides facing each other. This means the rough sides touch inside. Pin the edges to keep the fabric steady. Sew a straight seam close to the edge. Use a short stitch length for strength. Keep the seam allowance narrow, about ¼ inch. This ensures a neat fold later on.
Trimming Seam Allowance
Trim the seam allowance to reduce bulk inside the seam. Cut the allowance down to about ⅛ inch. Be careful not to cut the stitches. A clean trim helps the seam lie flat. Use sharp scissors or a rotary cutter for accuracy. This step is important for a smooth, professional finish.
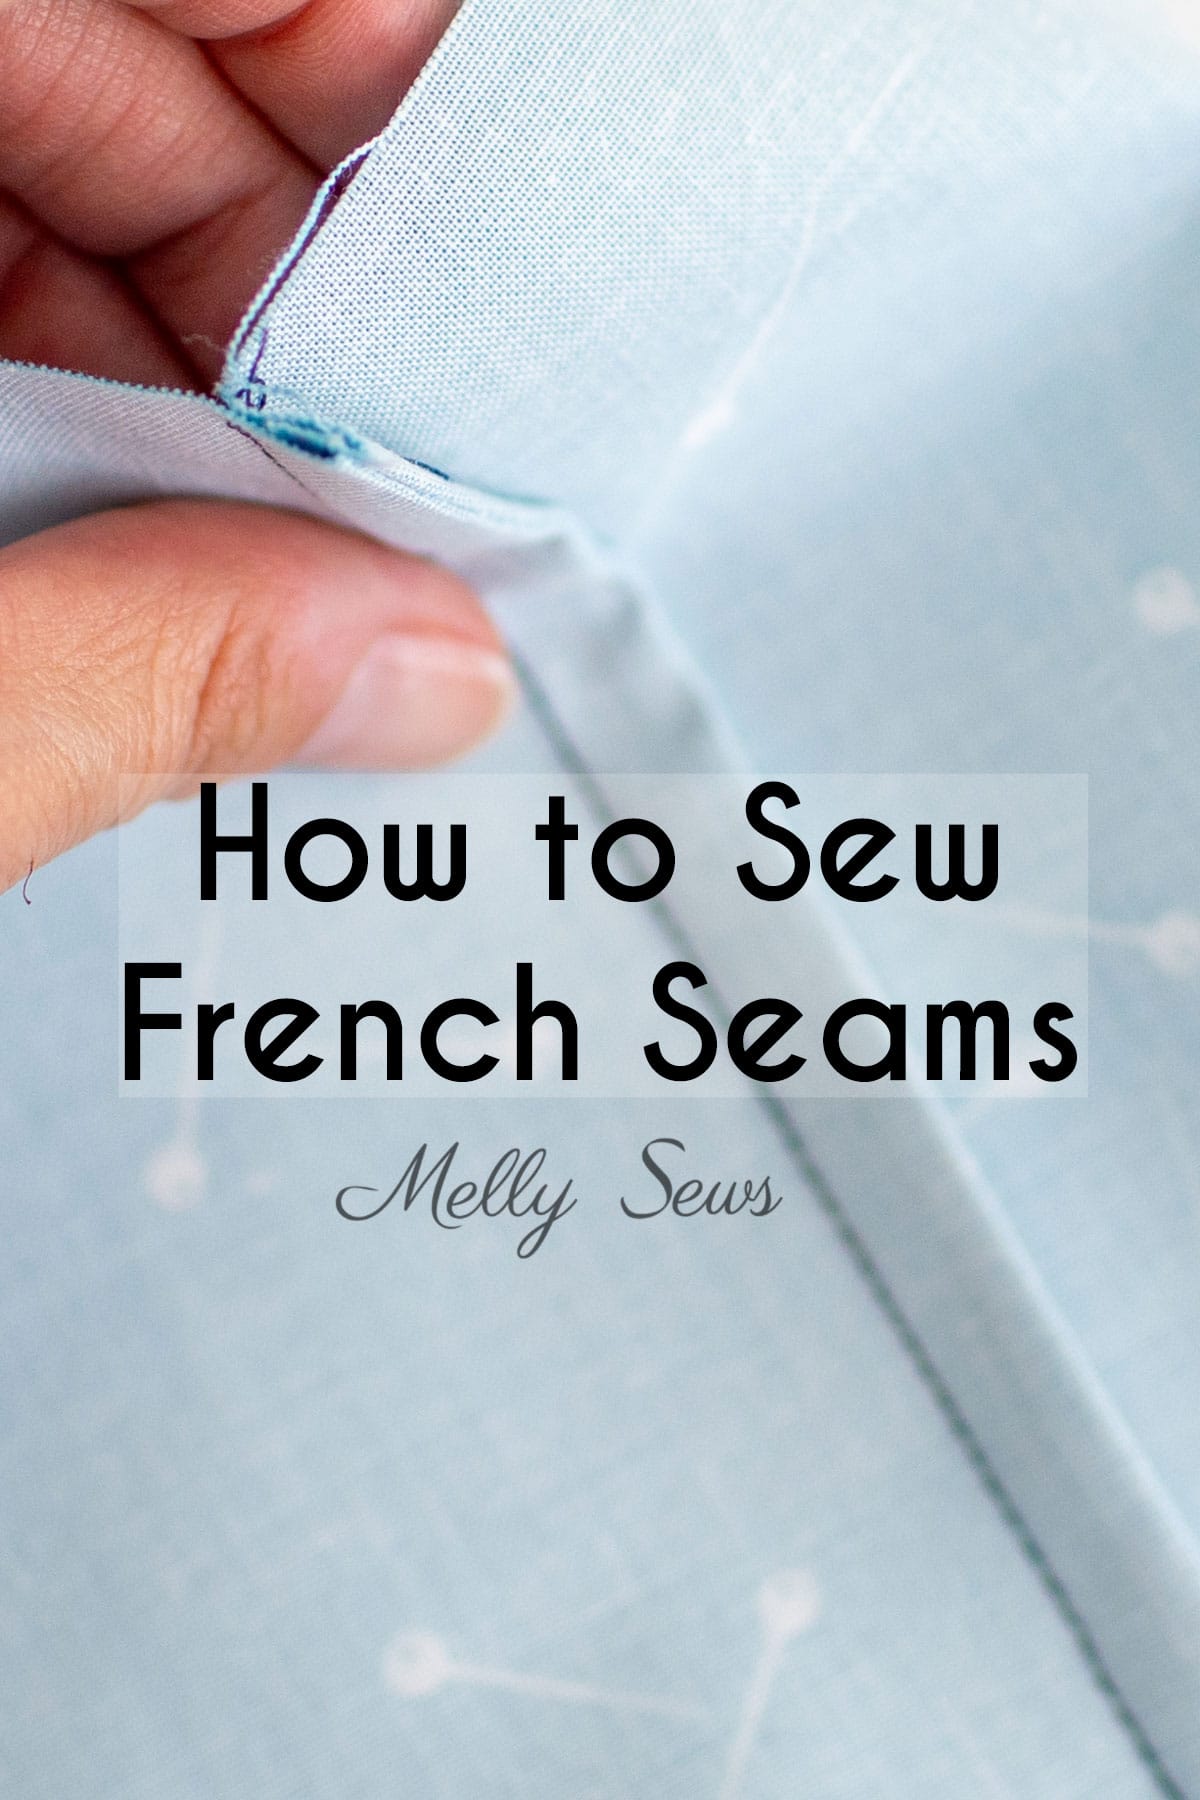
Credit: mellysews.com
Pressing The Seam
Pressing the seam is a key step in sewing a French seam. It helps create a neat and clean finish. Pressing shapes the fabric and sets the stitches firmly. It also makes the seam lay flat and smooth.
Taking your time with pressing improves the overall look of your project. Use the right heat setting on your iron to protect your fabric. Press carefully to avoid stretching or damaging the material.
Pressing Techniques
Start by closing the seam gently with your fingers. Press the seam allowance open with the tip of the iron. Use short, firm presses instead of sliding the iron. This keeps the fabric in place and avoids wrinkles.
Press from the wrong side of the fabric first. This protects the fabric’s surface and prevents shine marks. Use a pressing cloth if your fabric is delicate. Let the fabric cool before moving to the next step.
Preparing For Second Stitch
After the first press, fold the fabric with wrong sides together. Align the seam exactly along the fold line. Press the fold flat to create a sharp edge. This helps guide the second stitch line.
Pin the folded seam if needed to keep it steady. Pressing now sets the seam for a clean, hidden finish. The second stitch will enclose the raw edges inside.
Sewing The Final Seam
Sewing the final seam is the key step in creating a French seam. This seam hides raw edges inside, giving your project a clean and neat finish. It also makes the seam stronger and less likely to fray over time.
This step requires careful handling and precise sewing. The fabric must be aligned perfectly to keep the seam smooth and even. A well-sewn final seam makes your work look professional and polished.
Aligning Right Sides Together
Turn the fabric so the right sides face each other. The first seam should be inside, hiding raw edges. Match the edges carefully to avoid puckering or shifting. Pin the fabric along the seam line to hold it steady. Check that the fabric lies flat and smooth before sewing. This alignment is crucial for a perfect French seam finish.
Stitching And Securing Seam
Sew a straight stitch about 3/8 inch from the raw edge. Keep your stitches even and straight for a clean look. Remove pins as you sew to avoid damaging your machine. After stitching, press the seam gently with an iron. This flattens the seam and sets the stitches. Finish by trimming the seam allowance if needed, keeping it neat and tidy.

Credit: www.thecuttingclass.com
Finishing Touches
The finishing touches on a French seam make a big difference. They help the seam look clean and last longer. Taking time at this stage improves your sewing project greatly.
Pressing The Finished Seam
Press the French seam flat with an iron. Use a low heat setting for delicate fabrics. Press from the wrong side to avoid shiny marks. Pressing helps the seam lie smooth and neat. It also shapes the fabric for better fit and look.
Tips For Durable Seams
Trim seam allowances carefully to reduce bulk. Use small, even stitches for strength. Backstitch at the start and end to secure the seam. Choose thread that matches fabric weight. Avoid pulling the fabric while sewing. These steps make the seam strong and last longer.
Common Mistakes To Avoid
Sewing a French seam can make your projects look clean and professional. Yet, small mistakes can spoil the final result. Avoiding these common errors helps you create neat, strong seams. Pay attention to details for a smooth sewing experience.
Incorrect Fabric Alignment
Align fabric edges carefully before sewing. Misaligned pieces cause uneven seams. This mistake makes the seam bulky and uneven. Take time to pin or clip fabric well.
Sewing With Too Wide A Seam Allowance
Use the right seam allowance, usually ¼ inch. A wide allowance creates thick, hard-to-press seams. Narrow allowances keep seams slim and tidy.
Skipping The Pressing Steps
Press seams after each stitch step. Skipping this causes seams to look messy. Pressing flattens fabric and shapes the seam perfectly.
Cutting Fabric After First Stitch
Cut seam allowances only after sewing the first seam. Cutting fabric before sewing weakens the seam. This error can make seams unravel easily.
Not Trimming Seam Allowances Properly
Trim seam allowances neatly after the second stitch. Thick edges create bumps in the fabric. Proper trimming gives a smooth, flat finish.

Credit: sewsweetness.com
Frequently Asked Questions
What Is A French Seam In Sewing?
A French seam encloses raw fabric edges for a clean finish. It hides seams inside, making garments neat and durable. This technique is perfect for lightweight or sheer fabrics. It prevents fraying and adds a professional touch to your sewing projects.
How Do You Sew A French Seam Step-by-step?
Start by stitching fabric wrong sides together with a narrow seam. Trim seam allowance, then press. Fold fabric right sides together and sew a wider seam. Press again to finish, enclosing raw edges inside the seam for a clean look.
Which Fabrics Work Best For French Seams?
Light to medium-weight fabrics like cotton, silk, and chiffon suit French seams best. These fabrics benefit from enclosed edges that prevent fraying. Avoid heavy or bulky fabrics, as French seams may add unwanted thickness and reduce garment flexibility.
Can French Seams Be Used For Curved Edges?
Yes, French seams can be sewn on gentle curves. Sew carefully to maintain smooth curves without puckering. Clip seam allowances on curves before turning the seam inside for a crisp, clean finish. Avoid tight curves to prevent fabric distortion.
Conclusion
Sewing a French seam makes your projects look neat and strong. This technique hides raw edges inside the seam. It works well on thin or delicate fabrics. Practice a few times to feel confident. Take your time to sew straight lines.
Use this method to give clothes a clean finish. You will enjoy the polished look it creates. Keep trying, and your sewing skills will improve. A simple step that makes a big difference.