How To Sew Placemats With Batting
Are you ready to add a cozy, handmade touch to your dining table? Sewing placemats with batting is a simple way to create beautiful, cushioned mats that protect your table and impress your guests.
Whether you’re new to sewing or looking for a quick project, this guide will walk you through every step. By the end, you’ll have stylish placemats that feel soft and look professional. Keep reading, and you’ll discover tips that make the process easy and enjoyable—plus a few tricks to customize your design just the way you like it.
Your table deserves this upgrade!

Credit: nancyzieman.com
Materials Needed
Gathering the right materials is the first step to sew placemats with batting. Good materials make sewing easier and give better results. This section covers the key items you need before starting your project.
Fabric Selection
Choose fabric that fits your style and is easy to work with. Cotton works well because it is soft and holds shape. Pick a pattern or color that matches your dining room. Avoid slippery or very thick fabrics. These can be hard to sew and may not lie flat.
Choosing The Right Batting
Batting adds thickness and a soft feel to placemats. Look for lightweight or medium-weight cotton batting. It stays flat and is easy to sew. Polyester batting can work but may be less natural feeling. Make sure the batting is slightly smaller than the fabric pieces. This helps avoid extra bulk in the seams.
Additional Supplies
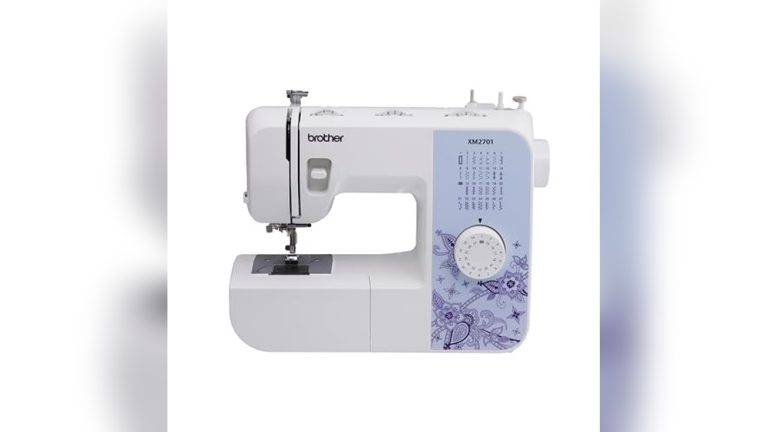
Besides fabric and batting, gather a few tools for smooth sewing. You need sharp fabric scissors for clean cuts. Pins or clips keep layers from shifting. A sewing machine speeds up the process. Thread should match or complement your fabric. An iron helps press seams flat for a neat finish.

Credit: amyssewingstudio.com
Preparing The Fabric
Preparing the fabric is the first step in sewing placemats with batting. This step ensures your placemats look neat and last longer. Proper preparation helps the fabric stay smooth and fit well with the batting. Taking time to prepare the fabric makes sewing easier and more fun.
Measuring And Cutting
Start by measuring the fabric carefully. Most placemats are about 12 by 18 inches. Add an extra inch on all sides for seams. Use a ruler or measuring tape for accuracy. Mark the fabric with a fabric pencil or chalk. Cut the fabric with sharp scissors or a rotary cutter. Cut both the top fabric and the batting the same size. Straight edges make sewing faster and more precise.
Pre-washing Tips
Wash your fabric before cutting and sewing. Pre-washing removes chemicals and dirt. It also prevents the fabric from shrinking later. Use cold water and a mild detergent. Dry the fabric flat or in a dryer on low heat. Iron the fabric to remove wrinkles. Clean, smooth fabric is easier to sew and looks better.
Cutting The Batting
Cutting the batting is an important step in making placemats. Batting gives the placemat softness and shape. Cutting it correctly helps the placemat look neat and last long. Take your time to measure and cut carefully. This part is simple but needs attention.
Sizing The Batting
Cut the batting slightly smaller than the fabric pieces. About 1/4 inch smaller on all sides works well. This prevents extra bulk at the edges. The smaller size helps the placemat lay flat. Use a ruler and sharp scissors for clean cuts. Mark the batting with a fabric pencil or chalk for accuracy.
Types Of Batting For Placemats
Choose the right batting type for your placemats. Cotton batting is soft and natural. It works well for everyday use. Polyester batting is lightweight and holds shape better. It dries quickly if the placemat gets wet. Wool batting adds thickness and warmth. It is a good choice for colder months. Fusible batting sticks to fabric with heat. It makes sewing easier for beginners.

Credit: sewinginsight.com
Layering The Pieces
Layering the pieces correctly is key to sewing placemats with batting. It helps keep the layers flat and smooth. This step makes your placemat look neat and last longer.
Arranging Fabric And Batting
Start by cutting your fabric and batting to the same size. Place the backing fabric face down on your work surface. Next, put the batting on top of the backing. Finally, lay the main fabric right side up on the batting. Make sure all edges line up evenly. This order creates a soft, sturdy placemat.
Securing Layers Before Sewing
Keep the layers from shifting by pinning or clipping them together. Place pins around the edges, spacing them about two inches apart. Use safety pins if you prefer less damage to fabric. Another option is to use temporary fabric glue or spray adhesive. Secure layers carefully to avoid wrinkles. This step helps smooth sewing and a perfect finish.
Sewing Techniques
Sewing placemats with batting adds softness and structure. Using the right sewing techniques helps create a neat and durable finish. This section covers key steps for stitching and quilting your placemats. Follow these tips for a clean, professional look.
Choosing The Stitch
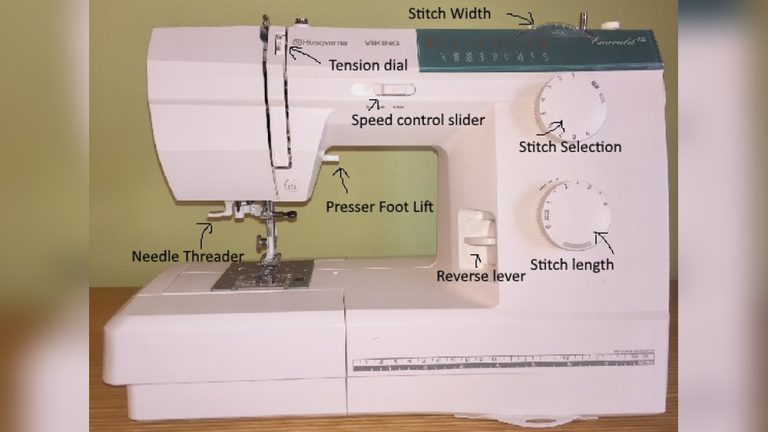
Select a stitch that holds all layers firmly. Straight stitches work best for seams. Use a medium stitch length for strength and neatness. Avoid very short stitches; they can cause fabric puckering. A zigzag stitch can finish raw edges inside the placemat. This prevents fraying and adds durability.
Quilting The Placemats
Quilting adds texture and keeps batting in place. Use simple straight lines or grid patterns for easy quilting. Sew slowly to keep lines even and neat. Start quilting from the center and move outward. This prevents fabric shifting during sewing. Quilting also gives your placemats a finished, handmade look.
Finishing Touches
Finishing touches give your placemats a neat and polished look. They help your project last longer and look professionally made. Taking time on these details makes your placemats stand out on any table.
Trimming Edges
Start by trimming any loose threads or uneven fabric edges. Use sharp scissors to cut close to the seam. This step prevents fraying and keeps the layers smooth. Clean edges make sewing the next steps easier.
Adding Binding Or Hemming
Binding adds a colorful frame and strengthens the placemat edges. Choose fabric strips that match or contrast nicely. Sew the binding evenly around all sides for a clean finish. Hemming is a simpler option. Fold the edges twice, then sew them down. Both methods keep the batting secure inside.
Care And Maintenance
Taking care of your sewn placemats with batting keeps them looking fresh and lasting longer. Proper care helps maintain their shape and softness. Follow simple steps to clean and store them safely.
Washing Instructions
Use cold water and gentle detergent to wash your placemats. Hand washing works best, but machine wash on a delicate cycle if needed. Avoid bleach and harsh chemicals that can damage the fabric and batting. Air dry flat to keep the placemats from bending or shrinking. Iron on low heat if wrinkles appear, placing a cloth between the iron and placemat to protect the fabric.
Storage Tips
Store placemats flat in a dry place to prevent creases and mildew. Avoid stacking heavy items on top to keep the batting from flattening. Use breathable fabric bags or cotton sheets to cover them. Keep away from direct sunlight to stop colors from fading. Proper storage keeps your placemats clean and ready for use.
Frequently Asked Questions
What Type Of Batting Is Best For Placemats?
Cotton or polyester batting works best for placemats. They provide good thickness and durability. Choose a medium weight for stability and easy sewing.
How Do You Attach Batting To Fabric For Placemats?
Place the batting between two fabric layers. Pin or baste them together to prevent shifting. Sew around edges and quilt if desired.
Can You Machine Wash Placemats With Batting?
Yes, most cotton and polyester batting placemats are machine washable. Use a gentle cycle and mild detergent. Air dry or tumble dry low to maintain shape.
What Stitch Is Best For Sewing Placemats With Batting?
Use a straight or decorative quilting stitch. Stitch around edges and across the batting to secure layers. This adds durability and a polished look.
Conclusion
Sewing placemats with batting adds softness and style to your table. The steps are simple and easy to follow. Choose fabrics you like and cut the batting to fit. Stitch carefully to keep layers together. This project suits beginners and helps improve sewing skills.
Enjoy making unique placemats for your home. Try different colors and patterns next time. Sewing placemats can be fun and rewarding. Give it a try and see the results yourself.