Best Beginner Sewing Machine for Quilting: Features to Look For
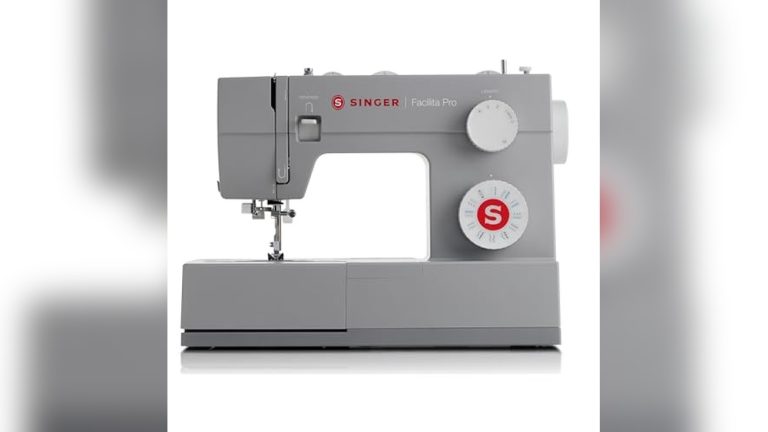
The best beginner sewing machine for quilting is one that offers a throat space of at least seven inches and a consistent straight stitch. You don’t need a heavy, expensive industrial model to start; a reliable mechanical or entry-level electronic machine provides the control you need to piece fabric layers accurately. This guide covers the essential features, maintenance routines, and common pitfalls to ensure your first project stays aligned.
Choosing a beginner sewing machine for quilting
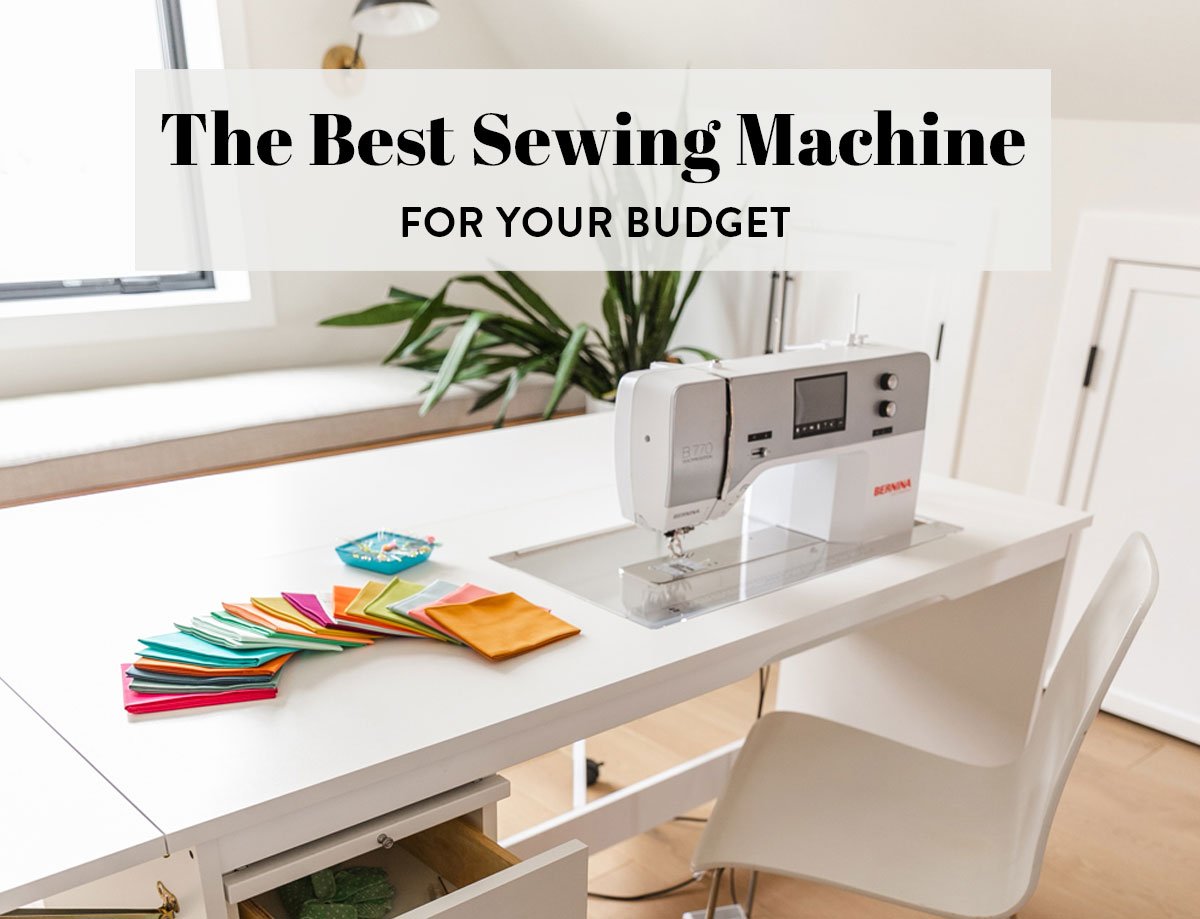
A machine designed for quilting differs from a standard garment machine primarily in its “throat space”—the distance between the needle and the main body of the machine. When you quilt, you must push a bulky sandwich of fabric, batting, and backing through this gap. If the space is too small, your quilt will bunch up, leading to uneven stitches and frustration.
Most people assume that they need a high-end machine with hundreds of decorative stitches. In reality, you’ll use a straight stitch for 95% of your quilting tasks. A simple, sturdy machine with an adjustable stitch length and a reliable feed dog system is far more useful than one with complex digital menus. If you’re a beginner, look for a machine that allows you to drop the feed dogs or use a darning plate, which is necessary if you plan to try free-motion quilting later. Remember that this varies by model — check the label or the manual to confirm if your specific unit supports these features before you buy.
The basic method
- Set your machine to a straight stitch with a length of 2.0 to 2.5 millimeters, which is the industry standard for securing quilt seams.
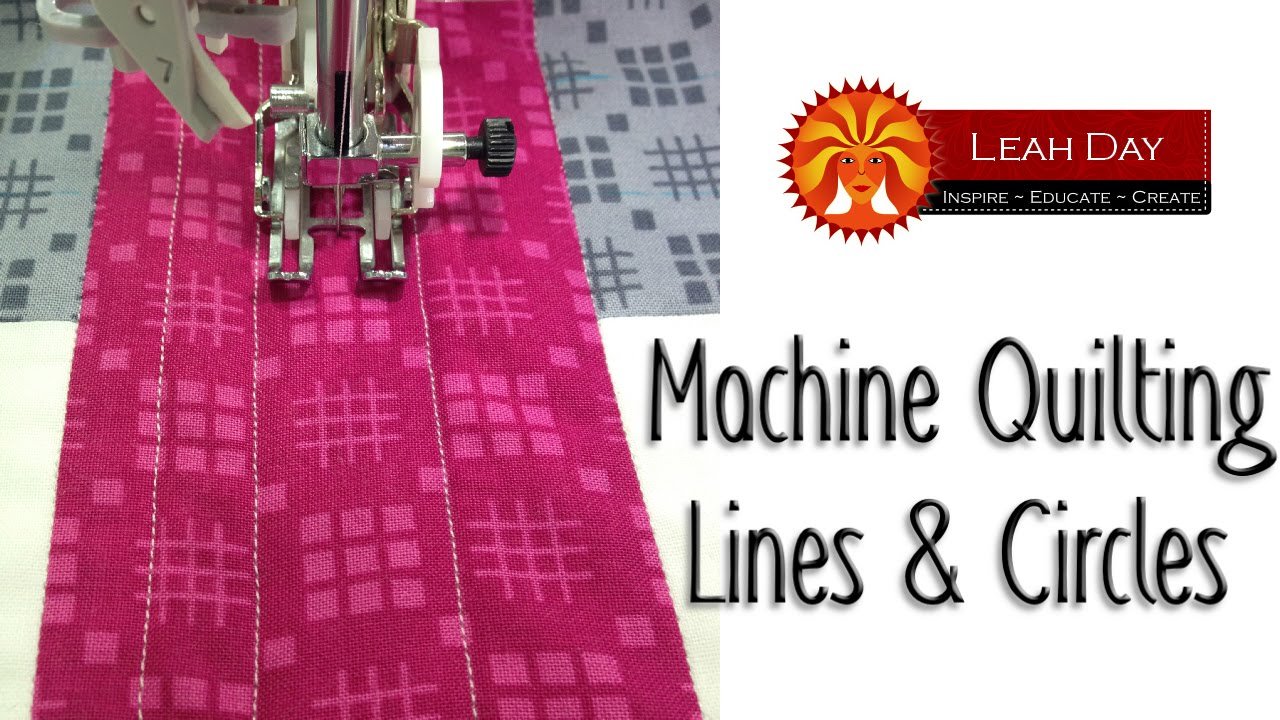
- Attach a 1/4-inch quilting foot; this guide helps you maintain an exact seam allowance, which is vital for your blocks to fit together correctly.
- Place your two fabric pieces right sides together, aligning the edges with the edge of your presser foot.
- Lower the needle into the fabric before lowering the presser foot to ensure your starting point is exact.
- Sew at a steady, moderate pace, keeping your hands flat on the fabric to guide it rather than pulling it through the machine.
- Use a leader piece of scrap fabric to start your stitching; this prevents the machine from “eating” the corner of your actual quilt block.
- Backstitch only at the very start and end of a seam to lock the threads, or use a “knotting” function if your machine has one.
The single biggest judgement call is the tension setting. If your thread looks looped on the back, your top tension is too low; if the bobbin thread is pulled to the top, your top tension is too high. You must test your stitch on two scrap layers of the exact fabric and batting you’re using before you touch your project.
Key numbers and settings at a glance
Successful quilting relies on precise settings that remain consistent throughout your session.
| Situation | What to use | How long | What to watch for |
|---|---|---|---|
| Standard Piecing | 1/4-inch foot | 2.5mm length | Consistent seam width |
| Thick Batting | Walking foot | 3.0mm length | Fabric shifting |
| Free Motion | Darning foot | Variable | Hand speed |
| Finishing Seams | Backstitch | 1 stitch | Thread bunching |
What separates good results from bad ones
Precision and Preparation
Experienced quilters never skip the pressing stage. Before you sew, iron your fabric flat; after every single seam, press it open or to the side. If you sew over a wrinkled seam, your block will be smaller than it should be, and your quilt top won’t lay flat when you join the pieces. This is a common mistake; it costs you hours of work because a “wonky” block can’t be forced into a straight quilt.
Control and Consistency
The order of operations matters. Always sew your smaller units into larger blocks before joining those blocks into rows. If you work from the center out, you can catch errors early. When you reach a point where multiple seams meet, pin them so the intersections stay aligned. If you don’t pin these intersections, the seams will shift, and your patterns won’t match up. This is a trade-off: pinning takes time, but it saves you from having to rip out stitches later. If you find your machine is struggling, stop immediately. Check if you’re using the right needle for your fabric weight; using a universal needle on very thick quilt sandwiches is a frequent cause of skipped stitches.
Common problems and quick fixes

| What you notice | What it usually means | What to do first |
|---|---|---|
| Thread knots on bottom | Incorrect tension | Re-thread the machine |
| Needle breaking | Hit a pin | Change the needle |
| Fabric not moving | Feed dogs down | Check the settings |
| Stitches skipping | Dull needle | Replace the needle |
Compliance and Safe Handling
Always operate your sewing machine on a stable, flat surface to prevent it from vibrating and falling. Electrical safety is paramount; never use a machine with a frayed power cord or a damaged foot pedal. If your machine stops working due to an electrical fault, don’t attempt to open the housing yourself. A capacitor can hold a lethal charge even when the machine is unplugged. This is technician-only work; contact a certified repair shop or the manufacturer’s authorized service center. Furthermore, follow the lubrication requirements specified by your manufacturer. Adding oil to a machine that’s marked as “permanently lubricated” can damage the internal components and void your warranty. Always check the manual provided by the brand before performing any internal maintenance.
Keeping it working afterwards
Once you finish your quilting, remove the needle plate and clear out the lint from the bobbin area using a soft brush. Lint is the enemy of a smooth stitch; it traps oil and creates friction that slows down the motor. Store your machine in a clean, dry area, preferably covered, to prevent dust from settling in the tension discs. If you notice the machine becoming louder or the motor sounding strained, it’s time for a professional cleaning. Always keep your manual in a safe place, as it contains the specific oiling points for your machine model.
When to use a different approach
This approach isn’t for those working with industrial-grade heavy canvas or leather, as standard home machines lack the motor torque to pierce these materials without damaging the internal gears. If you’re working with heavy-duty materials, seek a machine specifically rated for upholstery. Additionally, if you’re planning to quilt king-sized blankets, a small beginner machine will be physically unable to handle the weight. In that case, you should look into long-arm quilting services or a machine with an extended throat space of at least 11 inches.
Frequently asked questions

Can I use a regular sewing machine for quilting?
Yes, you can use a regular sewing machine for quilting as long as it has a straight stitch and enough space for your fabric. You don’t need specialized quilting software or complex features to create a high-quality quilt top or to complete the final quilting layers.
How long does it take to learn to quilt?
You can learn the basics of sewing a 1/4-inch seam in about one hour of practice. Mastery of quilting techniques, such as matching corners and managing large fabric layers, comes with experience gained over several projects rather than through a single session of study.
Is it safe to leave my machine plugged in?
No, it isn’t safe to leave your machine plugged in when it isn’t in use. You should always turn off the power and unplug the machine after you finish your session to prevent electrical hazards and accidental activation by children or pets.
What happens if I sew too fast?
If you sew too fast, you lose control over your seam allowance, which leads to wavy lines and mismatched blocks. You should maintain a speed that allows you to keep your fabric edges perfectly aligned with the presser foot at all times.
Do I need a special foot for quilting?
Yes, a 1/4-inch quilting foot is highly recommended for beginners because it provides a physical guide to keep your seams consistent. While you can use a standard foot, you’ll have to measure and mark your fabric constantly to ensure your seams remain accurate.
Final Thoughts
Once you’ve practiced your straight stitches on a few scraps, you’ll feel much more confident starting your first quilt top. Don’t worry if your seams aren’t perfect right away; it’s all part of the fun. Pick out a simple pattern you love, gather your favorite fabrics, and enjoy the process of creating something beautiful.
{“@context”:”https://schema.org”,”@type”:”FAQPage”,”mainEntity”:[{“@type”:”Question”,”name”:”Can I use a regular sewing machine for quilting?”,”acceptedAnswer”:{“@type”:”Answer”,”text”:”Yes, you can use a regular sewing machine for quilting as long as it has a straight stitch and enough space for your fabric. You don’t need specialized quilting software or complex features to create a high-quality quilt top or to complete the final quilting layers.”}},{“@type”:”Question”,”name”:”How long does it take to learn to quilt?”,”acceptedAnswer”:{“@type”:”Answer”,”text”:”You can learn the basics of sewing a 1/4-inch seam in about one hour of practice. Mastery of quilting techniques, such as matching corners and managing large fabric layers, comes with experience gained over several projects rather than through a single session of study.”}},{“@type”:”Question”,”name”:”Is it safe to leave my machine plugged in?”,”acceptedAnswer”:{“@type”:”Answer”,”text”:”No, it isn’t safe to leave your machine plugged in when it isn’t in use. You should always turn off the power and unplug the machine after you finish your session to prevent electrical hazards and accidental activation by children or pets.”}},{“@type”:”Question”,”name”:”What happens if I sew too fast?”,”acceptedAnswer”:{“@type”:”Answer”,”text”:”If you sew too fast, you lose control over your seam allowance, which leads to wavy lines and mismatched blocks. You should maintain a speed that allows you to keep your fabric edges perfectly aligned with the presser foot at all times.”}},{“@type”:”Question”,”name”:”Do I need a special foot for quilting?”,”acceptedAnswer”:{“@type”:”Answer”,”text”:”Yes, a 1/4-inch quilting foot is highly recommended for beginners because it provides a physical guide to keep your seams consistent. While you can use a standard foot, you’ll have to measure and mark your fabric constantly to ensure your seams remain accurate.”}}]}