How to Thread a Sewing Machine for Beginners: Step-by-Step Guide
Threading a sewing machine takes about 2 to 3 minutes once you know the path, and beginners simply need to follow one fixed route from spool to needle. You’ll raise the presser foot, pass the thread through every guide, and catch the take-up lever before finishing at the needle eye. This guide covers the exact order, the settings that change between machines, and the spots where thread usually jams.
What threading actually does
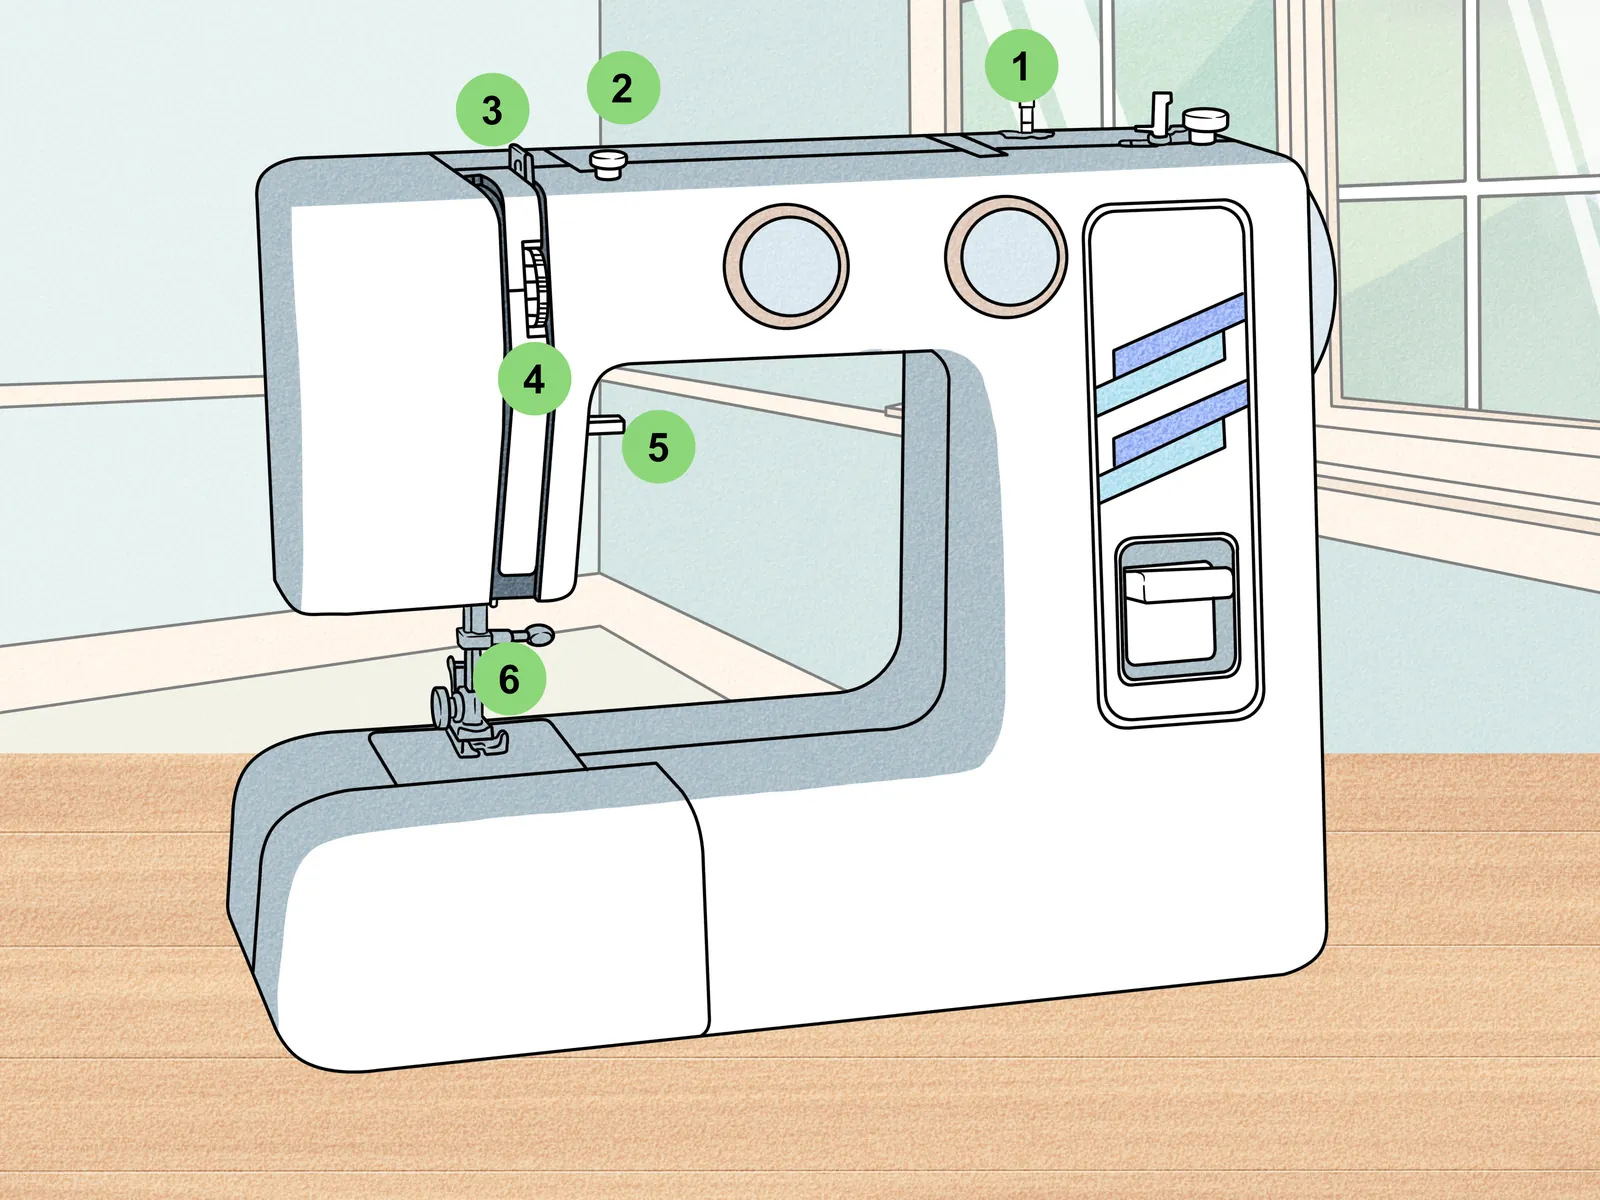
Threading is the path your top thread follows from the spool pin down to the needle. It isn’t just stringing yarn through holes. Each guide controls tension so the stitch locks evenly inside the fabric layers. Without this control, your stitches will loop or snap.
The biggest mix-up here is thinking the bobbin thread goes through these top guides. It doesn’t. You can check your specific model’s diagram in the Singer threading instructions if your machine’s layout looks different from the standard path described below.
Steps to thread a sewing machine
Follow these steps with the machine turned off. If your machine uses a side-loading bobbin, do that first; if it’s a top-loading drop-in style, you can leave the bobbin step for last.
- Turn the handwheel toward you until the take-up lever reaches its highest point.
- Raise the presser foot using the lever on the back or side. This opens the tension discs so the thread seats correctly.
- Place your thread spool on the spool pin. Use the small cap that fits snugly against the spool edge to keep it from bouncing.
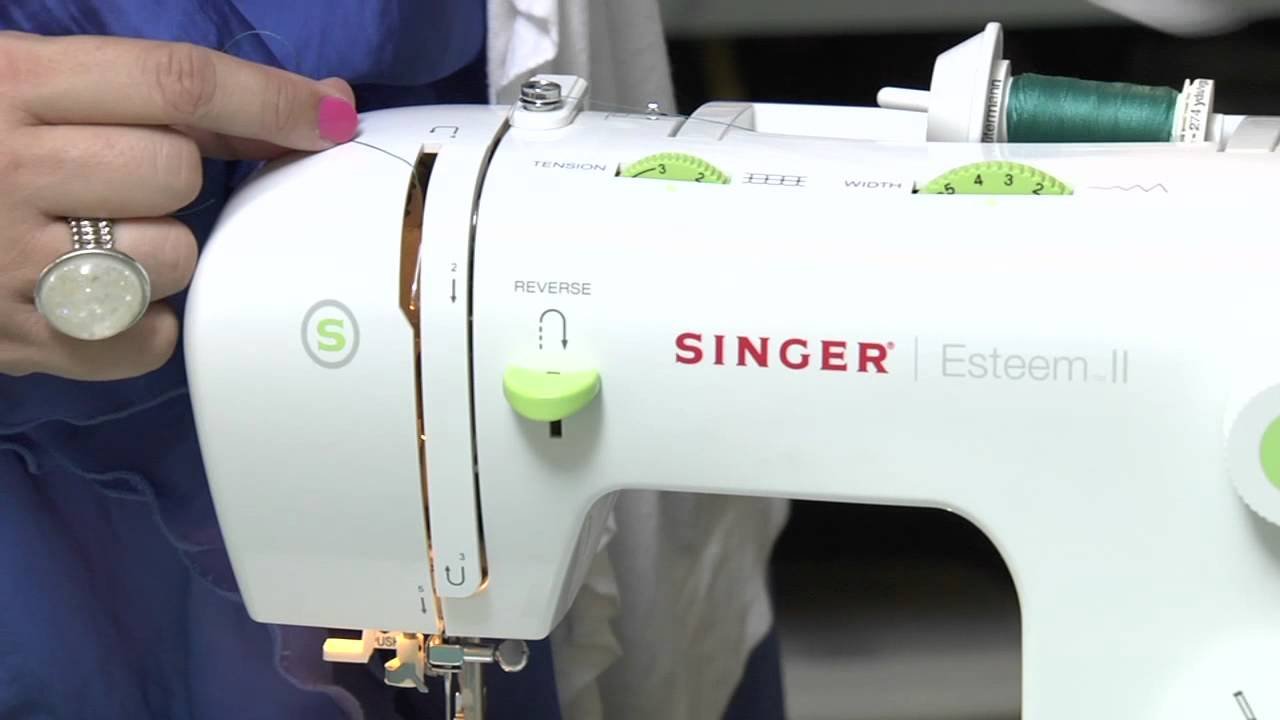
- Pull the thread into the first top guide, usually a small metal hook near the spool pin.
- Bring the thread down the left channel to the tension assembly.
- Route the thread up through the take-up lever’s eye or slot.
- Guide the thread down through any lower face guides, typically small hooks above the needle clamp.
- Thread the needle according to your machine’s manual, typically from front to back or left to right. Leave a 4-inch tail hanging behind the presser foot.
The single judgment call that separates smooth sewing from a jammed machine happens at step two.
Sewing machine thread settings
Keep these numbers handy while you work. They assume a standard home machine using medium-weight all-purpose polyester thread. If you switch to heavy denim thread or fine silk, you’ll need to adjust the tension dial accordingly.
| Situation | What to use | How long | What to watch for |
|---|---|---|---|
| Situation | What to use | What to watch for | |
| — | — | — | |
| Standard cotton fabric | All-purpose poly thread, size 80/12 needle | Thread slipping out of the take-up lever | |
| Heavy denim or canvas | Topstitching thread, size 100/16 needle | Tension dial set too low causing loose loops | |
| Delicate silk or chiffon | Fine cotton or silk thread, size 60/8 needle | Thread shredding at the needle eye | |
| Using a twin needle | Two spools, one extra spool pin | Threads crossing each other before the needle | |
| Clear monofilament thread | Monofilament, reduced top tension | Thread stretching or snapping under pressure |
Getting the thread tension right
Experienced sewers don’t just pull the thread through the guides and start the pedal. Pull the 4-inch tail gently toward the back. It should move smoothly without catching.
Another detail matters at the spool pin. Spools come in two shapes: stacked (where threads wrap parallel) and cross-wound (where threads zigzag). Stacked spools belong on a vertical pin so they unroll from the side. Cross-wound spools need a horizontal pin so they feed off the top. Putting the wrong shape on the wrong pin adds drag, which changes your tension even when the dial is set perfectly.
Finally, always hold both the top and bobbin thread tails under and behind the presser foot when you take your first few stitches. Letting them go allows the machine to suck the ends down into the bobbin case, which causes an instant bird’s nest of tangled thread on the underside of your fabric.
Threading problems and fixes

When something goes wrong, the symptom usually points straight to the missed step. Match what you see to the cause below instead of rethreading the whole machine blindly.
| What you notice | What it usually means | What to do first |
|---|---|---|
| Thread bunches under the fabric | Top thread bypassed the tension discs | Rethread with the presser foot raised |
| Needle thread breaks instantly | Missed a guide or wrong needle size | Check the full path from spool to needle |
| Stitches look loose on top | Top thread bypassed the tension discs or top tension is too low | Rethread with the presser foot raised or increase top tension |
| Thread bunches heavily or machine jams | Take-up lever was skipped entirely | Stop pedaling and verify the lever has thread |
| Thread shreds at the eye | Needle is dull or too small for the thread | Replace the needle with the correct size |
Safety rules for threading
Always turn off the machine or unplug it before threading.
Never try to force a thick thread through a small needle eye.
Changing the needle itself involves loosening a clamp screw directly above the moving parts. If you’re unsure how to align the flat side of the needle shank, consult your manual rather than guessing. A backward needle won’t pick up the bobbin thread and will damage the machine’s timing, which requires a trained technician to fix.
Keeping the thread path clean
Dust and tiny thread fibers build up around the tension discs and inside the bobbin area. Wipe these spots with a small, dry brush every time you finish a project. Don’t use compressed air, because it pushes lint deeper into the gears.
Store your machine with the cover on. Sunlight weakens thread left sitting on the spool pin, making it brittle and prone to snapping mid-stitch.
When not to use standard threading

Standard threading assumes you’re joining two pieces of fabric with a locked stitch. If you’re doing free-motion quilting, you’ll drop the feed dogs and often lower the top tension by one or two numbers. The standard path still applies, but the settings change completely.
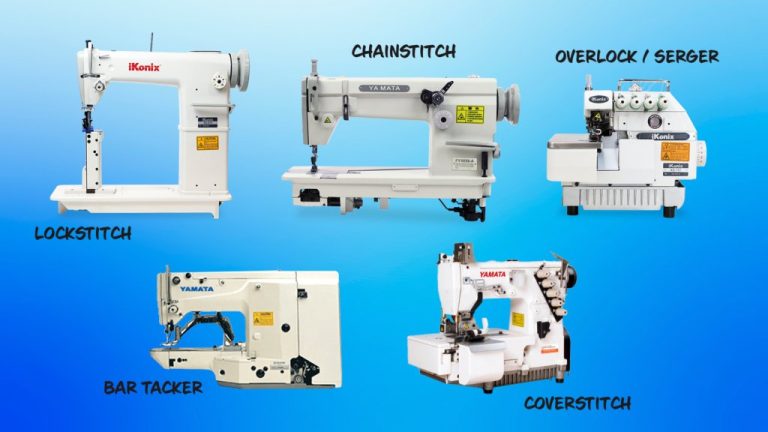
If you’re working with a serger or overlock machine, stop here. Sergers use three to five cones of thread simultaneously, and their loopers follow a strict color-coded sequence printed inside the door. Trying to apply a standard sewing machine path to a serger will jam the loopers.
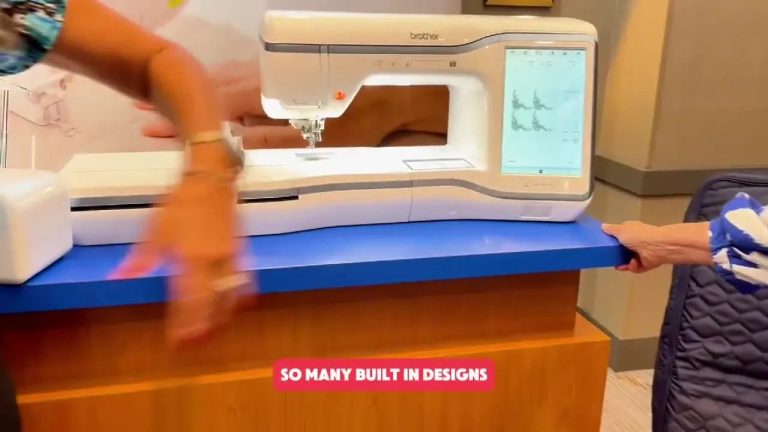
For embroidery machines, the thread must pass through a specialized sensor that detects breaks. If your machine has an auto-threader, use it instead of forcing thread manually through the tiny embroidery needle eyes, which are much smaller than standard ones.
Frequently asked questions
Why does my thread keep bunching underneath?
It bunches because the top thread never entered the tension discs. Raise the presser foot, pull the thread out, and pass it firmly between the discs again. Lower the foot before you start sewing.
Can I thread a sewing machine without a needle threader?
Yes, you can do it by hand. Cut the thread at a sharp angle, wet the tip slightly to stiffen it, and push it through the eye. Good lighting makes this much easier.
How long should the thread tail be after threading?
Leave about 4 inches of thread hanging behind the needle. Anything shorter gets pulled into the bobbin case when you start sewing. Anything longer just tangles under the fabric.
Is it safe to thread the machine while it’s plugged in?
No, it isn’t safe. Keep the power off or unplug the cord. Your fingers rest directly under the needle during threading, and an accidental pedal press causes serious injury.
What happens if I skip the take-up lever?
The machine won’t form stitches. The take-up lever pulls the thread back up after every stitch to lock it. Skipping it leaves slack thread that immediately tangles into a knot.
Do I thread the needle from the front or back?
Thread it from front to back on almost all modern home machines. Some older industrial models thread left to right, so check your manual if the thread keeps slipping out.
How often should I rethread the machine?
Rethread it every time you change the thread color or type. You don’t need to rethread between seams if you’re using the same spool, but always check the path if the stitches start looking uneven.
Conclusion
A clean thread path solves nearly every stitching problem you’ll run into at home. Take those extra ten seconds to raise the presser foot and check each guide before you touch the pedal. Once the route becomes muscle memory, you won’t need to look at the diagram anymore, and your stitches will stay even from the first seam to the last.
{“@context”:”https://schema.org”,”@type”:”FAQPage”,”mainEntity”:[{“@type”:”Question”,”name”:”Why does my thread keep bunching underneath?”,”acceptedAnswer”:{“@type”:”Answer”,”text”:”It bunches because the top thread never entered the tension discs. Raise the presser foot, pull the thread out, and pass it firmly between the discs again. Lower the foot before you start sewing.”}},{“@type”:”Question”,”name”:”Can I thread a sewing machine without a needle threader?”,”acceptedAnswer”:{“@type”:”Answer”,”text”:”Yes, you can do it by hand. Cut the thread at a sharp angle, wet the tip slightly to stiffen it, and push it through the eye. Good lighting makes this much easier.”}},{“@type”:”Question”,”name”:”How long should the thread tail be after threading?”,”acceptedAnswer”:{“@type”:”Answer”,”text”:”Leave about 4 inches of thread hanging behind the needle. Anything shorter gets pulled into the bobbin case when you start sewing. Anything longer just tangles under the fabric.”}},{“@type”:”Question”,”name”:”Is it safe to thread the machine while it’s plugged in?”,”acceptedAnswer”:{“@type”:”Answer”,”text”:”No, it isn’t safe. Keep the power off or unplug the cord. Your fingers rest directly under the needle during threading, and an accidental pedal press causes serious injury.”}},{“@type”:”Question”,”name”:”What happens if I skip the take-up lever?”,”acceptedAnswer”:{“@type”:”Answer”,”text”:”The machine won’t form stitches. The take-up lever pulls the thread back up after every stitch to lock it. Skipping it leaves slack thread that immediately tangles into a knot.”}},{“@type”:”Question”,”name”:”Do I thread the needle from the front or back?”,”acceptedAnswer”:{“@type”:”Answer”,”text”:”Thread it from front to back on almost all modern home machines. Some older industrial models thread left to right, so check your manual if the thread keeps slipping out.”}},{“@type”:”Question”,”name”:”How often should I rethread the machine?”,”acceptedAnswer”:{“@type”:”Answer”,”text”:”Rethread it every time you change the thread color or type. You don’t need to rethread between seams if you’re using the same spool, but always check the path if the stitches start looking uneven.”}}]}