Best Sewing Machines: How to Choose Between Digital and Manual
Computerized sewing machines best represent the modern standard for most users because they offer automatic tension and precise stitch control. If you only need to perform basic repairs or simple hemming, a mechanical model remains superior due to its durability and simpler internal parts. Choosing between them depends on whether you value automated convenience or mechanical longevity. Always check the manufacturer’s manual for your specific model to understand the maintenance limits, as internal lubrication requirements vary by design.
Comparing the best sewing machines

Selecting the right machine requires matching your goals with the machine’s primary function. While computerized models offer high-tech precision, mechanical versions provide raw durability for heavy fabrics.
| Method | How long | Effort | Cost | Best for |
|---|---|---|---|---|
| Mechanical | Decades | High | Low | Heavy canvas |
| Computerized | 10-15 years | Low | Medium | Quilting/Embroidery |
| Heavy-Duty | Decades | Medium | High | Leather/Denim |
Mechanical machines are excellent for beginners who want to learn the fundamentals of fabric feed and needle alignment. Computerized machines excel when you need repetitive, decorative patterns or automatic buttonholes. If you’re working with thick leather, you must use a dedicated heavy-duty machine; using a standard model for such thick material can cause permanent timing issues.
Simple mechanical operation
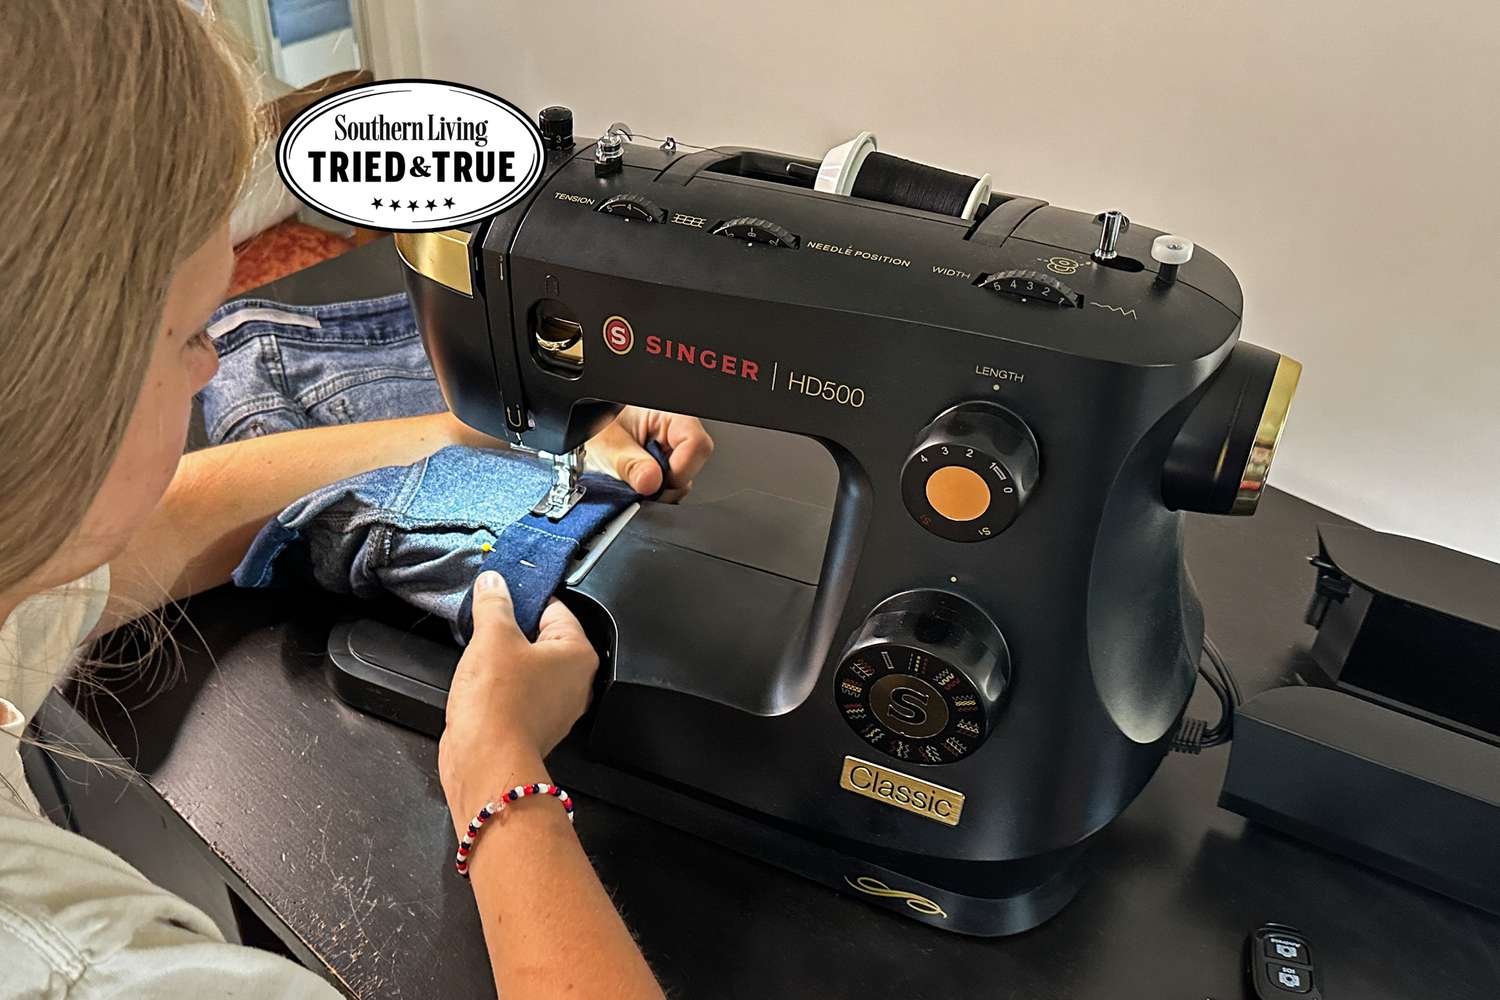
Mechanical machines rely on physical dials and levers to control the stitch length and width. They’re the workhorse of the sewing room.
- Place your fabric under the presser foot and lower the lever to secure the material.
- Select your stitch type using the dial on the front of the machine, usually set to straight stitch for basic seams.
- Turn the handwheel toward you to drop the needle into the fabric before you press the foot pedal to start.
- Keep your fingers at least one inch away from the needle path to prevent accidental injury.
These machines are fantastic for learning because they don’t hide how the thread interacts with the bobbin. They’re also easier to repair if a part snaps, as the internal components are mostly metal. However, the limitation is that you must manually adjust the tension every time you change thread weight or fabric density. If you find the thread bunching up, you must stop and adjust the tension dial immediately; ignoring this will cause tangles that can jam the bobbin case.
Computerized stitch control
Computerized models use a processor to move the needle and feed dogs with perfect timing. They make complex tasks feel effortless.
- Turn the power on and select the desired stitch number from the digital screen.
- Adjust the stitch length and width using the electronic buttons; most machines default to a standard 2.5mm length.
- Press the “Start/Stop” button if you prefer not to use the foot pedal, which maintains a constant speed.
- Use the automatic thread cutter button to trim the thread neatly at the end of a seam.
The strength of these units is consistency, as the computer ensures every stitch is identical in length. They’re perfect for users who struggle with manual tension settings. A major trade-off is the vulnerability of the motherboard; if the circuit board fails, the machine becomes unusable and often costs more to repair than the unit is worth. Always use a surge protector for these machines, as Consumer Product Safety Commission advice warns that power spikes can damage sensitive electronic components in household appliances.
Heavy-duty industrial setups
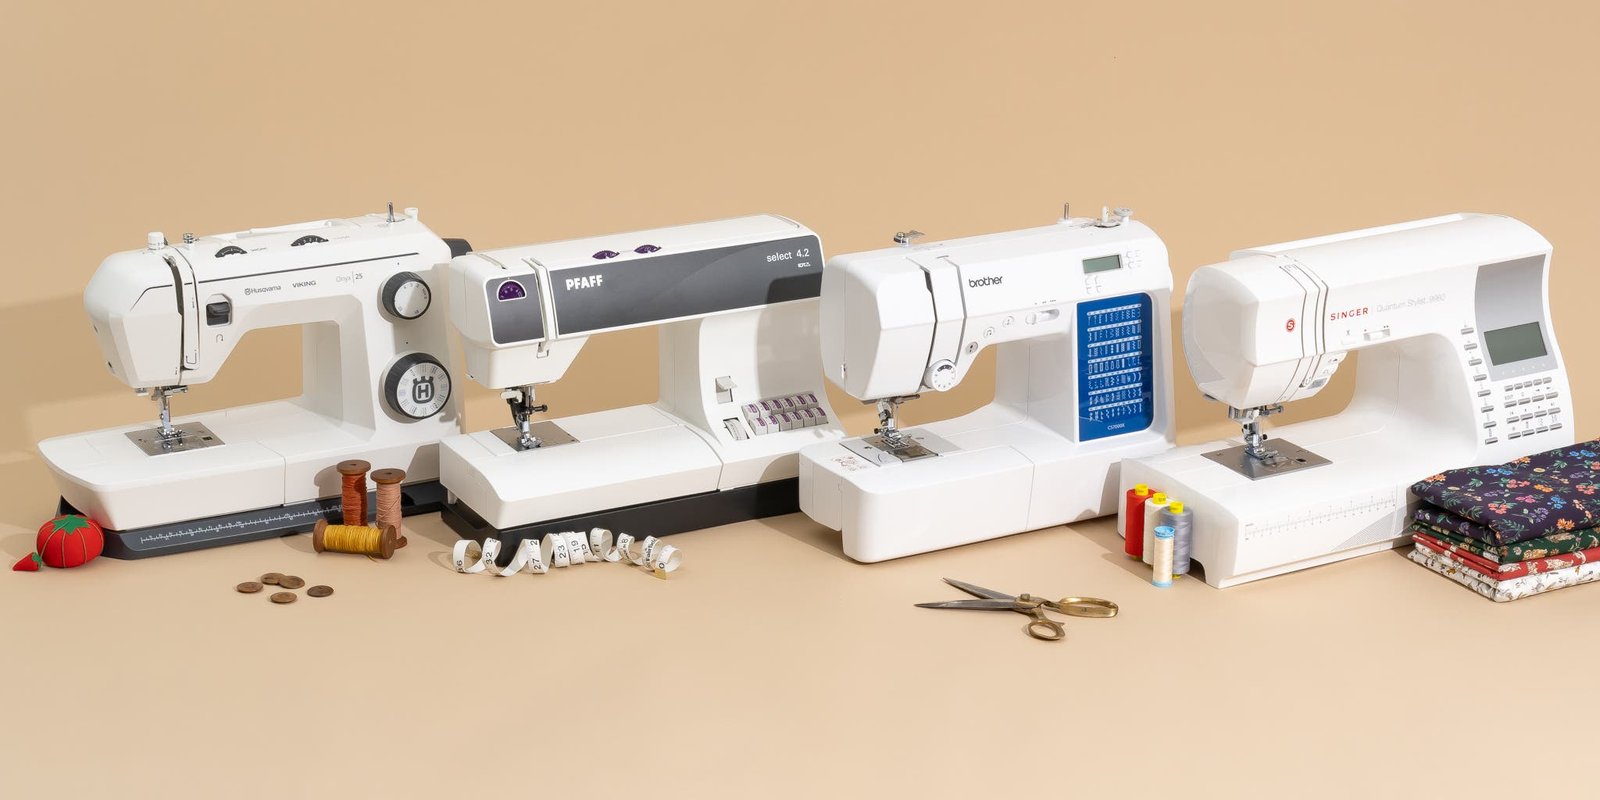
Heavy-duty machines are built to handle thick materials like denim, upholstery, and leather that would break a standard plastic-framed machine.
- Install a heavy-duty needle, size 100/16 or higher, to prevent the needle from bending when it hits the fabric.
- Use a thicker thread, such as upholstery-grade polyester, to ensure the seam doesn’t snap under pressure.
- Set the machine to a longer stitch length, typically 3.5mm to 4.0mm, to allow the feed dogs to pull the heavy material through smoothly.
- Guide the fabric slowly with both hands, ensuring you don’t pull or push the material, which can break the needle.
These machines are built for performance and offer high torque for piercing thick layers. They aren’t for beginners who want to make delicate garments, as their speed is often difficult to control at low levels. If you aren’t sewing thick materials daily, the extra weight and size of these machines will likely be an inconvenience. This is a niche tool; if your projects are mostly cotton or light synthetics, this machine isn’t for you.
Which one should you use?
Choosing the right machine depends on your current situation and how much time you intend to spend sewing.
If you’re in a hurry, pick a computerized machine. The automatic settings save you from constant testing, and features like speed control allow you to finish seams faster while maintaining accuracy.
If you’re doing this for the first time, a mechanical machine is the best path. It forces you to learn how tension and thread pathing work, which prevents you from feeling lost when a computerized machine displays an error code you can’t interpret.
If you want the best possible result whatever it takes, choose a heavy-duty machine. While it requires more physical effort to manage, the quality of the stitch on thick materials or multiple layers is unmatched by lighter machines. The trade-off is always between the ease of automation and the raw power of a mechanical build. If you value the ability to fix your own machine, stay with mechanical; if you value the ability to let the machine do the thinking, go with computerized.
The rules that apply whichever way you choose
Regardless of the machine you buy, there are universal rules for safe and effective use. First, always ensure your machine is placed on a flat, stable surface to prevent vibration, which can lead to uneven stitches. Before you start a project, test your thread and needle combination on a scrap piece of the same fabric you plan to use; this prevents wasting your final material.
Partway through your project, check your bobbin thread; running out of bobbin thread mid-seam creates a weak point that you’ll need to rip out and redo. If you hear a loud clanking noise, stop immediately and turn off the power. This often indicates a needle strike on the throat plate, which can cause internal timing issues requiring a professional technician. Never attempt to force the needle through fabric by hand if the machine is jammed; this can damage the timing gears. Finally, at the end of each session, clean the lint from the bobbin area using a small brush. Lint buildup is the most common cause of poor stitch quality. If you require advanced repairs or internal timing adjustments, consult a certified technician; attempting to open the internal casing yourself can void your warranty and cause permanent damage.
Frequently asked questions
Can I use a regular sewing machine for leather?
No, you shouldn’t use a standard machine for thick leather. Standard machines lack the motor torque and needle bar strength to penetrate thick hides, which can break the needle or damage the internal timing gears. For leather, you need a heavy-duty machine with a walking foot attachment. If you try to force leather through a regular machine, you’ll likely ruin the feed dogs and require a professional repair.
How long should a sewing machine last?
Mechanical machines can last several decades with regular cleaning and oiling, while computerized models typically last 10 to 15 years. Lifespan depends on removing lint from the bobbin area and adhering to fabric thickness limits.
Is it safe to leave a sewing machine plugged in?
No, it isn’t safe to leave a sewing machine plugged in when it isn’t in use. You should always turn the power switch to the off position and disconnect the plug from the wall outlet after you finish your work. This prevents accidental activation by children or pets and protects the machine’s internal electronics from damage caused by power surges or electrical faults while you’re away.
What happens if I don’t clean my sewing machine?
If you don’t clean your machine, lint and thread dust will accumulate in the bobbin case and under the throat plate. This buildup prevents the hook from catching the top thread correctly, leading to skipped stitches, broken needles, and jammed fabric. Over time, the lint can absorb the internal lubricant, causing the moving parts to grind and eventually seize up, which will require an expensive professional cleaning or part replacement.
How long does it take to learn to sew?
This time is necessary to master winding a bobbin, threading the needle, and managing tension. Mastering advanced techniques like inserting zippers takes significantly longer.
Final Thoughts
Before you head to the store, grab a few fabric scraps to test a machine’s tension settings in person. You’ll find that listening to how the motor sounds helps you decide if it’s a good fit for your home. Don’t rush the process; you’re making an investment that’ll last for years.
{“@context”:”https://schema.org”,”@type”:”FAQPage”,”mainEntity”:[{“@type”:”Question”,”name”:”Can I use a regular sewing machine for leather?”,”acceptedAnswer”:{“@type”:”Answer”,”text”:”No, you shouldn’t use a standard machine for thick leather . Standard machines lack the motor torque and needle bar strength to penetrate thick hides, which can break the needle or damage the internal timing gears. For leather, you need a heavy-duty machine with a walking foot attachment. If you try to force leather through a regular machine, you’ll likely ruin the feed dogs and require a professional repair.”}},{“@type”:”Question”,”name”:”How long should a sewing machine last?”,”acceptedAnswer”:{“@type”:”Answer”,”text”:”Mechanical machines can last several decades with regular cleaning and oiling, while computerized models typically last 10 to 15 years. Lifespan depends on removing lint from the bobbin area and adhering to fabric thickness limits.”}},{“@type”:”Question”,”name”:”Is it safe to leave a sewing machine plugged in?”,”acceptedAnswer”:{“@type”:”Answer”,”text”:”No, it isn’t safe to leave a sewing machine plugged in when it isn’t in use. You should always turn the power switch to the off position and disconnect the plug from the wall outlet after you finish your work. This prevents accidental activation by children or pets and protects the machine’s internal electronics from damage caused by power surges or electrical faults while you’re away.”}},{“@type”:”Question”,”name”:”What happens if I don’t clean my sewing machine?”,”acceptedAnswer”:{“@type”:”Answer”,”text”:”If you don’t clean your machine, lint and thread dust will accumulate in the bobbin case and under the throat plate. This buildup prevents the hook from catching the top thread correctly, leading to skipped stitches, broken needles, and jammed fabric. Over time, the lint can absorb the internal lubricant, causing the moving parts to grind and eventually seize up, which will require an expensive professional cleaning or part replacement.”}},{“@type”:”Question”,”name”:”How long does it take to learn to sew?”,”acceptedAnswer”:{“@type”:”Answer”,”text”:”This time is necessary to master winding a bobbin, threading the needle, and managing tension. Mastering advanced techniques like inserting zippers takes significantly longer.”}}]}