Best Sewing Machines for Clothes: Our Expert Buying Guide
Mechanical machines with heavy-duty metal frames are the best sewing machines for clothes for most home users because they provide the stability needed for consistent straight stitches. If you plan to focus on complex embroidery or decorative patterns, you should look toward computerized models instead. This choice requires a clear understanding of your personal sewing goals, as the internal components differ significantly between these two types. Always verify the specific needle and thread compatibility on the manufacturer’s label before starting your first project.
The Best Sewing Machines for Clothes
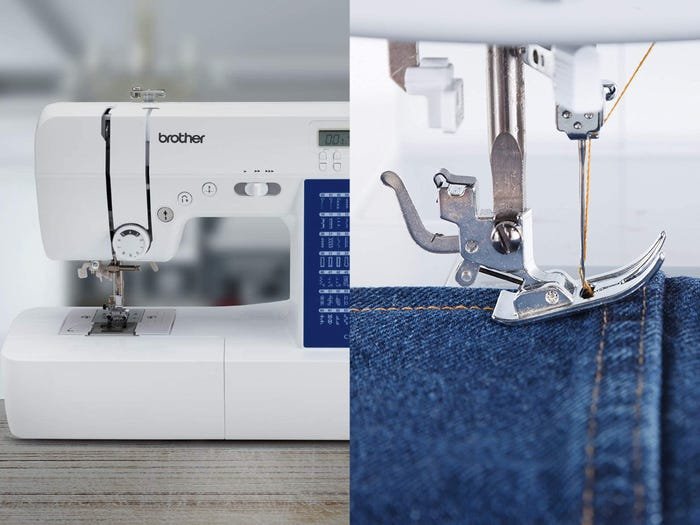
The right tool depends on your project goals and how much time you want to spend adjusting settings.
| Method | How long | Effort | Cost | Best for |
|---|---|---|---|---|
| Mechanical | Low | Low | Low | Basic garments |
| Computerized | Medium | Medium | Medium | Complex patterns |
| Industrial | Low | High | High | Heavy fabrics |
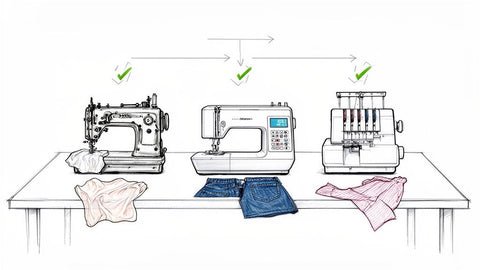
Mechanical models rely on manual dials, making them easy to learn and repair. Computerized units offer pre-programmed stitch sequences, which save time but require more setup. Industrial machines are built for speed and thick materials but aren’t portable and lack the versatility of domestic units. If you’re a beginner, stick to a mechanical model with at least a three-year limited warranty, as this covers common manufacturing defects according to the FTC guide on warranties.
Simple mechanical operation
Mechanical machines use physical knobs to control stitch length and width, which is ideal for those who prefer tactile feedback.
- Place your fabric under the presser foot and lower the lever to hold the material in place.
- Select your desired stitch type using the main dial, usually set to a straight stitch for standard garment seams.
- Adjust the stitch length to two or three millimeters, which is the standard setting for most woven cotton fabrics.
- Press the foot pedal slowly to begin sewing, keeping your hands on the sides of the fabric to guide it straight.
- Use the reverse button to secure the start and end of your seam by sewing backward for three stitches.
Mechanical machines are excellent at sewing straight, reliable seams on everyday clothing. They rarely have complex software issues, making them very durable for daily use. However, they lack the variety of automatic buttonhole styles found in more expensive electronic models. This varies by model — check the label to see if yours includes a one-step or four-step buttonhole function.
Computerized stitch control
These machines use a small screen and buttons to select stitches, making them great for repetitive tasks like quilting or adding embroidery.
- Power on the machine and wait for the screen to show the default straight stitch setting.
- Select the stitch number from the menu, ensuring the width is set to zero for a standard seam.
- Adjust the tension setting based on the weight of your fabric, typically keeping it at a middle value for medium-weight linens.
- Use the start-stop button if you prefer not to use the foot pedal, setting the speed slider to a comfortable level.
- Watch the screen for error codes, which tell you if the bobbin is low or the thread is caught.
These machines handle complex patterns with high precision and save settings for future use. They’re perfect for users who want to grow their skills over time. A common mistake people make is ignoring the screen alerts, which often leads to tangled thread in the bobbin area, costing you time to clean the housing.
Industrial heavy-duty sewing
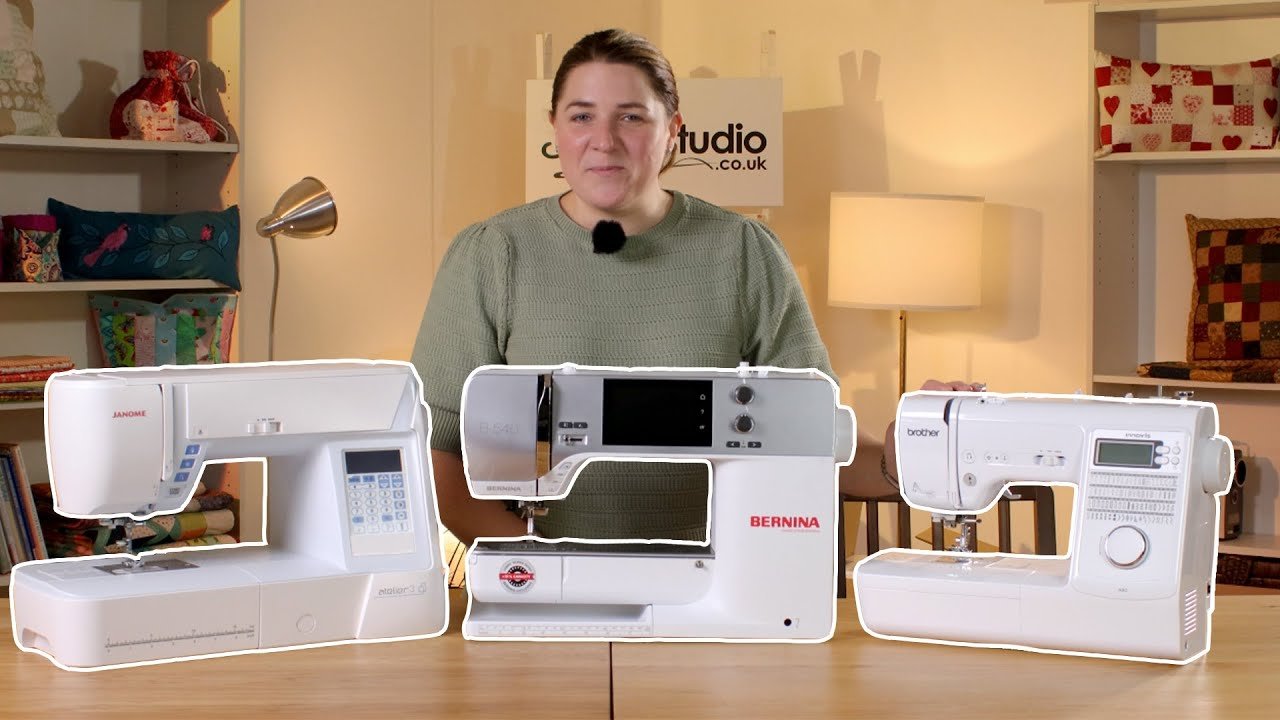
Industrial machines are built for one purpose: sewing long, straight lines on heavy materials like denim or upholstery at high speeds.
- Ensure the machine is bolted to its dedicated table, as these units are too heavy to sit on a standard desk.
- Thread the machine according to the specific path indicated by the arrows on the machine head, which is often longer than home machines.
- Set the stitch length dial to the desired density, usually three to four millimeters for durable garment construction.
- Keep the fabric edges aligned with the guide plate attached to the machine bed to maintain a consistent seam allowance.
- Engage the knee-lift lever to raise the presser foot, leaving both hands free to maneuver large pieces of fabric.
These machines offer incredible power and can sew through multiple layers of heavy canvas without skipping. They aren’t for beginners, as the high speed can be intimidating and hard to control. This isn’t for anyone who needs to sew small, delicate items like lingerie or lightweight silk.
Which one should you use?
If you’re in a hurry, use a mechanical machine because it requires almost no digital setup or software loading. You simply turn the knob and start sewing, which minimizes the time between picking up your fabric and finishing the seam.
If you’re doing this for the first time, choose a basic mechanical machine. It’s the most forgiving method for learners because the physical controls provide immediate feedback on how your settings affect the stitch quality. You won’t be overwhelmed by menu options, allowing you to focus on developing your hand-eye coordination.
If you want the best possible result whatever it takes, choose a computerized machine. While it requires more time to learn the interface, the ability to save custom stitch settings ensures that your work remains consistent across different projects. This trade-off is simple: you sacrifice the simplicity of a mechanical model to gain the precision and repeatability of a computer-controlled system.
The rules that apply whichever way you choose
Regardless of the machine you pick, you must maintain the equipment to ensure it lasts. Start by preparing your workstation with good lighting and a flat surface to prevent fabric from pulling, which can cause uneven stitches. Check the bobbin tension halfway through your project, as a loose bobbin is the most common cause of jammed thread. At the end of each session, remove the lint from the bobbin case with a small brush.
Safety is vital when using any electrical equipment. Always disconnect the power cord before changing the needle or cleaning the internal parts to avoid accidental activation. If you encounter a mechanical failure that requires opening the casing, don’t attempt to fix it yourself, as this can void your warranty or lead to electrical hazards. Take the machine to an authorized service center in your area that’s licensed to handle your specific brand.
Frequently asked questions
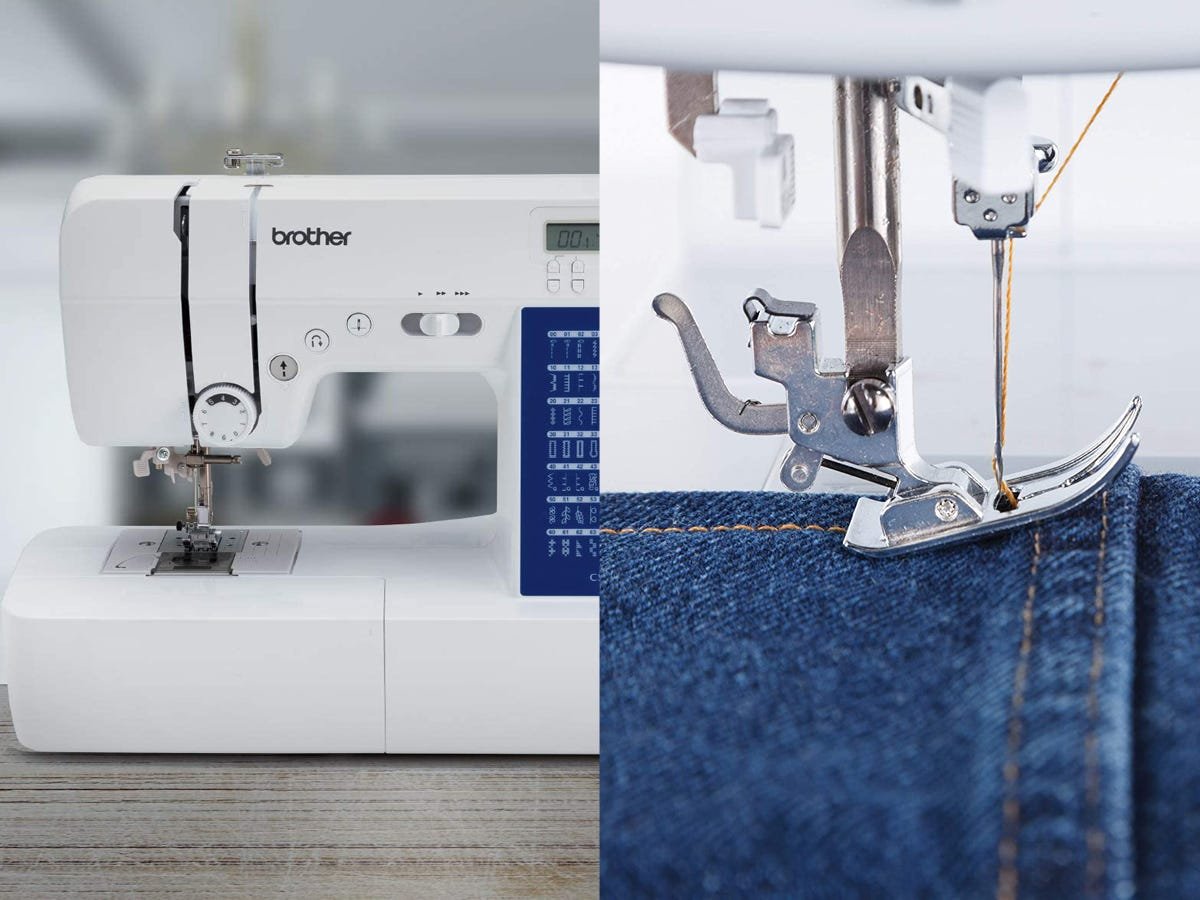
Can I use any thread for clothes?
No, you should match your thread weight to the fabric. Use lightweight cotton or polyester thread for thin fabrics like silk, and switch to thicker, heavy-duty thread for denim or canvas. Using the wrong thread causes uneven tension and frequent snapping. Always check the spool label for the recommended needle size, as using a needle that’s too small for thick thread will cause consistent breakage.
How long should a machine last?
A well-maintained mechanical machine can last for decades, while computerized models may have shorter lifespans due to internal electronic components. This varies by model — check the label for the manufacturer’s suggested service interval. If you clean the bobbin area and oil the machine according to the manual regularly, you’ll significantly extend the life of your equipment regardless of the type you own.
Is it safe to sew heavy fabric?
Yes, provided you use the correct needle type. Use a jeans or leather needle for thick materials to prevent the needle from snapping during the cycle. If your machine struggles to penetrate the fabric, don’t force it by pushing the material forward. Forcing the fabric can bend the needle or damage the timing of the machine, requiring professional repair.
Why is my thread bunching up?
Thread bunching usually happens because the top tension is too low or the machine isn’t threaded correctly. Check that the presser foot is up when you thread the top path, as this opens the tension disks. If the thread is caught in the bobbin area, remove the plate and clear the debris. If the problem persists, re-thread the entire machine from scratch.
What happens if I lose the manual?
You can almost always find a digital copy of your manual on the manufacturer’s official website by searching for your specific model number. Never guess how to oil or service your machine if you don’t have the instructions, as using the wrong oil or applying it to the wrong parts can damage the motor. If your specific model is no longer supported, contact an authorized repair shop for advice.
Final Thoughts
Once you’ve selected your machine, take a scrap piece of fabric and practice your straight stitches until you feel comfortable with the tension. Don’t worry if it doesn’t look perfect right away; you’ll get the hang of it soon. You’re ready to start your first garment, so pick a simple pattern and enjoy.
{“@context”:”https://schema.org”,”@type”:”FAQPage”,”mainEntity”:[{“@type”:”Question”,”name”:”Can I use any thread for clothes?”,”acceptedAnswer”:{“@type”:”Answer”,”text”:”No, you should match your thread weight to the fabric. Use lightweight cotton or polyester thread for thin fabrics like silk, and switch to thicker, heavy-duty thread for denim or canvas. Using the wrong thread causes uneven tension and frequent snapping. Always check the spool label for the recommended needle size, as using a needle that’s too small for thick thread will cause consistent breakage.”}},{“@type”:”Question”,”name”:”How long should a machine last?”,”acceptedAnswer”:{“@type”:”Answer”,”text”:”A well-maintained mechanical machine can last for decades, while computerized models may have shorter lifespans due to internal electronic components. This varies by model — check the label for the manufacturer’s suggested service interval. If you clean the bobbin area and oil the machine according to the manual regularly, you’ll significantly extend the life of your equipment regardless of the type you own.”}},{“@type”:”Question”,”name”:”Is it safe to sew heavy fabric?”,”acceptedAnswer”:{“@type”:”Answer”,”text”:”Yes, provided you use the correct needle type. Use a jeans or leather needle for thick materials to prevent the needle from snapping during the cycle. If your machine struggles to penetrate the fabric, don’t force it by pushing the material forward. Forcing the fabric can bend the needle or damage the timing of the machine, requiring professional repair.”}},{“@type”:”Question”,”name”:”Why is my thread bunching up?”,”acceptedAnswer”:{“@type”:”Answer”,”text”:”Thread bunching usually happens because the top tension is too low or the machine isn’t threaded correctly. Check that the presser foot is up when you thread the top path, as this opens the tension disks. If the thread is caught in the bobbin area, remove the plate and clear the debris. If the problem persists, re-thread the entire machine from scratch.”}},{“@type”:”Question”,”name”:”What happens if I lose the manual?”,”acceptedAnswer”:{“@type”:”Answer”,”text”:”You can almost always find a digital copy of your manual on the manufacturer’s official website by searching for your specific model number. Never guess how to oil or service your machine if you don’t have the instructions, as using the wrong oil or applying it to the wrong parts can damage the motor. If your specific model is no longer supported, contact an authorized repair shop for advice.”}}]}