Hemming Sewing Machine Guide: Professional Results at Home
Using a specialized hemming sewing machine is the fastest way to get professional results on garments, though most people can achieve the same look with a standard machine and a blind-hem foot. If you’re working with thick fabrics like denim, a heavy-duty machine is essential, whereas light silks require a delicate touch and a narrow feed dog. Always check your machine manual for specific needle and thread pairings, as using the wrong size can damage delicate textiles or cause skipped stitches.
Comparing your hemming sewing machine options
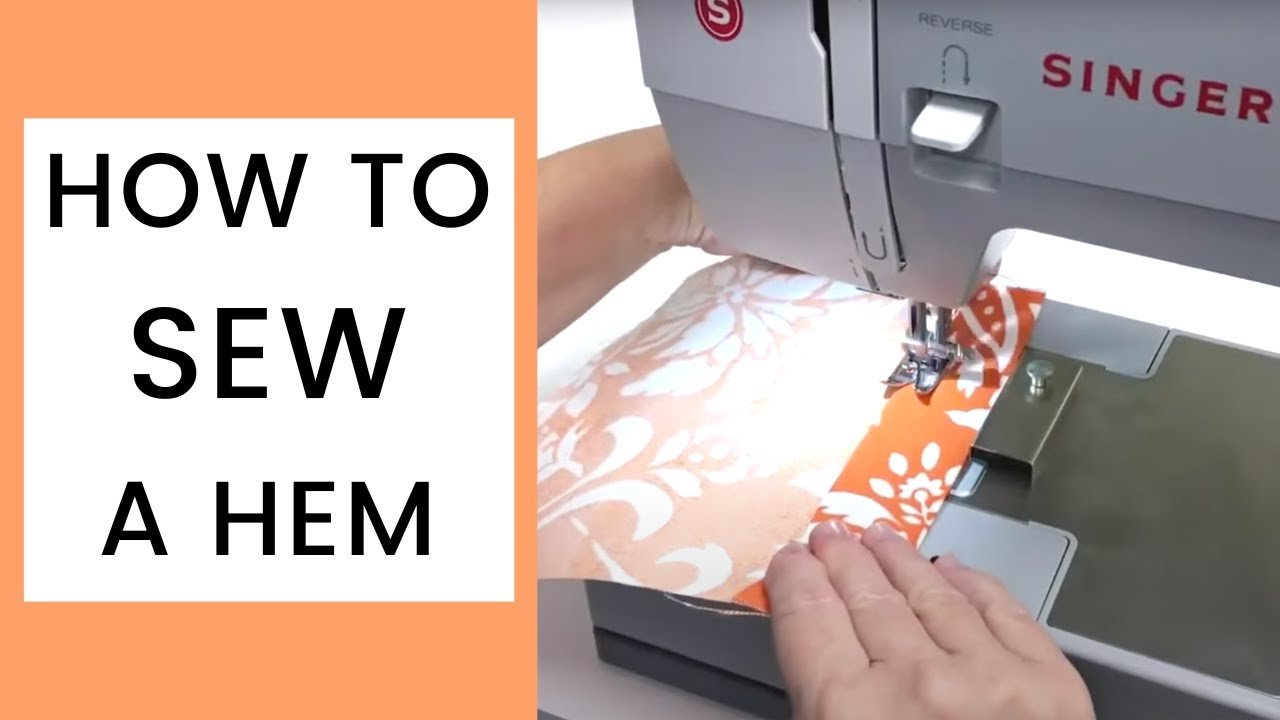
The best way to hem depends on the fabric type and the finish you want to achieve on your project.
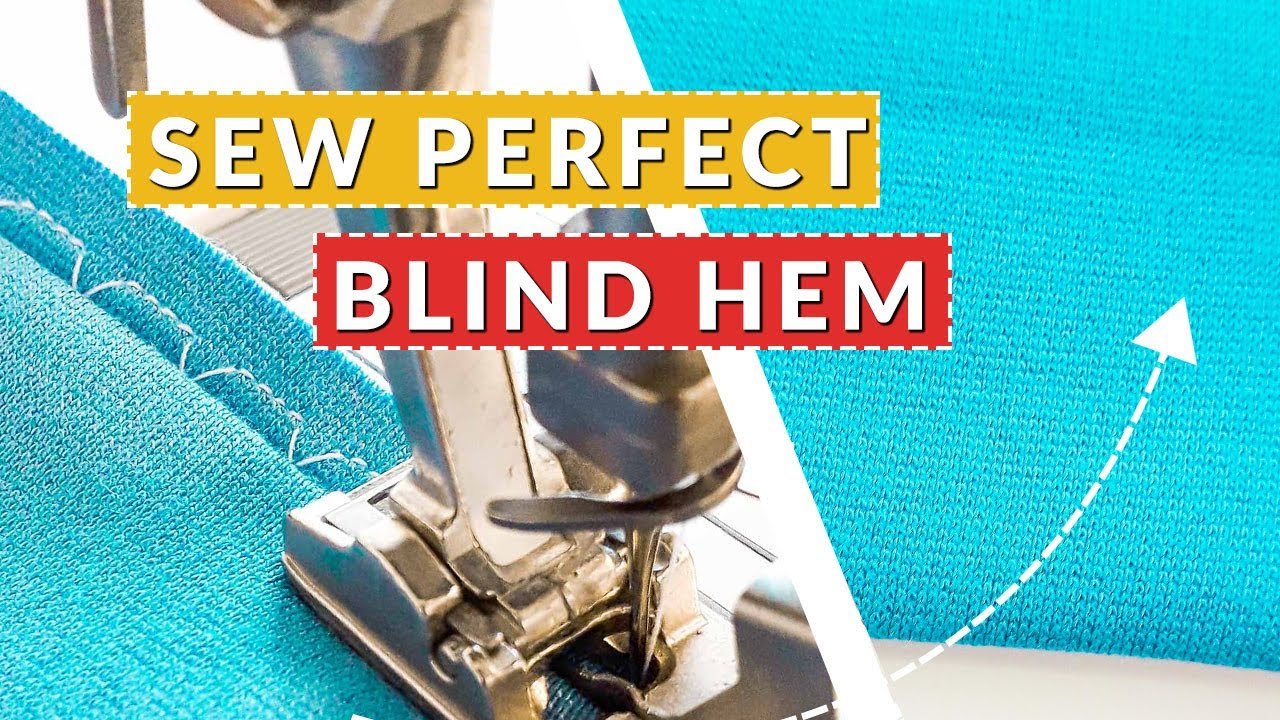
Using a blind hem foot
This attachment works with almost any standard home machine to hide your stitches inside the fabric fold.
- Fold your fabric edge to the desired length and press it firmly with an iron.
- Fold the fabric back toward the right side, leaving a small lip of the hem exposed.
- Attach the blind hem foot and select the blind hem stitch setting on your machine.
- Position the fabric so the straight stitches fall on the small lip while the zigzag stitch just catches the main fabric fold.
- Sew slowly, ensuring the needle barely pierces the main fabric, then press the finished edge flat.
This method is excellent for trousers and curtains because it provides a clean, invisible finish. The main weakness is that it requires practice to keep the needle from catching too much fabric, which creates visible “dots” on the front. If you’re struggling with stitch consistency, adjust your machine’s tension settings and ensure your feed dogs are clean and properly engaged for your specific fabric weight.
Using a coverstitch machine
A dedicated coverstitch machine creates the professional, double-row look seen on store-bought t-shirts and leggings.
- Set the machine for a two-needle or three-needle stitch, depending on your desired hem width.
- Fold the raw edge of the fabric to the inside by the width specified in your pattern.
- Place the fabric under the presser foot with the raw edge aligned to the guide.
- Sew along the edge, letting the machine handle the fabric feed without pulling or pushing the material.
- Finish by pulling the threads to the back, knotting them, and trimming the excess length.
This machine is perfect for knits because it allows the fabric to stretch without snapping the thread. A significant trade-off is the cost, as these units are expensive and serve only one purpose. This isn’t for someone who only sews occasionally, as the learning curve for threading the looper is quite steep.
Manual hemming techniques
Hand stitching remains the gold standard for luxury garments where machine marks would ruin the aesthetic.
- Measure your hem allowance and use tailor’s chalk to mark a crisp line across the fabric.
- Press the edge under once to create a clean fold, using pins to hold it in place.
- Thread a needle with a single strand of thread that matches your fabric color exactly.
- Use a catch stitch or slip stitch, picking up only one thread of the main fabric at a time.
- Keep your stitches about one centimeter apart to ensure the hem stays secure while remaining flexible.
This method offers the most control and requires zero expensive equipment. If you’re a beginner, you might find this slow, but it’s the best way to handle curved hems that are difficult to feed through a machine. A common mistake is pulling the thread too tight, which causes the fabric to pucker; always keep your tension loose to ensure the hem drapes naturally.
Which one should you use?
If you’re in a hurry, use the blind hem foot. It attaches quickly to your existing machine and lets you finish a pair of pants in under twenty minutes without changing your entire setup.
If you’re doing this for the first time, start with the blind hem foot as well. It’s the most forgiving method because you can easily unpick the stitches if you make a mistake, and it teaches you how to guide fabric through a machine consistently.
If you want the best possible result regardless of the time or money spent, use hand stitching. While it takes the longest, it provides a level of control and elegance that no machine can match, especially on delicate or expensive materials. You’ll avoid the risk of machine-induced damage and ensure the hem moves perfectly with the garment. The trade-off is clear: machines buy you speed and uniformity, while your hands buy you quality and precision.
The rules that apply whichever way you choose
Regardless of the method, you must always test your stitch on a scrap piece of the same fabric. This confirms that your needle size and tension settings are correct before you touch your final garment. Check your machine’s manual for recommended needle types; for example, ballpoint needles are required for knits to prevent holes, while sharp needles are best for woven cottons.
You should also press your hem at every stage. A well-pressed fold acts as a guide, making it much easier to sew a straight line. If you’re working with heavy fabrics, ensure your workspace is stable, as shifting fabric is the most common cause of uneven hems. When finished, inspect the back of the fabric to ensure no thread loops are hanging loose, as these can snag and unravel the entire hem.
If you’re using industrial equipment, be aware that these machines often operate at high speeds and carry risks of finger injury. Always keep your hands clear of the needle area and unplug the machine before changing needles or cleaning the bobbin case. If you don’t feel comfortable performing these maintenance tasks, contact a professional sewing machine technician to handle the repairs. Professional service ensures your equipment remains compliant with safety standards.
Frequently asked questions

Can I use a regular sewing machine for hemming?
Yes, you can use a regular machine for hemming by using a blind hem foot or a standard straight stitch. Most home machines come with a variety of feet and settings, including a blind hem stitch, which is designed specifically for this purpose. You simply need to adjust your stitch length and tension to match the thickness of your fabric to ensure the hem stays secure and looks neat on the outside.
Why is my sewing machine skipping stitches on the hem?
Skipped stitches usually occur because the needle is the wrong size or type for your fabric. If you’re using a universal needle on a stretchy knit, the needle may fail to catch the thread consistently, leading to gaps in your hem. Check your machine manual for the recommended needle size and type, and ensure the needle is inserted fully and tightened correctly in the needle bar.
How long does a machine hem take to complete?
A machine hem typically takes between five and fifteen minutes for a standard garment like a pair of trousers or a skirt. This time includes the initial folding and pressing, which are essential for a professional look, and the actual sewing time. If you’re working on a circular hem or a very wide skirt, you should allow for extra time to manage the fabric bulk under the machine arm.
Is it safe to hem heavy denim with a home machine?
Yes, it’s safe to hem heavy denim with most home machines, provided you use a heavy-duty needle and a slightly longer stitch length. Denim is thick, so you should avoid forcing the fabric through the machine, as this can break the needle or damage the motor. If your machine struggles to feed the fabric, use a hump-jumper tool to help the presser foot climb over thick seams.
What happens if I pull the fabric while hemming?
Pulling the fabric while it’s under the presser foot causes the stitches to become uneven and can distort the shape of your hem. You should let the machine’s feed dogs pull the fabric forward at their own pace while you only guide the edge to keep it straight. If you pull, you risk breaking the needle or causing the machine to seize, which may require professional servicing to fix.
Final Thoughts
Practice makes a big difference when you’re learning these techniques. Grab a few scrap pieces of fabric and experiment with your settings until you’re comfortable with the tension. You’ll feel much more confident once you’ve seen how these adjustments work, so don’t be afraid to test your skills on a simple project today.
Related guides
{“@context”:”https://schema.org”,”@type”:”FAQPage”,”mainEntity”:[{“@type”:”Question”,”name”:”Can I use a regular sewing machine for hemming?”,”acceptedAnswer”:{“@type”:”Answer”,”text”:”Yes, you can use a regular machine for hemming by using a blind hem foot or a standard straight stitch. Most home machines come with a variety of feet and settings, including a blind hem stitch, which is designed specifically for this purpose. You simply need to adjust your stitch length and tension to match the thickness of your fabric to ensure the hem stays secure and looks neat on the outside.”}},{“@type”:”Question”,”name”:”Why is my sewing machine skipping stitches on the hem?”,”acceptedAnswer”:{“@type”:”Answer”,”text”:”Skipped stitches usually occur because the needle is the wrong size or type for your fabric. If you’re using a universal needle on a stretchy knit, the needle may fail to catch the thread consistently, leading to gaps in your hem. Check your machine manual for the recommended needle size and type, and ensure the needle is inserted fully and tightened correctly in the needle bar.”}},{“@type”:”Question”,”name”:”How long does a machine hem take to complete?”,”acceptedAnswer”:{“@type”:”Answer”,”text”:”A machine hem typically takes between five and fifteen minutes for a standard garment like a pair of trousers or a skirt. This time includes the initial folding and pressing, which are essential for a professional look, and the actual sewing time. If you’re working on a circular hem or a very wide skirt, you should allow for extra time to manage the fabric bulk under the machine arm.”}},{“@type”:”Question”,”name”:”Is it safe to hem heavy denim with a home machine?”,”acceptedAnswer”:{“@type”:”Answer”,”text”:”Yes, it’s safe to hem heavy denim with most home machines, provided you use a heavy-duty needle and a slightly longer stitch length. Denim is thick, so you should avoid forcing the fabric through the machine, as this can break the needle or damage the motor. If your machine struggles to feed the fabric, use a hump-jumper tool to help the presser foot climb over thick seams.”}},{“@type”:”Question”,”name”:”What happens if I pull the fabric while hemming?”,”acceptedAnswer”:{“@type”:”Answer”,”text”:”Pulling the fabric while it’s under the presser foot causes the stitches to become uneven and can distort the shape of your hem. You should let the machine’s feed dogs pull the fabric forward at their own pace while you only guide the edge to keep it straight. If you pull, you risk breaking the needle or causing the machine to seize, which may require professional servicing to fix.”}}]}