Quilting Machine for Beginners: How to Choose the Right One
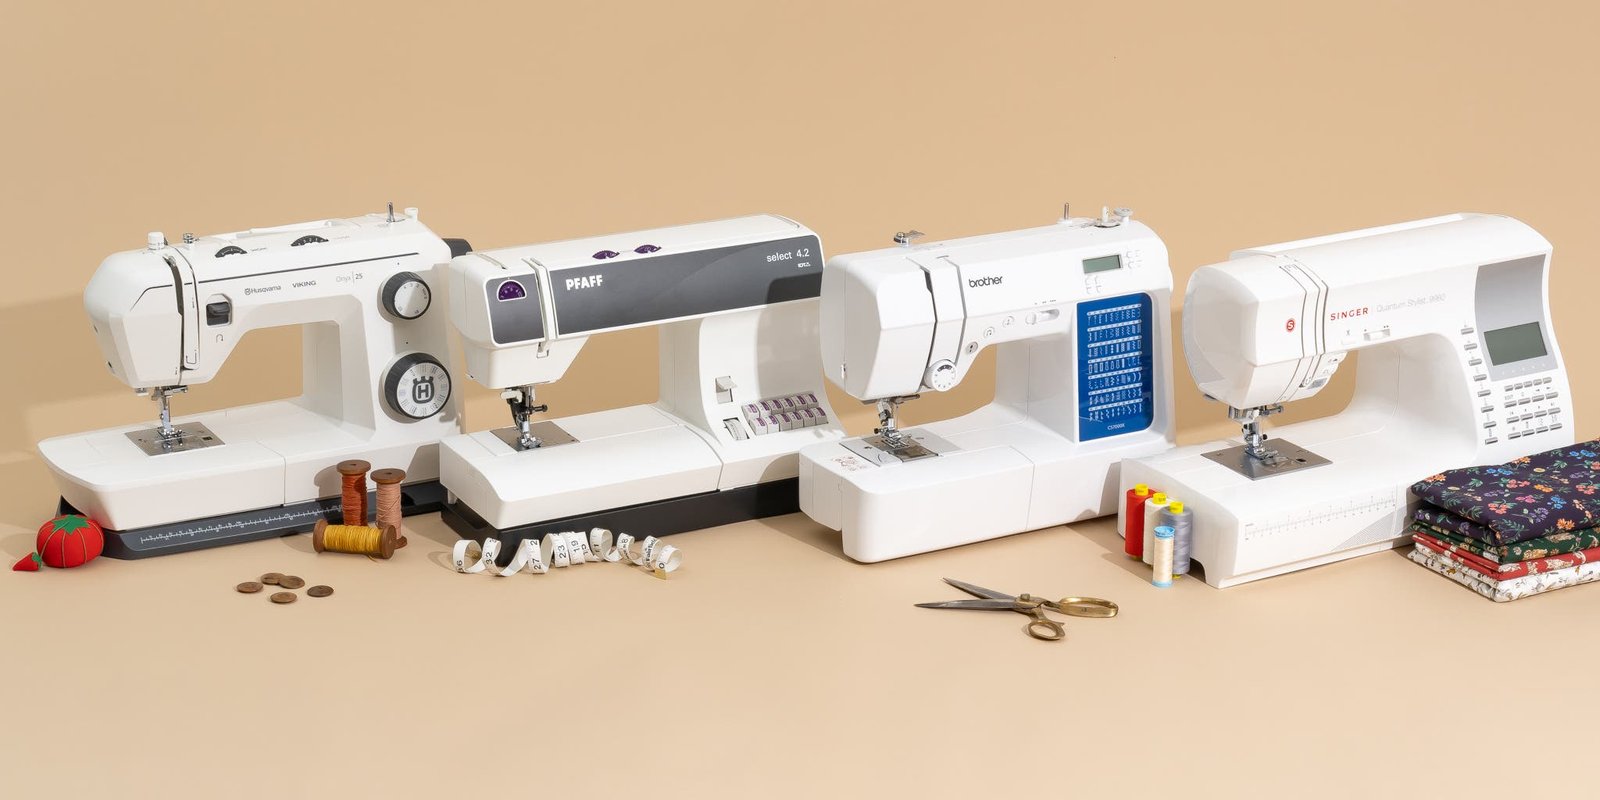
The best quilting machine for beginners is a reliable, mechanical sewing machine with a high-shank or low-shank foot capability and at least 7 inches of workspace to the right of the needle. You don’t need a thousand computerized stitches to start, but you do need a machine that handles thick layers without skipping stitches. This guide covers the essential features, maintenance, and techniques required to master your first project.
Choosing a quilting machine for beginners

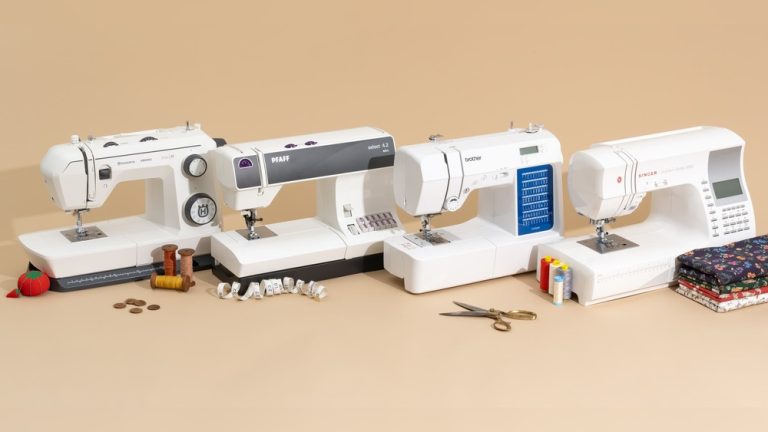
A quilting machine is essentially a standard sewing machine with features optimized for handling bulkier fabric. While professional long-arm machines take up an entire room, the models beginners use are “domestic” sewing machines. These machines are designed for smaller projects like table runners or twin-sized quilts.
The most common misconception is that you need a specialized “quilting” label on the box to succeed. In reality, any machine with a “drop feed” function—which lets you move the fabric manually for free-motion quilting—is suitable. If you’re wondering about safety, always ensure your machine is plugged into a grounded outlet to prevent electrical hazards, as noted in the Consumer Product Safety Commission safety guidelines.
The basic method
- Set up your machine on a flat, stable surface at waist height to reduce neck strain.
- Install a “walking foot” or “even feed” foot, which helps move the top and bottom layers of fabric at the same speed.
- Wind your bobbin with high-quality cotton thread, ensuring the tension is even and the thread isn’t tangled on the spool.
- Set your stitch length to 2.5mm or 3.0mm; this length is standard for most quilting projects to ensure the seams hold firm.
- Place your quilt sandwich—the top, batting, and backing—under the needle, leaving at least 4 inches of excess fabric on all sides.
- Begin stitching from the center outward to push excess fabric toward the edges, preventing wrinkles in the middle of your quilt.
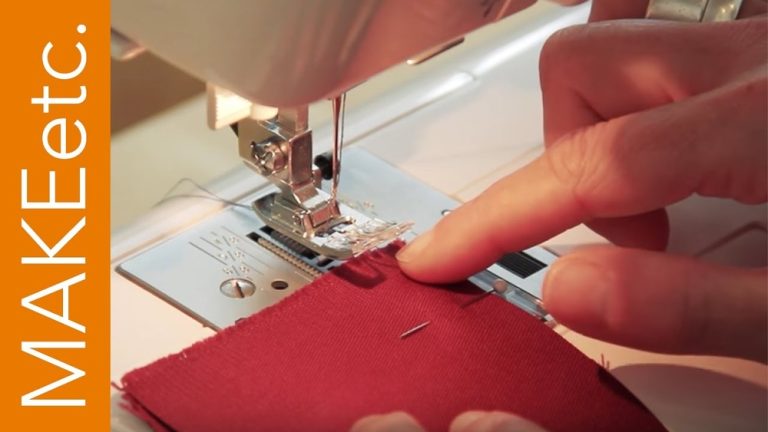
- Use a stiletto or a small tool to guide the fabric near the needle, keeping your fingers at a safe distance from the moving parts.
The critical judgment call is tension balance. If the stitches look “loose” on the bottom, tighten your top thread tension by small increments. If the thread loops on top, loosen it. This varies by model—check the label on your tension dial for the factory-recommended starting point. If you require advanced maintenance or repairs, don’t open the machine housing, as internal capacitors can hold a lethal charge; contact an authorized technician instead.
Key numbers and settings at a glance
These settings assume a medium-weight cotton fabric and standard cotton thread; adjust these numbers if you move to heavier denim or lighter silk.
| Situation | What to use | How long | What to watch for |
|---|---|---|---|
| Heavy layers | Size 90/14 needle | N/A | Skipped stitches |
What separates good results from bad ones
Preparation and workflow
Experienced quilters prioritize a clean, clear space before they even turn the machine on. They press their fabric thoroughly with steam to remove all creases, as even a small fold can change your seam allowance by a fraction of an inch. When working, they keep a “leader” piece of fabric under the needle to prevent the thread from nesting or tangling when they start a new row.
Monitoring your progress
Partway through a long seam, stop with the needle down in the fabric. Lift the presser foot to check that the backing fabric hasn’t shifted or folded underneath. A common mistake is sewing too fast, which costs you accuracy and control. If you feel the machine struggling, stop immediately. If X is a thick seam, do A: use a hump-jumper tool to level the foot. If Y is a delicate fabric, do B: switch to a thinner needle to prevent puckering. This isn’t for those who want instant results, as quilting is a slow, methodical process that requires patience to avoid costly errors.
Common problems and quick fixes
| What you notice | What it usually means | What to do first |
|---|---|---|
| Thread nests underneath | Improper threading | Re-thread the machine |
| Skipped stitches | Dull needle | Replace with new needle |
| Fabric puckering | Tension too high | Lower tension setting |
| Machine jamming | Lint buildup | Clean the bobbin area |
Operational and safety standards
Every sewing machine manufacturer, such as Brother or Janome, publishes a manual that dictates the maximum voltage and power load for their specific motor. You must follow these manufacturer-specific guidelines to ensure your warranty remains valid and your equipment doesn’t overheat. If you’re using a foot pedal, ensure the cord isn’t pulled taut, as this can damage the internal contact points. Never attempt to bypass the safety interlocks on the machine; if these sensors fail, take the unit to a certified service center. Operating a machine with damaged wiring is a fire risk, so check the power cord for cracks or fraying before every session. If you’re unsure about the electrical requirements for your specific model, visit the manufacturer’s official website to download the original technical manual.
Keeping it working afterwards
Once your project is complete, clear the lint from the bobbin race using a small, soft brush. Lint buildup is the primary cause of tension issues and skipped stitches. Store your machine in a dust-free environment, preferably under a cover, to prevent debris from entering the internal gears. If you plan to leave the machine idle for more than a month, remove the spool of thread to keep it clean. You’ll know it needs a professional service when you hear a change in the motor’s pitch or feel a “grinding” sensation while sewing. Following these steps ensures your machine remains responsive and accurate for your next project without needing constant adjustments.
When to use a different approach
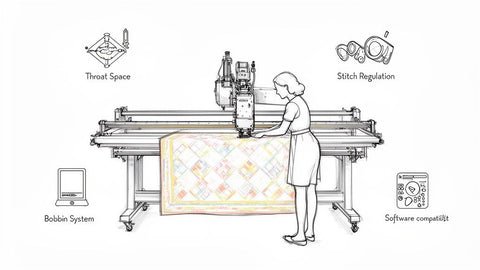
This approach isn’t right if you’re working on industrial-grade upholstery or heavy leather, as domestic machines will likely snap needles or burn out their motors. For heavy-duty materials, use a dedicated industrial walking-foot machine designed for high-torque applications. Additionally, if your goal is to finish queen or king-sized quilts in a single day, this setup will be too slow; you would need a long-arm quilting machine for that volume. In those cases, renting time on a long-arm machine at a local quilt shop is a better use of your time and money than trying to force a domestic machine beyond its mechanical limits.
Frequently asked questions
Can I use a regular sewing machine for quilting?
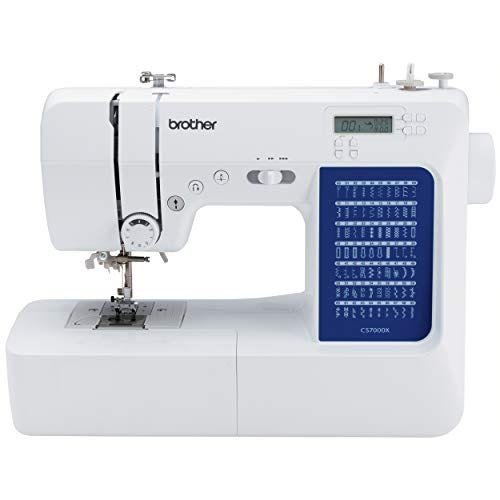
Yes, you can use a regular sewing machine for quilting as long as it has a drop-feed feature and enough room to fit the folded fabric. Most modern domestic machines are perfectly capable of handling small to medium-sized quilt projects without needing specialized equipment.
How long does it take to learn to quilt?
You can learn to sew a basic quilt block in about two hours, but mastering the tension and accuracy takes longer. Most people find they feel confident after completing three small projects, such as a set of placemats or a wall hanging.
Is it safe to leave a quilting machine plugged in?
No, it isn’t safe to leave a quilting machine plugged in when it isn’t in use. Unplugging the machine prevents accidental activation and protects the internal electronics from power surges that can occur in the home electrical grid.
Why is my machine making a loud knocking sound?
The knocking sound usually means the bobbin case isn’t seated correctly or the needle is hitting the needle plate. Stop the machine immediately, turn off the power, and check that the bobbin is clicked firmly into its housing and the needle isn’t bent.
What happens if I use the wrong needle size?
Using the wrong needle size can lead to skipped stitches, broken thread, or permanent damage to your fabric. A needle that’s too small for the thread will cause the thread to shred, while a needle that’s too large will leave visible, ugly holes in your quilt top.
Final Thoughts
Choosing your first machine is just the beginning of a rewarding creative journey. Once you’ve set up your workspace, don’t be afraid to dive into a small practice block to get comfortable with the feel of the fabric. You’ll find that your confidence grows every time you finish a new, cozy quilt.
{“@context”:”https://schema.org”,”@type”:”FAQPage”,”mainEntity”:[{“@type”:”Question”,”name”:”Can I use a regular sewing machine for quilting?”,”acceptedAnswer”:{“@type”:”Answer”,”text”:”Yes, you can use a regular sewing machine for quilting as long as it has a drop-feed feature and enough room to fit the folded fabric. Most modern domestic machines are perfectly capable of handling small to medium-sized quilt projects without needing specialized equipment.”}},{“@type”:”Question”,”name”:”How long does it take to learn to quilt?”,”acceptedAnswer”:{“@type”:”Answer”,”text”:”You can learn to sew a basic quilt block in about two hours, but mastering the tension and accuracy takes longer. Most people find they feel confident after completing three small projects, such as a set of placemats or a wall hanging.”}},{“@type”:”Question”,”name”:”Is it safe to leave a quilting machine plugged in?”,”acceptedAnswer”:{“@type”:”Answer”,”text”:”No, it isn’t safe to leave a quilting machine plugged in when it isn’t in use. Unplugging the machine prevents accidental activation and protects the internal electronics from power surges that can occur in the home electrical grid.”}},{“@type”:”Question”,”name”:”Why is my machine making a loud knocking sound?”,”acceptedAnswer”:{“@type”:”Answer”,”text”:”The knocking sound usually means the bobbin case isn’t seated correctly or the needle is hitting the needle plate. Stop the machine immediately, turn off the power, and check that the bobbin is clicked firmly into its housing and the needle isn’t bent.”}},{“@type”:”Question”,”name”:”What happens if I use the wrong needle size?”,”acceptedAnswer”:{“@type”:”Answer”,”text”:”Using the wrong needle size can lead to skipped stitches, broken thread, or permanent damage to your fabric. A needle that’s too small for the thread will cause the thread to shred, while a needle that’s too large will leave visible, ugly holes in your quilt top.”}}]}