How to Set Up a Sewing Machine for Beginners: Easy Step-by-Step Guide
Are you ready to bring your creative ideas to life but feel unsure about using a sewing machine? Setting up a sewing machine for the first time can seem tricky, but it doesn’t have to be.
With the right steps, you’ll be stitching like a pro in no time. This guide will walk you through every part of the process, making it simple and stress-free. Keep reading, and you’ll gain the confidence to start your very first sewing project with ease.
Credit: mindymakes.com
Choosing The Right Sewing Machine
Choosing the right sewing machine is the first step for beginners. It helps make sewing easier and more fun. A good machine matches your skill level and sewing goals. It also fits your budget and daily needs.
Picking the right machine avoids frustration and saves money. It lets you learn basic skills without struggle. Understanding types, features, and costs helps you decide well.
Types Of Sewing Machines
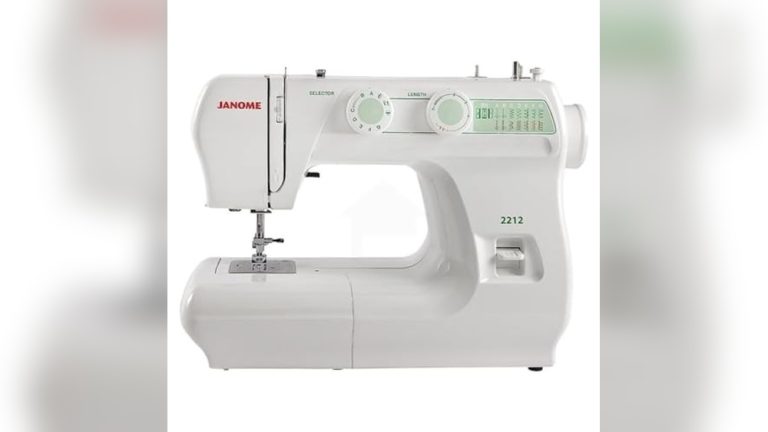
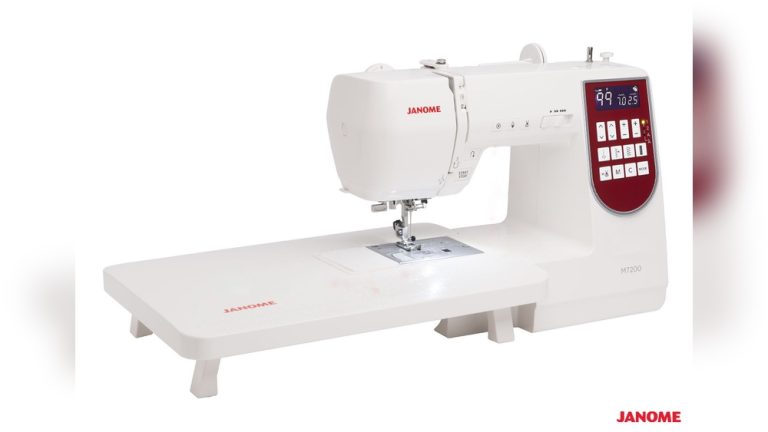
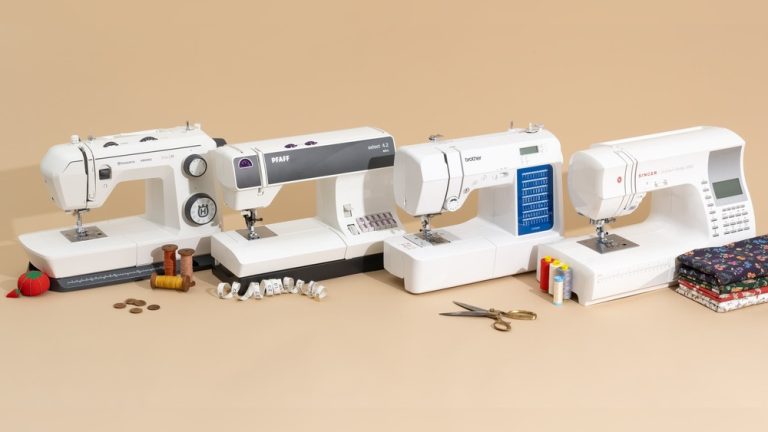
There are three main types of sewing machines. Mechanical machines use dials and levers. They are simple and easy to fix. Electronic machines have buttons and digital displays. They offer more stitch options and control. Computerized machines have advanced features and auto settings. They suit users who want many options.
Features For Beginners
Beginners should choose machines with simple controls. Look for easy threading and bobbin winding. A clear instruction manual helps a lot. Adjustable stitch length and width are useful. A built-in needle threader saves time. A free arm helps sew sleeves and small parts. A good light on the machine is important.
Budget Considerations
Set a budget before buying. Basic mechanical machines cost less. Electronic models are mid-range in price. Computerized machines are the most expensive. Think about how much you will sew. Cheaper machines work well for simple projects. Spending more may bring better features and durability. Buy the best machine you can afford.

Credit: www.youtube.com
Gathering Essential Supplies
Starting to sew needs more than just a sewing machine. Gathering the right supplies makes your work easier and better. It helps you avoid mistakes and saves time. This section shows what tools and materials to prepare before you begin.
Basic Sewing Tools
Some simple tools help you sew smoothly. Scissors cut fabric cleanly. Pins hold fabric pieces together. A measuring tape checks the size and fit. A seam ripper fixes mistakes fast. A pincushion keeps pins in one place. These tools make sewing neat and easy.
Selecting The Right Thread And Needle
Thread and needles come in many types. Choose thread that matches your fabric color and type. Cotton thread works well for cotton fabrics. Polyester thread suits most materials and lasts longer. Pick a needle size based on fabric thickness. Thin fabric needs a small needle. Thick fabric needs a bigger needle. Using the right thread and needle avoids snags and breaks.
Preparing Your Sewing Machine
Preparing your sewing machine correctly makes sewing easier and more fun. It helps avoid problems like thread jams or uneven stitches. Taking time to set up the machine right ensures smooth sewing from the start. Follow these simple steps to get your machine ready for your first project.
Unboxing And Cleaning
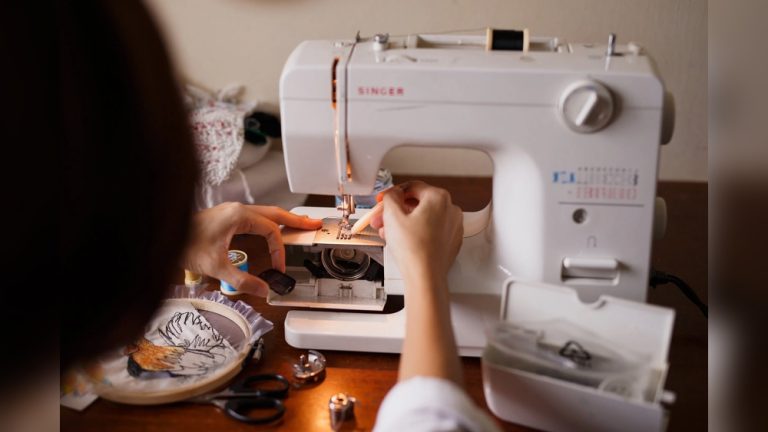
Start by carefully unboxing your sewing machine. Remove all parts and accessories. Check for any packing materials inside the machine. Use a soft cloth to wipe dust off the machine’s surface. Clean the bobbin area gently to remove lint or threads. This keeps the machine running smoothly and prevents jams.
Installing The Needle
Choose the right needle for your fabric type. Loosen the needle clamp screw with a screwdriver. Insert the needle with the flat side facing the back. Push it up as far as it can go. Tighten the screw firmly to hold the needle in place. A properly installed needle helps create even stitches.
Winding The Bobbin
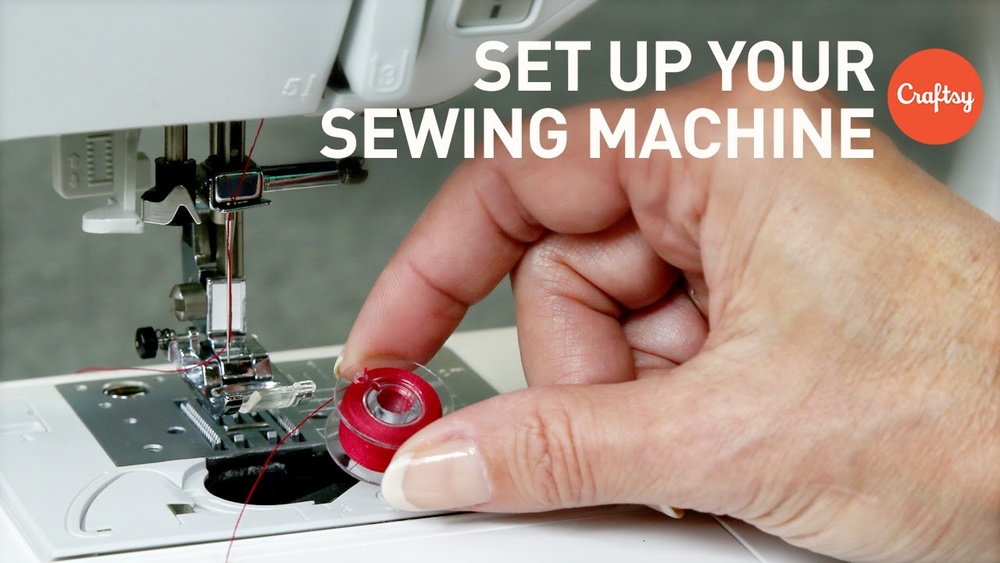
Place the thread spool on the spool pin. Follow your machine’s guide to wrap thread around the bobbin winder. Push the bobbin winder to start spinning. Let the bobbin fill evenly with thread. Stop when full, then cut the thread. Insert the bobbin into its case, ready for sewing.
Threading The Machine
Threading the sewing machine is the first step in making it work smoothly. It involves placing the thread correctly through different parts of the machine. Proper threading helps avoid tangles, breaks, and uneven stitches. This section explains how to thread the upper thread, insert the bobbin, and adjust the thread tension.
Threading The Upper Thread
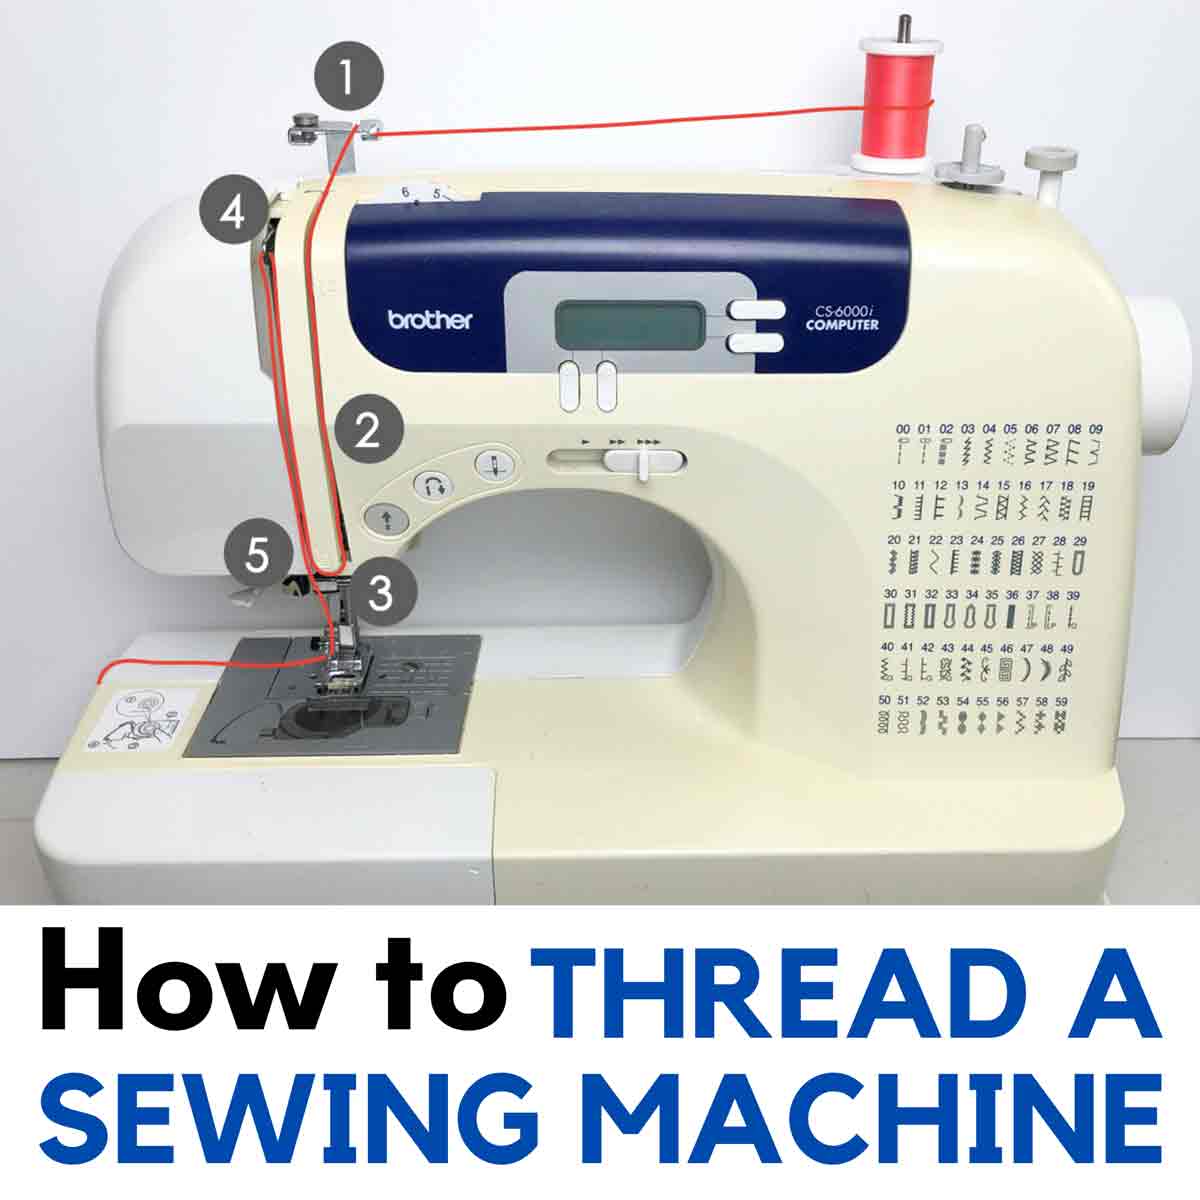
Start by placing the spool of thread on the spool pin. Pull the thread and guide it through the thread guide at the top. Follow the arrows or numbers on the machine to pass the thread through the tension discs. Next, bring the thread down to the take-up lever and loop it through. Finally, pull the thread through the needle eye from front to back.
Inserting The Bobbin
Open the bobbin case or cover plate near the needle plate. Place the wound bobbin inside the case with the thread unwinding in the correct direction. Pull the thread through the bobbin tension spring. Close the bobbin case or cover securely. Hold the upper thread and turn the handwheel to lower and raise the needle. This will catch the bobbin thread and pull it up.
Adjusting Thread Tension
Locate the tension dial on the machine. Start with the dial set to the middle number. Test the stitching on a scrap fabric. Tighten the tension if the stitches look loose or looped on the underside. Loosen it if the fabric puckers or the thread breaks. Adjust slowly and test often until the stitches look even on both sides.
Setting Up The Machine For Stitching
Setting up your sewing machine for stitching is the first step to create neat and strong seams. This process ensures your machine runs smoothly and your stitches look professional. Understanding the basic settings helps you sew different fabrics with confidence.
Adjusting the machine correctly avoids common issues like thread bunching or uneven stitches. Let’s explore how to choose stitch types, set stitch length and width, and pick the right presser foot for your project.
Choosing Stitch Types
Most machines offer several stitch types. Straight stitch is the most common for seams. Zigzag stitch works well for stretchy fabrics and finishing edges. Some machines have decorative stitches for embellishment. Select the stitch type based on your fabric and project needs. Use straight stitch for basic sewing and zigzag for stretch or repair.
Adjusting Stitch Length And Width
Stitch length controls how close the stitches are. Shorter stitches make strong seams and work well on thin fabric. Longer stitches are good for basting or gathering. Stitch width applies to zigzag and decorative stitches. A wider stitch covers more fabric and adds strength. Adjust length and width to match your fabric and design.
Selecting The Presser Foot
The presser foot holds fabric in place while sewing. Use the standard foot for most projects. A zipper foot helps sew close to zippers and edges. A buttonhole foot is for making buttonholes easily. Change the presser foot to suit your stitch type and fabric thickness. This keeps fabric feeding smooth and even.

Credit: threadsmonthly.com
Testing And Troubleshooting
Testing and troubleshooting are key steps after setting up your sewing machine. They help ensure your machine works smoothly and your stitches look neat. Testing shows if the machine sews correctly. Troubleshooting fixes small problems that may appear.
Spend time on these steps. It saves effort and frustration later. A well-tested machine makes sewing more fun and less stressful.
Performing A Test Stitch
Start by threading the machine carefully. Use the same thread and fabric you plan to sew. Choose a simple stitch, like a straight stitch. Sew a few lines on a scrap piece of fabric. Check if the stitches are even and tight. Look for loops or loose threads on the fabric. Adjust the tension dial if stitches look loose or tight. Test both the top and bottom stitches. Repeat sewing until the stitches look smooth and even. This step confirms the machine is set up well.
Common Issues And Fixes
Stitches skip or break. Try re-threading the machine. Check if the needle is bent or dull. Replace the needle if needed. Fabric bunches or puckers. Loosen the thread tension slightly. Make sure the presser foot is down. The machine makes strange noises. Clean lint and dust from inside the machine. Oil the parts as the manual suggests. The fabric does not feed properly. Check the feed dogs under the presser foot. Raise the feed dogs if they are lowered. Take time to fix these issues early. They keep your sewing smooth and stress-free.
Maintaining Your Sewing Machine
Maintaining your sewing machine is key to keeping it running smoothly. A well-kept machine sews better and lasts longer. Regular care prevents problems and saves money on repairs. Simple steps can make a big difference in your sewing experience.
Regular Cleaning Tips
Clean your sewing machine after every few uses. Remove lint and dust from the bobbin area. Use a small brush or a soft cloth. Avoid using water or harsh cleaners. Keep the feed dogs clean to avoid thread jams. Wipe the machine’s surface to remove dust. Store the machine covered to stop dust buildup.
Lubrication And Care
Oil your sewing machine as the manual says. Use sewing machine oil only, not other oils. Apply a few drops to moving parts. Do not over-oil; it can cause problems. Wipe off any extra oil to avoid stains on fabric. Check the machine’s manual for lubrication points. Regular oiling keeps the machine running quietly and smoothly.
Frequently Asked Questions
How Do I Thread A Sewing Machine Properly?
Thread the machine by following the threading path indicated in your manual. Start with the spool, guide the thread through the tension discs, take-up lever, and needle. Proper threading prevents thread jams and ensures smooth stitching.
What Type Of Needle Should Beginners Use?
Beginners should use universal needles size 80/12. These needles work well with most fabrics and sewing machines. They are versatile, durable, and help avoid fabric damage while learning.
How Do I Set Stitch Length And Width?
Adjust stitch length and width using the machine’s dials or digital settings. For beginners, use a medium stitch length (2. 5-3 mm) and standard width (3-5 mm) for balanced and clear stitches.
Why Is Bobbin Winding Important For Beginners?
Proper bobbin winding ensures even thread distribution on the bobbin. It prevents thread jams and uneven stitching, which are common beginner issues. Always wind the bobbin tightly and evenly before use.
Conclusion
Setting up a sewing machine is easier than it seems. Start slow and follow each step carefully. Practice threading and adjusting tension for smooth sewing. Keep your workspace clean and well-lit. Take breaks when you feel stuck or tired. With patience, your skills will grow every day.
Enjoy the process and create beautiful projects. Sewing becomes fun once you get comfortable with your machine. Keep learning and trying new stitches. Soon, sewing will feel natural and rewarding.