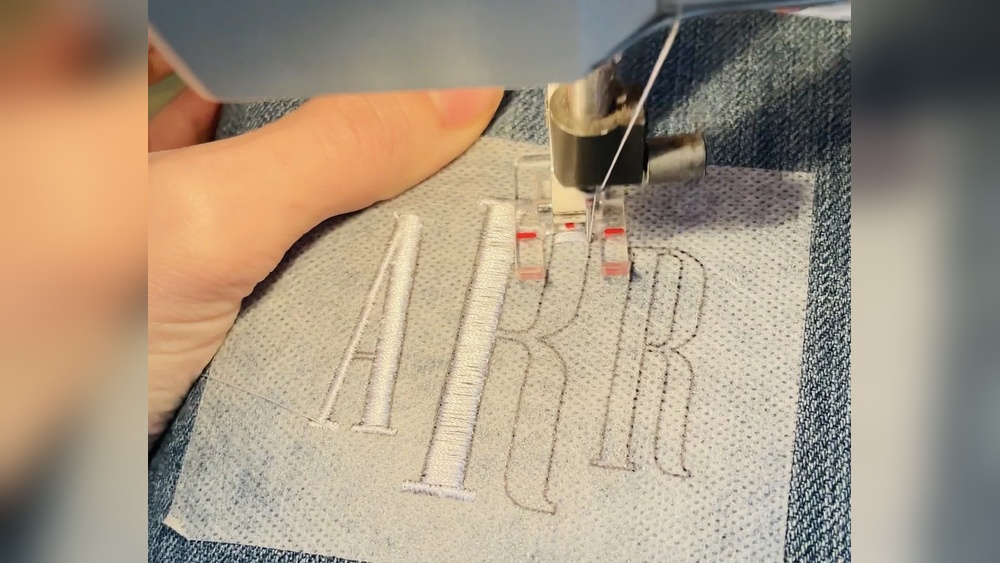
How To Embroider With A Sewing Machine
Have you ever wanted to add beautiful, personalized designs to your clothes or home decor? Learning how to embroider with a sewing machine can make that possible—and easier than you think.
Imagine turning plain fabric into eye-catching art with just a few simple steps. You’ll discover clear, easy-to-follow tips that will help you create stunning embroidery right from your own machine. Ready to unlock a new creative skill and impress everyone with your custom designs?
Keep reading, because your sewing machine is about to become your new favorite tool.
Choosing The Right Machine
Choosing the right sewing machine is key to successful embroidery. The right machine makes stitching easier and more precise. It helps you create beautiful designs without frustration. Many options exist, so knowing what to look for saves time and money. Consider your needs and skill level before deciding.
Features To Look For
Look for machines with built-in embroidery stitches. A large workspace helps with bigger projects. An automatic needle threader saves effort. Adjustable speed control allows better stitch control. A clear display screen shows settings and patterns. A hoop system ensures fabric stays tight and stable. These features improve your embroidery experience.
Budget-friendly Options
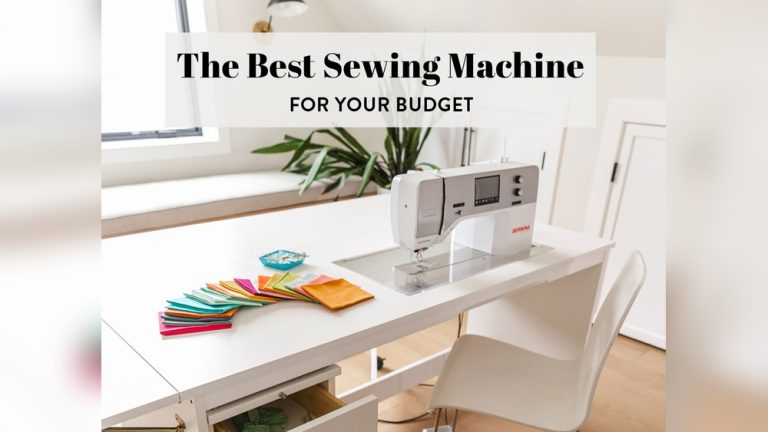
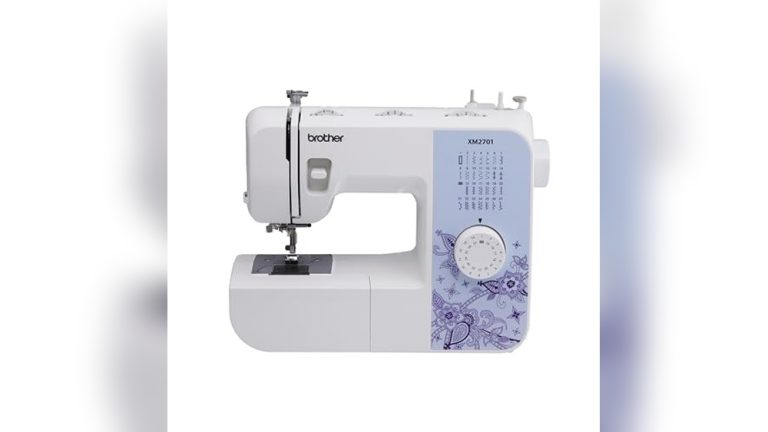
Basic sewing machines can work for simple embroidery. They cost less and are easy to use. Some models include a few embroidery stitches. Check if the machine supports embroidery hoops. These machines suit beginners or hobbyists. Choose one with good reviews for reliability. Budget machines offer good value without many extras.
Specialized Embroidery Machines
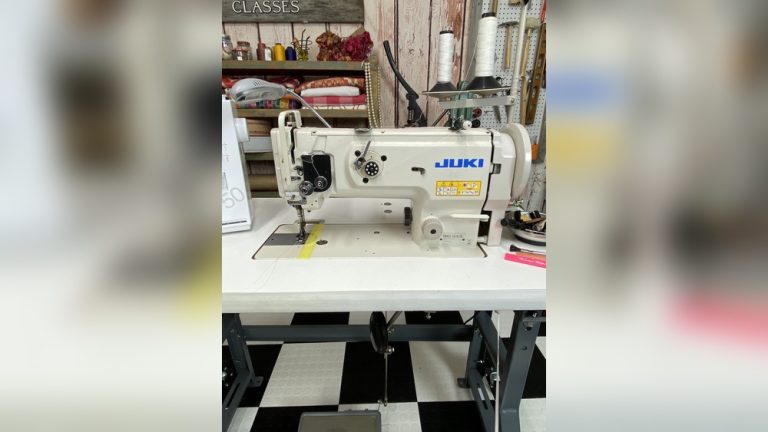
These machines are designed for embroidery only. They have many built-in designs and fonts. You can connect them to a computer or USB. This lets you upload custom patterns. They sew faster and more precisely. Ideal for serious hobbyists or small businesses. They cost more but offer advanced features and ease.
Credit: oliverands.com
Essential Supplies
Starting machine embroidery needs the right supplies. These tools help create neat and lasting designs. Having good materials makes the process easier and more fun. This section covers the main supplies you need for sewing machine embroidery.
Types Of Needles
Choose needles made for embroidery. These needles have a sharp point and a larger eye. They help the thread pass smoothly. Avoid using regular sewing needles. Embroidery needles reduce fabric damage and thread breakage. Sizes 75/11 and 80/12 fit most projects.
Selecting Threads
Use embroidery threads for bright, clear designs. Rayon and polyester threads work well. They shine and resist breaking. Cotton thread is less shiny but good for matte looks. Match thread color to your design. Keep extra thread to change colors easily.
Stabilizers And Hoops
Stabilizers support fabric during stitching. They stop fabric from stretching or puckering. Tear-away stabilizers suit sturdy fabrics. Water-soluble stabilizers work for delicate materials. Hoops hold fabric tight and flat. Use the right hoop size for your design. Tight fabric means cleaner embroidery.
Preparing Fabric And Machine
Preparing the fabric and machine properly is key to good embroidery. This step helps avoid mistakes and keeps your work neat. You need to get your fabric tight and stable. Also, your machine must be ready to sew the design smoothly. Small details here make a big difference in the final look.
Hooping Techniques
Choose a hoop size that fits your design. Place a stabilizer under the fabric to keep it firm. Lay the fabric flat over the inner hoop. Press the outer hoop down on top. Tighten the hoop until the fabric feels tight like a drum. Avoid stretching the fabric too much. Check for wrinkles or loose spots. The fabric must stay in place during stitching.
Setting Up The Machine
Attach the embroidery foot to your sewing machine. Select the correct embroidery stitch on the machine. Adjust the stitch length to suit your fabric type. Lower the feed dogs or cover them if needed. This stops the fabric from moving on its own. Set the machine speed to a medium or slow pace. This control helps with detailed embroidery. Test the settings on a scrap piece first.
Threading Tips
Use quality embroidery thread for smooth stitching. Choose colors that match your design well. Thread the machine carefully, following the manual steps. Pull the thread tight but do not force it. Check the needle for any bends or damage. A sharp needle prevents thread breaks. Change the needle after every few projects. Keep a spare spool of thread handy for quick changes.
Basic Stitch Techniques
Basic stitch techniques form the foundation of machine embroidery. These stitches create shapes, lines, and fills in your designs. Learning them helps you make neat and strong embroidery. Each stitch style has its own look and use.
Straight Stitch Basics
Straight stitch is the simplest stitch in machine embroidery. It forms a straight line of small, even stitches. Use it for outlining shapes or adding details. Adjust stitch length to control the stitch size. Keep fabric taut for clean, smooth lines.
Satin Stitch Guide
Satin stitch creates a smooth, shiny surface. It is perfect for filling letters and shapes. The stitches lie close together, covering the fabric completely. Set your machine to a narrow stitch width for best results. Use a stabilizer to prevent fabric puckering.
Using Zigzag Stitches
Zigzag stitches form a back-and-forth pattern. They add texture and strength to embroidery. Adjust the stitch width and length for different effects. Wider zigzags cover more area, while narrow ones create fine edges. Zigzag stitches work well for applique and decorative edges.
Creating Simple Designs
Creating simple embroidery designs with a sewing machine is fun and rewarding. It allows you to add personal touches to clothes, bags, and home decor. Simple designs are perfect for beginners. They help you practice basic skills and build confidence.
Start with small patterns and clear shapes. This keeps your work neat and easy to follow. The right techniques make your embroidery look clean and professional. Focus on learning how to transfer patterns, use free-motion embroidery, and work with templates.
Transferring Patterns
Transferring patterns is the first step in making your design. Use tracing paper or transfer pens to move the design onto fabric. Place the pattern under your fabric and trace it lightly. A light pattern helps guide your stitching without showing through. You can also use carbon paper for quick transfers. Make sure the fabric is flat and tight to avoid mistakes.
Free-motion Embroidery
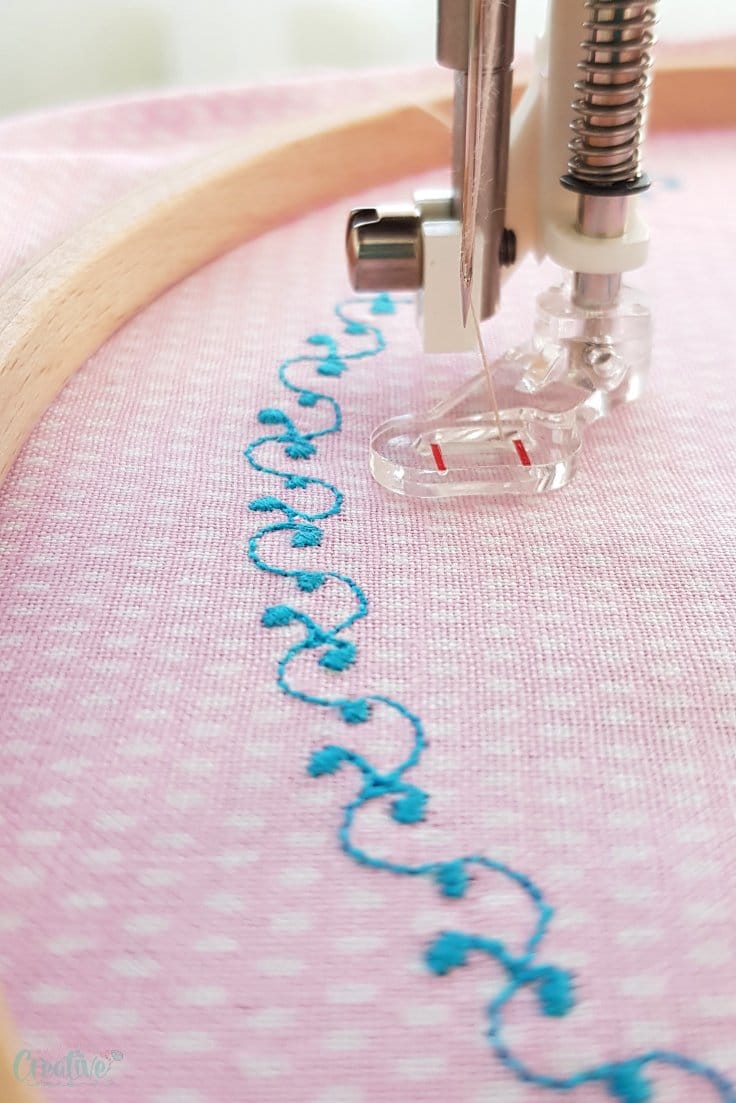
Free-motion embroidery lets you sew designs without preset stitches. Lower your machine’s feed dogs to move the fabric freely. Use a darning foot for better control. Guide the fabric slowly with your hands. This method allows smooth curves and detailed designs. Practice simple shapes before trying complex patterns. Keep your hands steady to avoid uneven stitches.
Using Templates
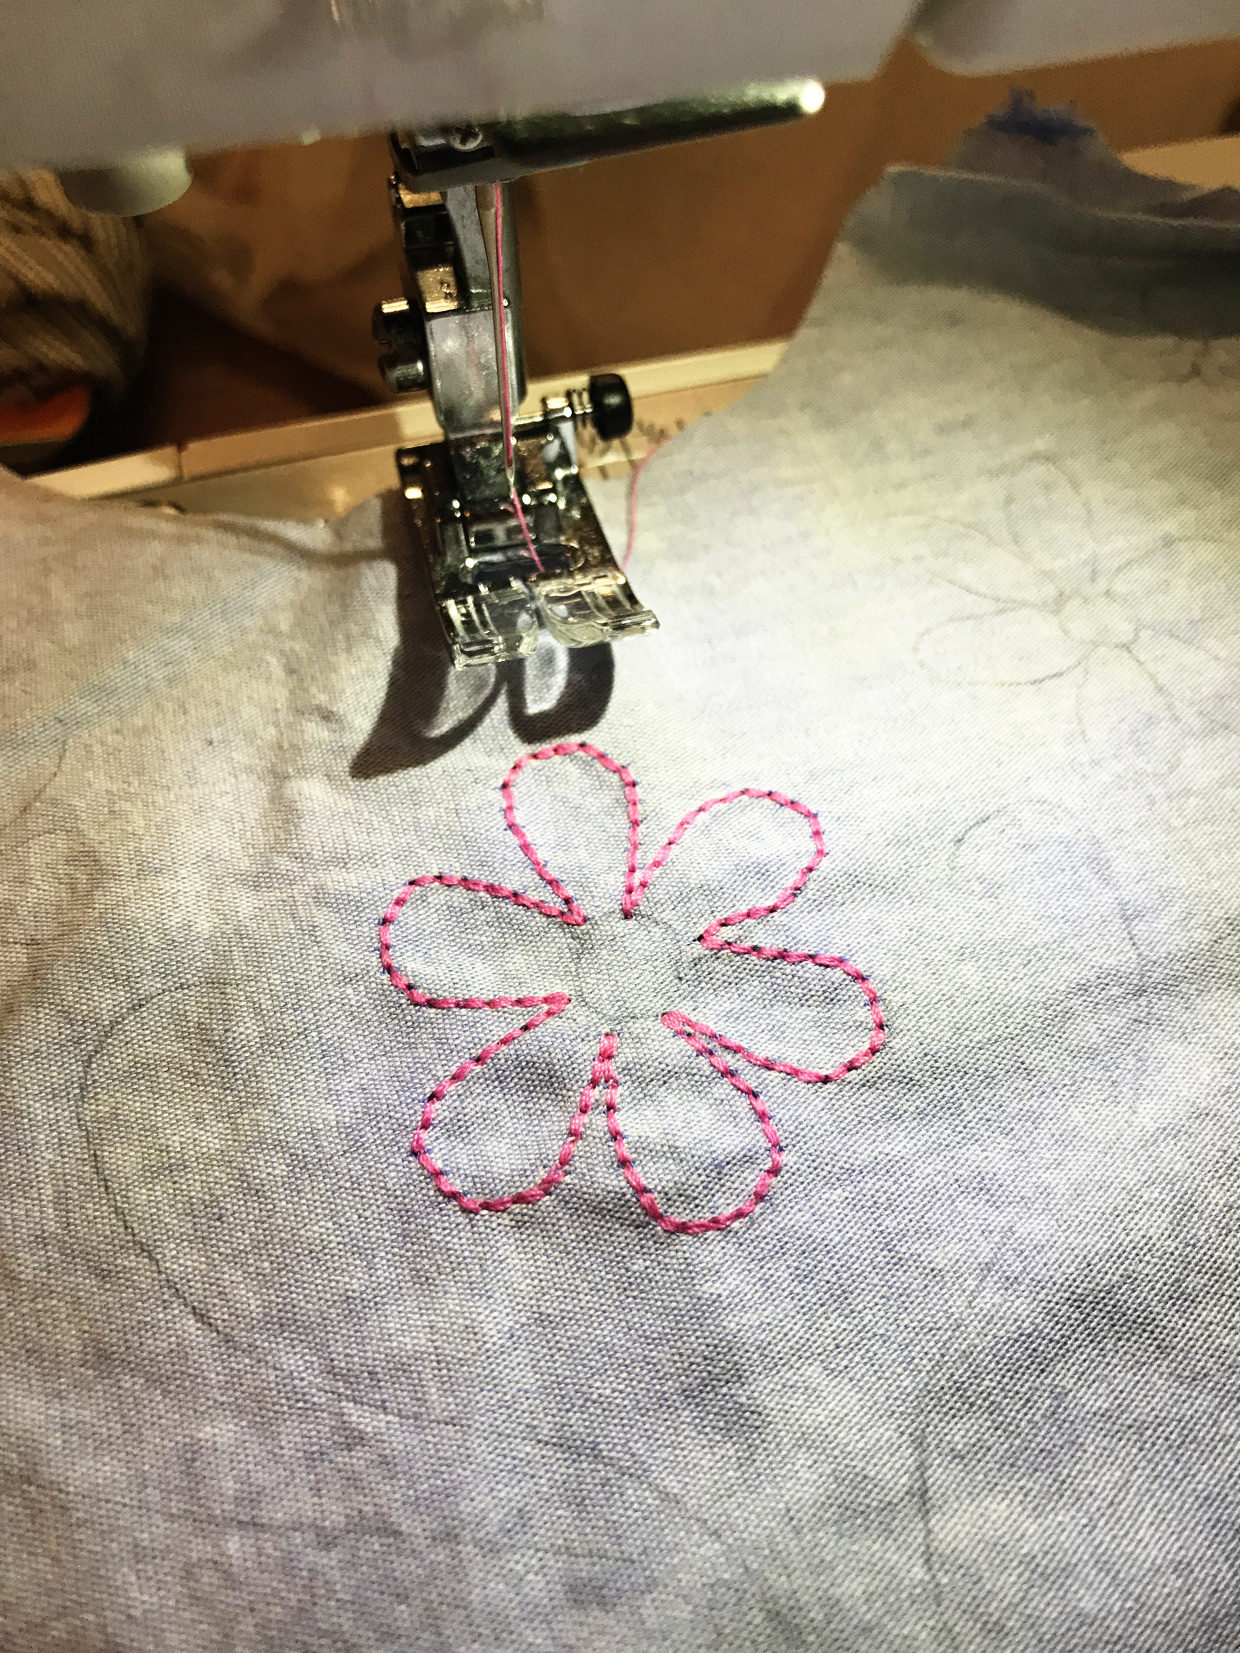
Templates help keep your design consistent and even. Cut shapes out of plastic or cardboard for reuse. Pin or tape the template to your fabric. Stitch around the edges carefully, following the template lines. This method works well for repeated shapes like flowers or letters. Templates save time and improve precision. They are great tools for beginners learning control.
Credit: theseamanmom.com
Troubleshooting Common Issues
Troubleshooting common issues is key to smooth machine embroidery. Problems can slow you down or damage your fabric. Fixing these issues helps keep your projects neat and saves time. Below are common problems and simple ways to solve them.
Thread Breakage
Thread often breaks during embroidery. Check if the thread is old or poor quality. Replace it with a strong, smooth thread. Make sure the thread is correctly threaded through the machine. Tighten the tension if it is too loose or too tight. Clean the needle and remove any lint or dust. Use a needle that fits your fabric type and thread.
Skipped Stitches
Skipped stitches ruin the design. Use a sharp, new needle to fix this. Make sure the needle is inserted correctly and fully tightened. Lower the sewing speed to improve stitch accuracy. Check the bobbin for proper winding and placement. Use the right needle size for your fabric. Clean the machine’s feed dogs to keep fabric moving smoothly.
Fabric Puckering
Fabric puckering makes your work look messy. Reduce thread tension to stop puckering. Use a stabilizer under the fabric for support. Choose the right needle for the fabric thickness. Avoid pulling the fabric while stitching. Adjust stitch length to a longer setting. Test on a scrap piece before starting the final project.
Advanced Tips
Advanced tips help you create unique embroidery designs. They push your skills beyond the basics. These tips add depth and texture to your work.
Layering Stitches
Layering stitches means sewing one stitch over another. This adds texture and dimension to your design. Start with a simple base stitch. Then sew smaller or different stitches on top. Use contrasting thread colors to make layers stand out. Layering also strengthens the fabric and design.
Mixing Techniques
Mixing techniques combines machine embroidery with other methods. Try combining free-motion stitching with applique or patchwork. Use satin stitches alongside simple straight stitches. This creates a rich, varied look. Mixing techniques lets you customize designs easily. It keeps your embroidery interesting and fresh.
Adding Embellishments
Embellishments add sparkle and style to your embroidery. Sew on beads, sequins, or small buttons with your machine. Use metallic or glitter threads for extra shine. Embellishments make your designs more eye-catching. They also allow for personal touches and creativity.

Credit: www.premierstitching.com
Maintaining Your Machine
Keeping your sewing machine in good condition is key for smooth embroidery. Regular care helps your machine work well and last longer. Small actions can prevent big problems. Let’s explore how to care for your machine properly.
Cleaning And Oiling
Dust and lint can build up inside your machine. Clean these out often. Use a small brush or a soft cloth. Avoid using water or harsh cleaners.
Oiling your machine keeps the parts moving smoothly. Use sewing machine oil only. Apply oil where the manual shows. Too much oil can cause issues.
Regular Inspections
Check your machine before each project. Look for loose screws or worn parts. Listen for strange sounds during use. These signs show your machine needs attention.
Inspect the needle regularly. A bent or dull needle can harm your fabric. Replace needles after every few projects or when damaged.
When To Seek Professional Help
Some problems need expert care. Strange noises or skipped stitches may signal deeper issues. If cleaning and oiling don’t fix problems, get a professional.
Take your machine to a service center yearly. Professionals can clean, adjust, and repair it properly. This keeps your embroidery smooth and your machine reliable.
Frequently Asked Questions
How Do I Start Machine Embroidery With My Sewing Machine?
First, choose embroidery designs compatible with your machine. Use stabilizer on fabric to prevent puckering. Hoop fabric tightly, select embroidery stitch, and sew slowly. Practice on scrap fabric to perfect tension and design placement before working on final projects.
What Sewing Machine Settings Work Best For Embroidery?
Set your machine to a slow or medium speed for control. Use a needle designed for embroidery, like size 75/11. Adjust tension according to fabric thickness. Select the appropriate stitch type, such as satin or zigzag, for detailed embroidery results.
Which Stabilizer Is Best For Machine Embroidery?
Choose a stabilizer based on fabric type and design complexity. Tear-away stabilizers suit medium-weight fabrics and simple designs. Cut-away stabilizers work best for stretchy or delicate fabrics. Use water-soluble stabilizers for lightweight or sheer materials for clean finishes.
Can I Use Regular Thread For Machine Embroidery?
It’s best to use polyester or rayon embroidery thread for durability and sheen. Regular sewing thread may break or cause uneven stitches. Embroidery thread is smoother and designed to withstand high-speed stitching, ensuring professional-looking embroidery results.
Conclusion
Embroidering with a sewing machine takes practice and patience. Start slow and try simple designs first. Choose the right fabric and thread for best results. Keep your machine clean and well-maintained. Enjoy the process of creating beautiful patterns. Every stitch brings your project to life.
Soon, you will feel more confident and skilled. Have fun experimenting with colors and shapes. Sewing machine embroidery adds a personal touch to any item. Keep practicing, and your work will improve each time. Give yourself time, and enjoy every step of learning.