Best Singer Machine for Beginners: Why the Start 1306 Wins
The Singer Start 1306 is widely considered the best singer machine for beginners because it provides essential stitch functions without overwhelming a new user with complex controls. This model features six built-in stitches, a simple front-loading bobbin, and a sturdy frame that stands up to practice sessions. This guide covers how to set up, operate, and maintain your equipment to ensure long-term success with your sewing projects.
The best Singer machine for beginners
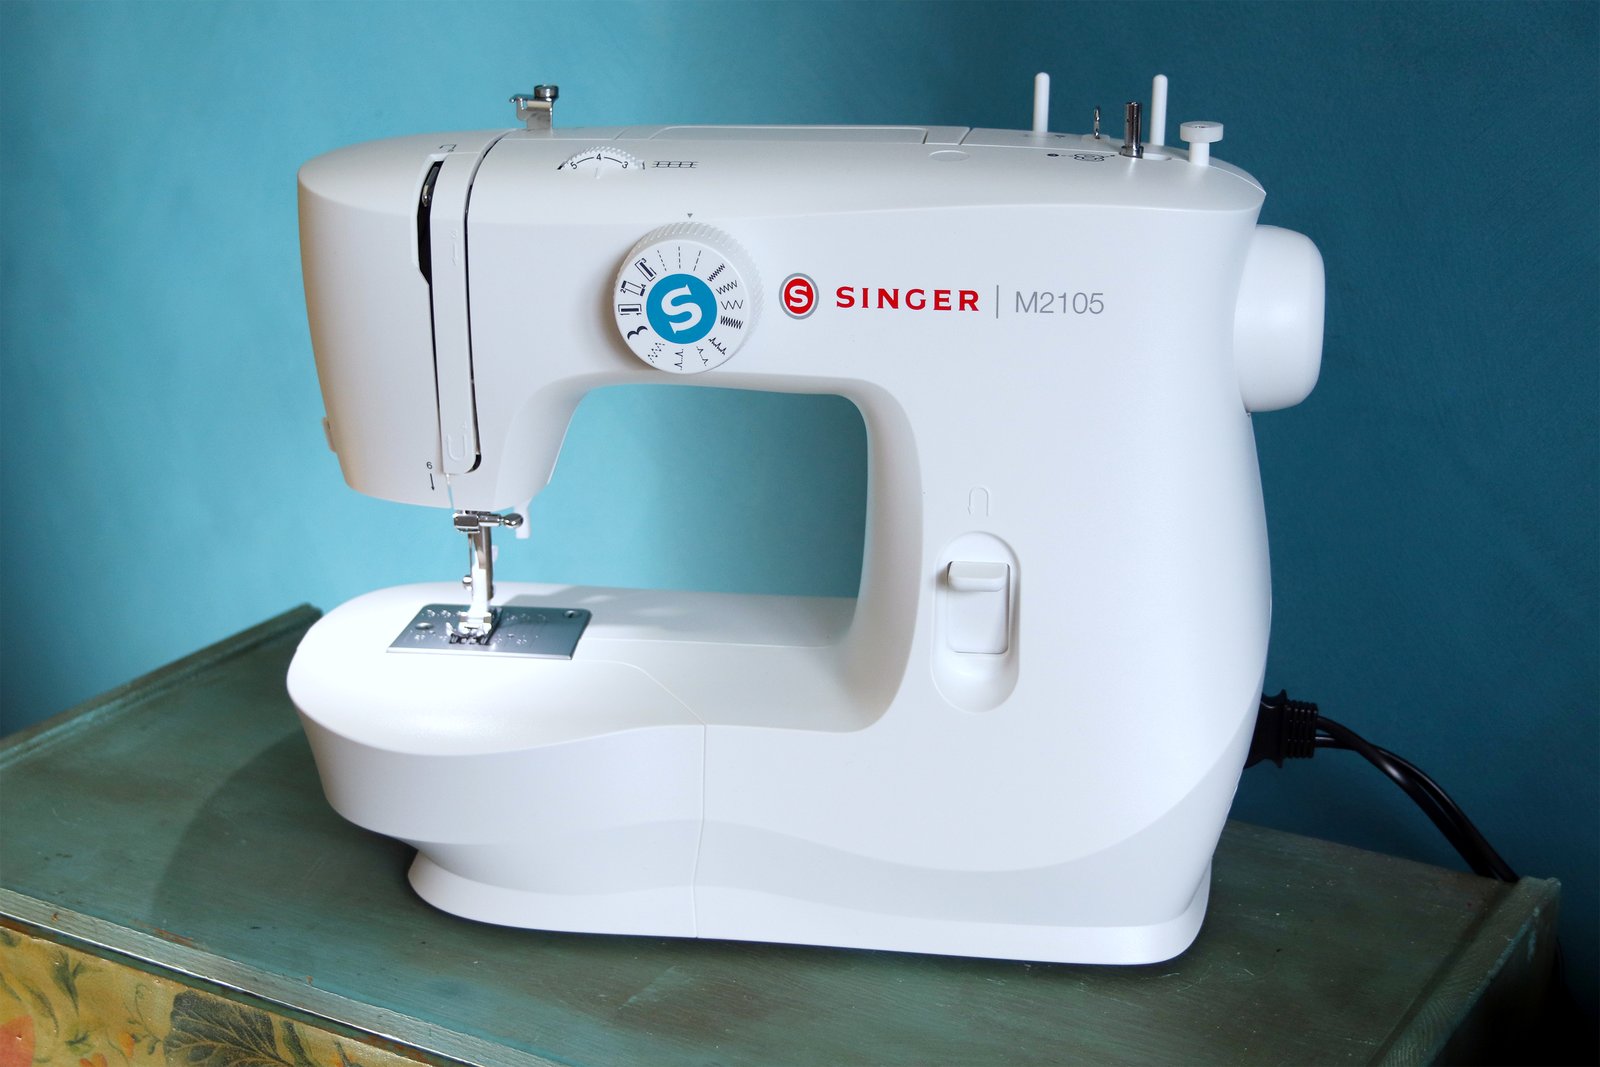
This machine is a mechanical sewing tool designed for basic garment repair, simple construction, and craft projects. It’s built for someone who has never touched a needle and thread, offering a streamlined interface that removes the confusion of digital screens. A common mistake is assuming that more stitches equal a better machine; in reality, a beginner only needs a straight stitch and a zigzag stitch to complete most home projects.
The machine works by using two threads: one from the top spool and one from the bobbin underneath. These threads lock together to create a stitch as the needle moves through the fabric. This process creates tension that holds the layers of material together. If the tension is too loose or too tight, the threads won’t lock correctly, which is why learning to thread the machine properly is your most important first task. Always check the official Singer support page for your specific manual to see the exact threading path for your model, as it varies by design.
The basic method
- Place your spool of thread on the horizontal pin and secure it with the spool cap.
- Pull the thread through the top guide, down the tension channel, and through the take-up lever.
- Thread the needle from front to back, leaving about 4 inches of thread tail behind the presser foot.
- Insert the pre-wound bobbin into the bobbin case, ensuring the thread pulls off in a counter-clockwise direction.
- Use the handwheel to lower the needle into the plate, then raise it again to pull up the bottom bobbin thread.
- Place your fabric under the presser foot and lower the lever to hold the material in place.
- Select your stitch using the dial and press the foot pedal gently to begin sewing at a slow, controlled speed.
The judgment call that defines your result is the speed of your foot pedal. If you push the pedal too hard, the machine will race, leading to crooked lines and tangled threads. Beginners often feel the need to rush, but professional results come from moving the fabric slowly and letting the machine do the work. If you’re working on heavy materials like denim or leather, you must use a heavy-duty needle or you risk breaking the mechanism; consult a professional tailor or machine technician if you’re unsure about your fabric weight.
Key numbers and settings at a glance
The settings below assume the use of standard all-purpose polyester thread and universal needles on woven cotton fabric.
| Situation | What to use | How long | What to watch for |
|---|---|---|---|
| Straight stitch | Length 2.5 | Varies | Even spacing |
| Zigzag stitch | Width 3.0 | Varies | Fabric bunching |
| Buttonhole | Preset B | Varies | Consistent feed |
| Thick fabric | Size 100/16 needle | Varies | Needle heat |
| Light fabric | Size 70/10 needle | Varies | Puckered edges |
This varies by model — check the label on your machine for specific stitch length limits. When using thinner fabrics, you might need to adjust the tension dial to a lower number to prevent the thread from pulling the fabric into a tight line.
What separates good results from bad ones
Preparation and workflow
Experienced users always start with a clean bobbin and a fresh needle. A dull needle is the hidden cause of skipped stitches and frayed thread, which ruins the look of your seam. Before you start on your final project, always sew on a scrap piece of the same fabric to test your tension and stitch width. If the thread loops on the bottom, your top tension is likely too loose; if it pulls on top, it’s too tight.
Monitoring the process
Keep your hands to the sides of the presser foot, never directly in front of the needle. As you sew, watch the edge of the fabric against the markings on the needle plate to keep your seam straight. If you see the fabric bunching up, stop immediately and check that your bobbin is seated correctly. This isn’t for people who want to skip the setup process, as rushing the threading sequence always leads to knots and broken needles.
Common problems and quick fixes
| What you notice | What it usually means | What to do first |
|---|---|---|
| Thread tangling | Incorrect threading | Re-thread the top spool |
| Needle breaking | Wrong needle size | Install a new needle |
| Fabric not moving | Feed dog error | Raise the presser foot |
| Skipping stitches | Dull needle | Replace the needle |
Requirements for safe operation
You must follow the safety guidelines published by the Consumer Product Safety Commission regarding electrical appliances. Never leave the machine plugged in while you aren’t using it, and always turn the power switch to the off position before changing the needle or cleaning the area. If the machine makes a grinding noise or emits a burning smell, stop using it immediately and unplug it from the wall. Repairs involving internal motor parts, wiring, or the circuit board are technician-only work because internal components can hold a dangerous electrical charge even when unplugged. Always keep your fingers clear of the needle bar while the machine is running to prevent injury.
Keeping it working afterwards
To keep your machine running smoothly, remove the needle plate regularly to brush away lint.
When to use a different approach
This mechanical approach is the wrong choice if you plan to do heavy-duty upholstery work or industrial-grade sewing, as the plastic gears will wear down under the constant pressure of thick leather or canvas. In these cases, you should look for a machine with a metal frame and high-torque motor. If you want to create complex embroidery patterns, a basic mechanical machine won’t suffice; you would need a computerized model with an embroidery module. Using a basic machine for advanced tasks will lead to poor results and may void your manufacturer warranty.
Frequently asked questions
Can I sew leather with this machine?
No, this machine isn’t designed for heavy leather. You should use a machine with a stronger motor and specific leather-grade needles to avoid breaking the internal drive system or stalling the motor during the sewing process.
Why is my thread bunching up under the fabric?
This usually happens because the top thread isn’t threaded through the tension discs correctly. Re-thread the entire machine with the presser foot in the up position to ensure the thread seats properly in the tension mechanism.
How long does the needle last?
You should replace the needle as soon as you notice skipped stitches or hear a thumping sound, as a bent or dull needle damages the fabric and the machine.
Is it safe for children to use?
Yes, it’s safe if they’re under constant adult supervision. You must ensure the child keeps their fingers away from the needle area and understands how to operate the foot pedal without moving too fast.
What happens if I forget to lower the presser foot?
If you forget to lower the foot, the fabric won’t feed through the machine correctly. The stitches will bunch up in one spot, and the thread will likely tangle into a knot around the needle.
Final Thoughts
Starting your sewing journey is an exciting adventure, and you’ll find that your confidence grows with every stitch you complete. Don’t be afraid to experiment with different fabrics as you practice. Once you’re feeling comfortable, try following a simple pattern this weekend to see exactly what you can create.
Related guides
- Singer Machine for Beginners: How to Start Sewing Easily
- How to Get Started With Brother Sewing Machine: Easy Steps to Sew Like a Pro
- What is the Best Singer Sewing Machine for a Beginner: Top Picks 2026