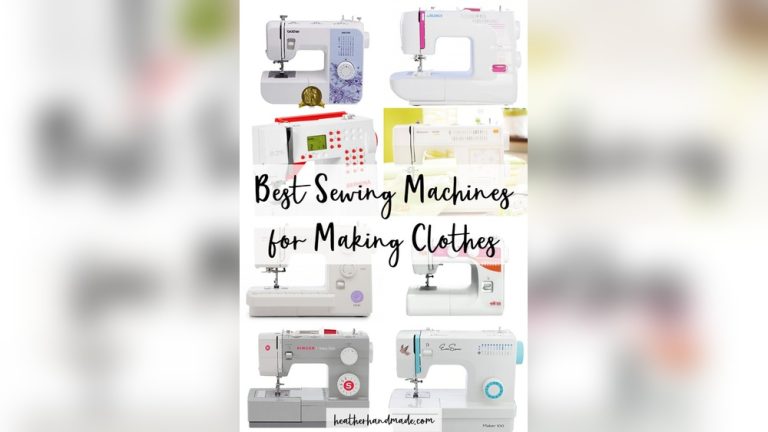
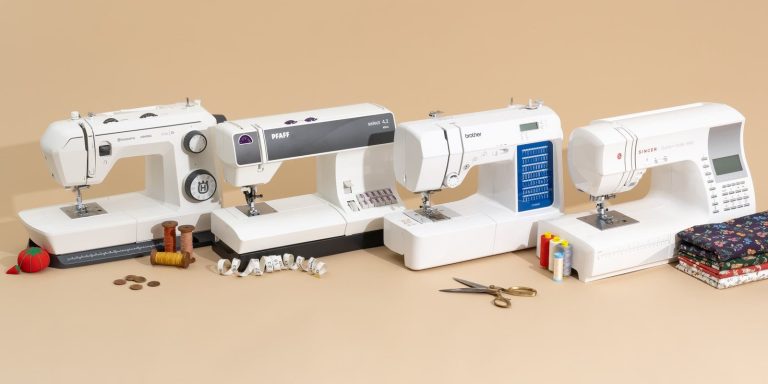
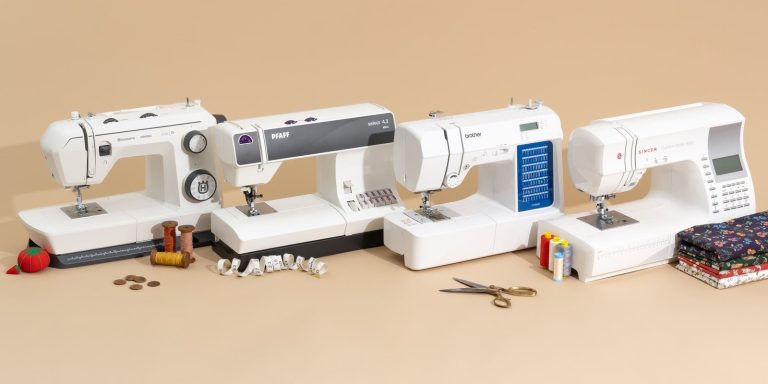
Best Beginner Quilting Sewing Machine: The Janome MOD-100Q Pick
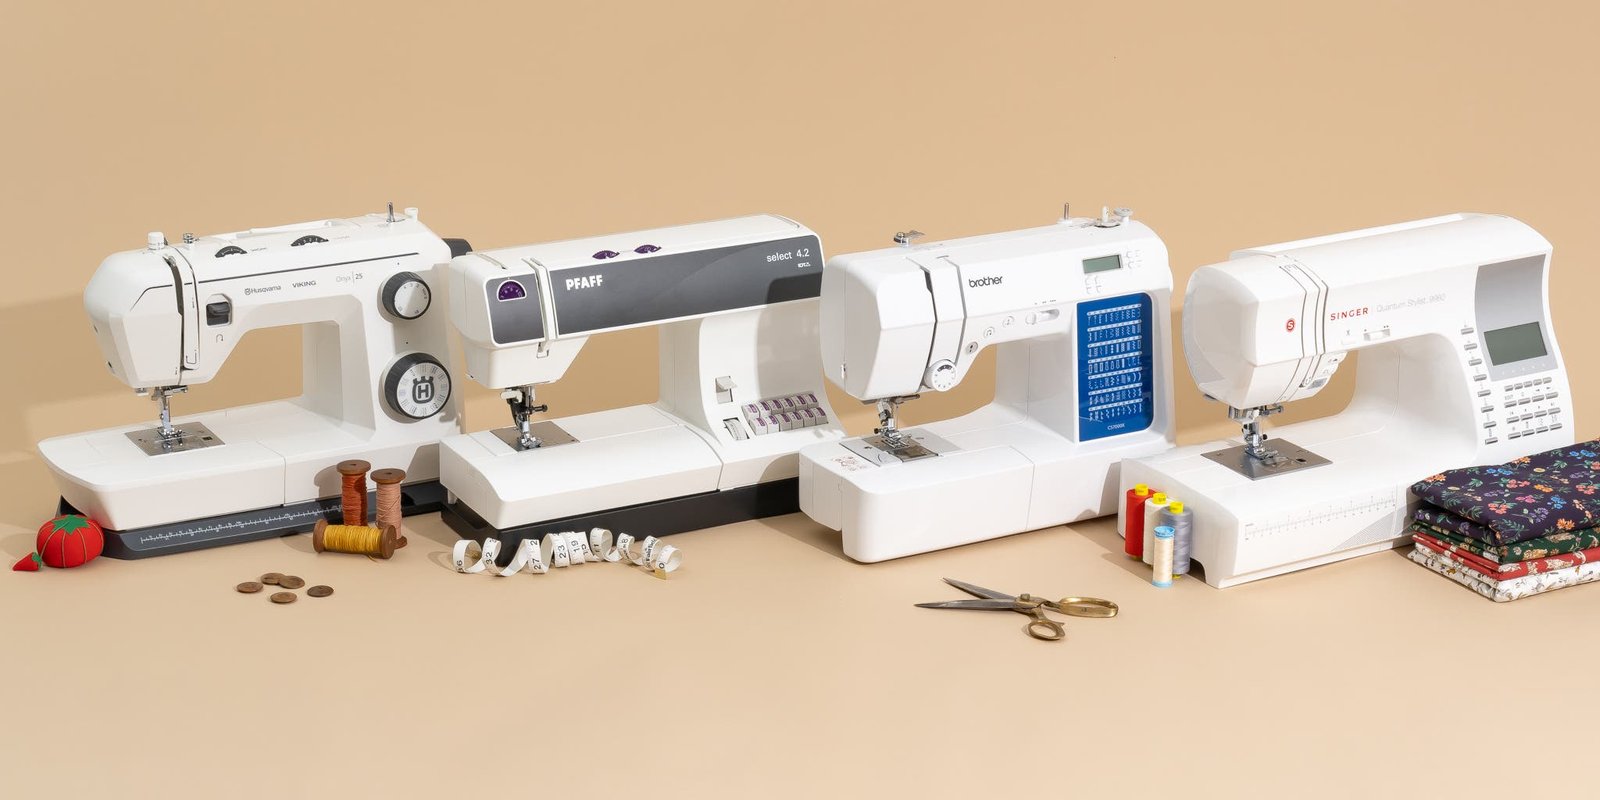
The Janome MOD-100Q is the best beginner quilting sewing machine because it includes a wide extension table and a dedicated walking foot for managing thick fabric layers. Beginners often struggle with heavy quilts under the needle, but this model provides the necessary workspace and control for consistent stitches. This guide covers essential setup tasks, critical settings, and the maintenance habits required for long-term machine health.
Getting to know your quilting machine
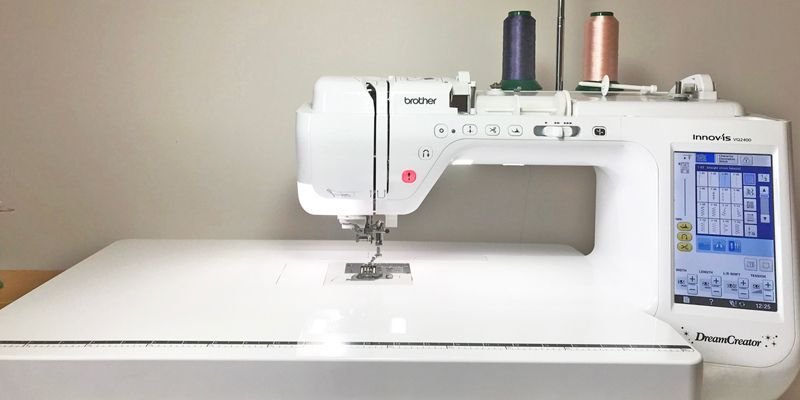
A sewing machine designed for quilting differs from a standard garment machine primarily in its throat space and accessory list. The throat space is the distance between the needle and the machine body. You need at least 6 inches of clearance to comfortably push a quilt through the unit. Beginners often think they need a massive, expensive industrial machine to finish a quilt, but that’s a mistake that costs money and creates frustration with complex controls.
The most important mechanism in a quilting machine is the feed dog system, which pulls the fabric forward. When quilting, you’re sewing through three layers—the top, the batting, and the backing. A standard machine may struggle to pull all three layers at the same speed, leading to puckering. A machine that allows for a walking foot attachment ensures all layers move together. This isn’t for people who only want to mend clothes; it’s for those who intend to build quilts of various sizes. Always check the manufacturer manual for your specific model to see which feet are compatible, as this varies by model.
The basic method
- Set the machine on a flat, stable surface. A wobbly table makes it impossible to maintain even stitching when you have a heavy quilt pushing against the needle.
- Install the walking foot attachment. This foot has a lever that attaches to the needle clamp screw, which helps the machine move the layers of your quilt at the same speed.
- Wind your bobbin with high-quality cotton thread. Use the same thread in the bobbin and the top spool to keep tension consistent.
- Set the stitch length to 2.5mm or 3.0mm. Quilting requires a slightly longer stitch than garment sewing to handle the extra thickness of the batting.
- Place your quilt sandwich under the presser foot. Lower the foot and hold the thread tails to the back for the first few stitches to prevent tangling.
- Guide the quilt slowly with both hands. Don’t push or pull the fabric; let the machine’s feed dogs do the work while you just steer.
- Use the Janome machine maintenance guidelines to ensure your feed dogs are free of lint after every project.
The judgement call that defines your success is how you manage the bulk. If you find your quilt is bunching up, you must roll the excess fabric on the left side into a tight bundle or use clips to keep it manageable. If you force the fabric, the needle will bend or break. If you’re unsure about the electrical safety of your machine, contact a licensed technician; don’t open the housing, as a capacitor can hold a lethal charge unplugged.
Key numbers and settings at a glance
These settings assume you’re working with a standard cotton quilt sandwich; for heavy wool batting, increase the stitch length by 0.5mm.
| Situation | What to use | How long | What to watch for |
|---|---|---|---|
| Piecing blocks | 1/4 inch foot | 2.5mm length | Consistent seam allowance |
| Straight line quilting | Walking foot | 3.0mm length | Even spacing between lines |
| Decorative stitching | Open toe foot | 2.0mm width | Tension on the bobbin |
| Free motion quilting | Darning foot | Feed dogs disengaged | Smooth, fluid hand movement |
| Finishing edges | Zig-zag foot | 3.0mm width | Edge alignment |
What separates good results from bad ones
Preparation and sequencing
Successful quilters spend more time preparing than sewing. They press every seam flat with an iron before moving to the next step. If your seams aren’t flat, they will cause bumps that the machine can’t handle, leading to skipped stitches or uneven tension. Always work in a logical order: press your blocks, layout the full design, and baste the layers together with safety pins or temporary spray adhesive.
Monitoring the process
Partway through your session, stop and check the underside of your quilt. Beginners often fail to notice “bird-nesting” of threads on the bottom until they have finished an entire row. If you see loops or tangles, stop immediately. Check that your bobbin is seated correctly and that the top thread is fully engaged in the tension discs. Experienced users know that if a machine suddenly starts making a strange noise, it’s almost always a sign of a thread jam or a dull needle. Change your needle after every 8 to 10 hours of sewing time, as a blunt tip will pierce the fabric threads instead of sliding between them, causing visible damage to your quilt top.
Common problems and quick fixes

| What you notice | What it usually means | What to do first |
|---|---|---|
| Fabric bunching | Incorrect tension | Re-thread the top spool |
| Skipped stitches | Dull needle | Install a new universal needle |
| Thread breaking | Poor quality thread | Lower your sewing speed |
| Needle snapping | Pushing the fabric | Let the machine feed naturally |
The rules that apply
Quilting machines must meet basic safety standards to ensure the user is protected from electrical risks. In the United States, the Consumer Product Safety Commission provides guidance on maintaining electrical appliances, noting that cords should be checked for damage before every use. Never use a machine with a frayed cord. If you’re doing professional quilting for clients, check your local zoning laws, as some areas have rules regarding home-based businesses and fire safety equipment. If you require advanced repairs or internal adjustments, always use a certified technician. Attempting to bypass safety interlocks or modifying the motor can void your warranty and create a fire hazard.
Keeping it working afterwards
To keep your machine running smoothly, perform a deep clean after every 10 to 15 hours of use. Unplug the machine and use a soft brush to remove lint from the bobbin area and feed dogs. Never use canned air, as this pushes lint deeper into the internal sensors. Keep your machine covered when not in use to prevent dust accumulation. If you store your machine for more than a month, place it in a climate-controlled room. Excess humidity can cause internal metal parts to rust, while extreme heat may degrade plastic gears.
When to use a different approach
This approach isn’t for someone who wants to quilt large, king-sized bed covers. If you’re working on a massive quilt, a standard beginner machine will feel cramped. In that case, you should look into a long-arm quilting rental or a professional quilting service. Additionally, this guide assumes you’re using a standard needle. If you’re working with heavy materials like denim or leather, you must switch to a heavy-duty needle and potentially a different machine designed for industrial thickness. Don’t force heavy-duty materials through a light-weight beginner machine, as you’ll likely break the internal timing mechanism, which is an expensive repair.
Frequently asked questions
The Best Beginner Quilting Sewing Machine
Yes, you can use any machine that allows you to attach a walking foot and has a consistent straight stitch. While specialized quilting machines offer more throat space, a standard machine is perfectly capable of handling small to medium quilts if you manage the fabric bulk carefully.
How long does it take to learn to quilt?
It takes about 10 to 20 hours of practice to become comfortable with basic piecing and straight-line quilting. Start with a simple baby quilt or a table runner to learn your machine’s speed and tension settings before attempting larger projects that require complex fabric management.
Is it safe to leave my sewing machine plugged in?
No, you should always unplug your machine when you aren’t actively using it. This prevents accidental activation and protects the internal electronics from power surges, which is a standard safety recommendation for all small household appliances according to electrical safety guidelines.
What happens if I don’t change my needle?
If you don’t change your needle, it will become dull and start to damage your fabric. A dull needle creates larger holes in the quilt top and can cause skipped stitches because it can’t properly penetrate the fabric layers to catch the bobbin thread.
How do I know if my thread tension is right?
You can check your tension by sewing a test seam on two pieces of scrap fabric. If the threads are balanced and you can’t see the bobbin thread on the top, or the top thread on the bottom, your tension is set correctly for that thread weight.
Final Thoughts
Starting your first project doesn’t have to be intimidating. Once you’ve practiced your straight stitches on some scrap fabric, you’ll feel much more confident tackling a full quilt. Don’t worry if your early seams aren’t perfect; you’re building skills that’ll last a lifetime. Just keep sewing, and you’ll love the results.
{“@context”:”https://schema.org”,”@type”:”FAQPage”,”mainEntity”:[{“@type”:”Question”,”name”:”The Best Beginner Quilting Sewing Machine”,”acceptedAnswer”:{“@type”:”Answer”,”text”:”Yes, you can use any machine that allows you to attach a walking foot and has a consistent straight stitch. While specialized quilting machines offer more throat space, a standard machine is perfectly capable of handling small to medium quilts if you manage the fabric bulk carefully.”}},{“@type”:”Question”,”name”:”How long does it take to learn to quilt?”,”acceptedAnswer”:{“@type”:”Answer”,”text”:”It takes about 10 to 20 hours of practice to become comfortable with basic piecing and straight-line quilting. Start with a simple baby quilt or a table runner to learn your machine’s speed and tension settings before attempting larger projects that require complex fabric management.”}},{“@type”:”Question”,”name”:”Is it safe to leave my sewing machine plugged in?”,”acceptedAnswer”:{“@type”:”Answer”,”text”:”No, you should always unplug your machine when you aren’t actively using it. This prevents accidental activation and protects the internal electronics from power surges, which is a standard safety recommendation for all small household appliances according to electrical safety guidelines.”}},{“@type”:”Question”,”name”:”What happens if I don’t change my needle?”,”acceptedAnswer”:{“@type”:”Answer”,”text”:”If you don’t change your needle, it will become dull and start to damage your fabric. A dull needle creates larger holes in the quilt top and can cause skipped stitches because it can’t properly penetrate the fabric layers to catch the bobbin thread.”}},{“@type”:”Question”,”name”:”How do I know if my thread tension is right?”,”acceptedAnswer”:{“@type”:”Answer”,”text”:”You can check your tension by sewing a test seam on two pieces of scrap fabric. If the threads are balanced and you can’t see the bobbin thread on the top, or the top thread on the bottom, your tension is set correctly for that thread weight.”}}]}