Best Sewing Machine for Quilting Beginner: The Brother CS6000i
The Brother CS6000i is widely considered the best sewing machine for quilting beginner users because it offers a wide table, consistent speed control, and a drop-in bobbin system that simplifies setup. While many models exist, this machine provides the essential features for small-to-medium projects without overwhelming you with complex digital menus. This guide explains how to select, prepare, and maintain your equipment for successful quilting.
The best sewing machine for quilting beginner
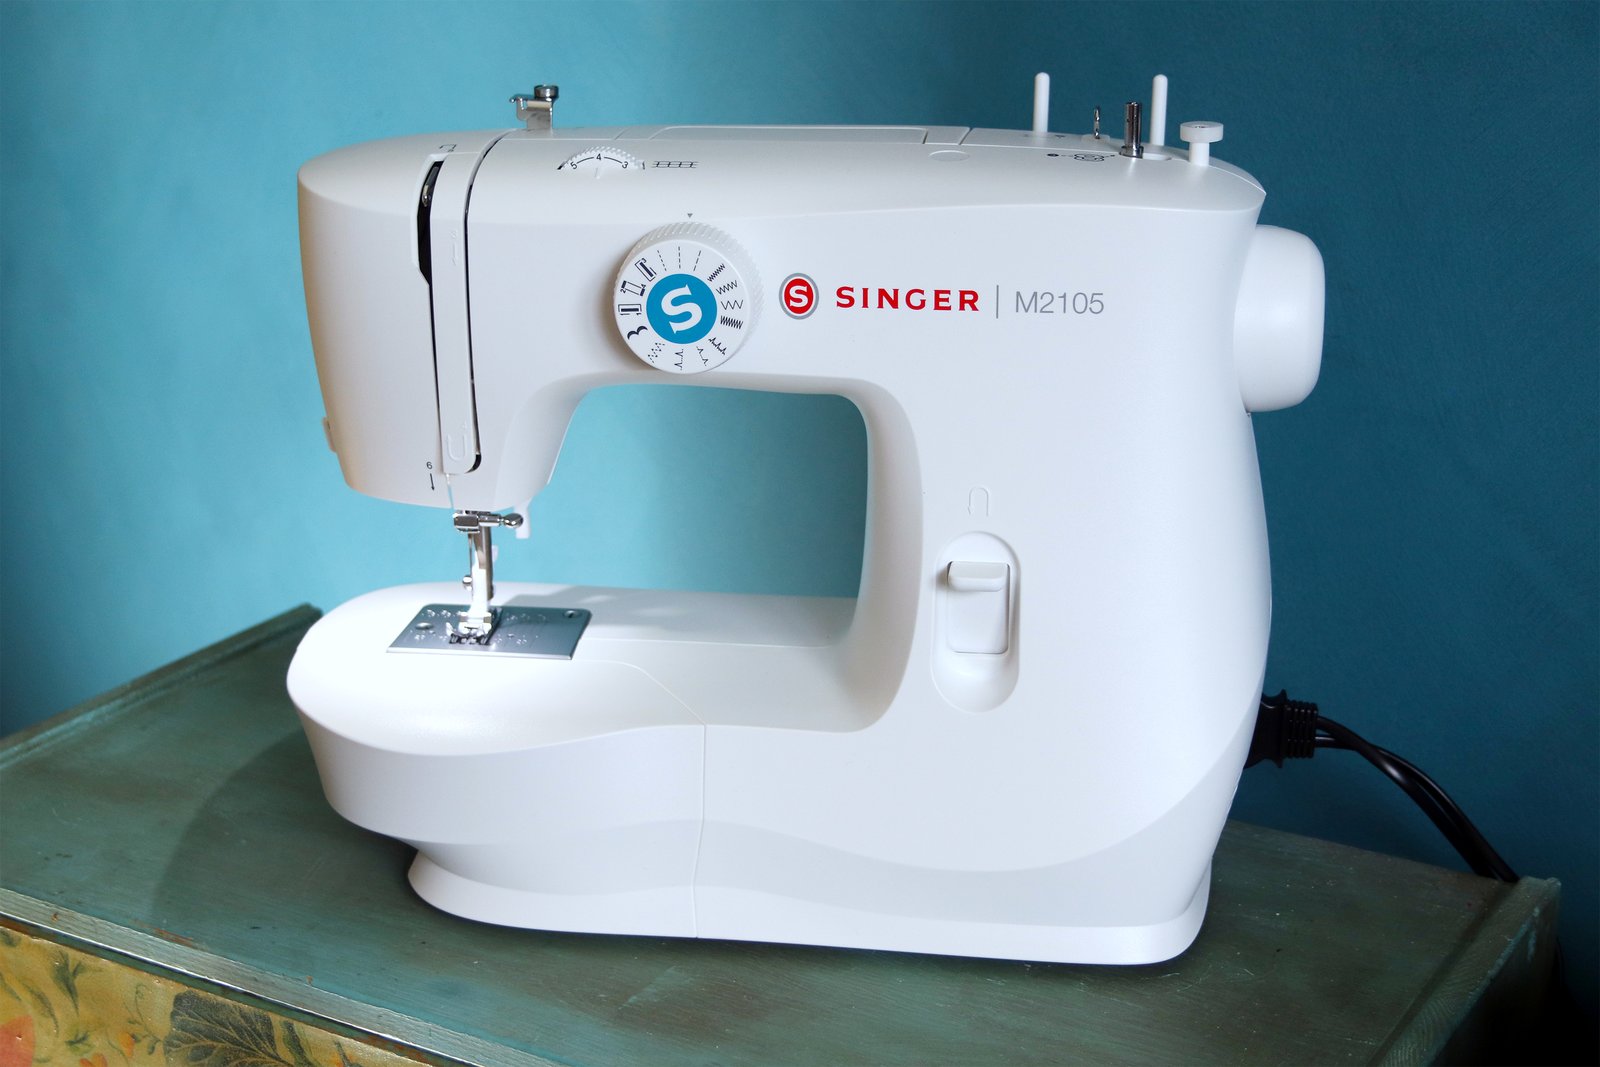
When you look for a quilting machine, you aren’t just looking for a standard sewing tool. A quilting machine must handle thicker layers of fabric, known as a “quilt sandwich,” which includes your quilt top, batting, and backing. The defining feature that separates these machines from basic sewing models is the throat space—the distance between the needle and the machine’s body. A wider throat allows you to maneuver bulky fabric rolls more easily.
Most beginners mistakenly think they need a computerized machine with hundreds of decorative stitches. In reality, you only need a reliable straight stitch, a zigzag stitch for binding, and an adjustable presser foot pressure. If you’re working with delicate fabrics, you must adjust the tension; if you’re working with heavy batting, you need a walking foot. This varies by model—check the label to see if your machine includes a walking foot, as it’s essential for keeping layers aligned during the quilting process. Always verify the manufacturer’s official support documentation for your specific serial number to ensure your machine is rated for the fabric weight you intend to use.
The basic method
- Place your machine on a stable, flat surface to prevent vibration during long sessions.
- Wind your bobbin with high-quality cotton thread, ensuring the thread is wound evenly to prevent jams.
- Insert a new quilting needle, typically size 80/12 or 90/14, which has a sharper point to pierce multiple layers.
- Attach your walking foot, which is necessary to move the top and bottom fabric layers at the same speed.
- Set your stitch length to 2.5mm or 3.0mm, as longer stitches are better for securing thick quilt layers.
- Test your tension on a scrap “quilt sandwich” made of the same fabric and batting you’ll use for your project.
- Begin sewing at a slow, steady speed, keeping your hands flat on the fabric to guide it rather than pulling it.
The judgement call that defines your result is the “basting” process. If you don’t secure your layers with safety pins or temporary spray adhesive before sewing, the fabric will shift, creating puckers in the back. If you’re a beginner, use a safety pin every four inches.
Key numbers and settings at a glance
The settings below assume you’re using standard cotton quilting fabric and polyester batting. If you switch to wool or silk batting, reduce your presser foot pressure to avoid crushing the fibers.
| Situation | What to use | How long | What to watch for |
|---|---|---|---|
| Piecing blocks | 1/4 inch foot | Constant speed | Consistent seam width |
| Quilting layers | Walking foot | Slow speed | Fabric bunching |
| Attaching binding | Zigzag stitch | Medium speed | Edge alignment |
| Free motion | Darning foot | Variable speed | Even stitch length |
| Thick seams | Size 90/14 needle | Slow speed | Needle deflection |
What separates good results from bad ones
Preparation and workflow
Experienced quilters focus on the “prep” phase before the machine is even turned on. They iron every seam flat, as bulk in the seams is the primary cause of broken needles and uneven stitching. When you start a row, they always leave at least four inches of thread tail at the beginning; this prevents the thread from being sucked into the bobbin case during the first few stitches.
Monitoring your progress
During the process, you must stop every ten minutes to check the back of your quilt. If you see “loops” of thread on the bottom, your top tension is too loose or your bobbin isn’t seated correctly. If you see the bobbin thread pulling to the top, your top tension is too tight. A common mistake is adjusting the bobbin tension screw; leave this alone, as it’s a factory setting that’s difficult to restore once changed. If you can’t fix the issue by adjusting the top tension dial, consult a professional technician.
Common problems and quick fixes
| What you notice | What it usually means | What to do first |
|---|---|---|
| Thread nesting underneath | Incorrect threading | Re-thread the top path |
| Skipped stitches | Dull or wrong needle | Replace the needle |
| Fabric puckering | Tension too high | Lower the tension dial |
| Needle breaking | Fabric too thick | Slow down your speed |
Regulatory and safety standards
Electrical sewing machines must meet safety standards to prevent fire or shock hazards. In the United States, the Consumer Product Safety Commission monitors home appliances for defects that could lead to consumer harm. If you’re using a vintage machine, check the power cord for cracks or brittle insulation, as old wiring is a common fire risk. If you notice a burning smell or see sparks, stop using the machine immediately and take it to a qualified repair shop. Never attempt to open the motor housing or touch internal capacitors, as these can store a lethal charge even when the machine is unplugged. Always use a surge protector to shield the sensitive circuit boards found in modern computerized machines from power fluctuations.
Routine maintenance and care
Once your project is finished, clean the lint out of the bobbin area using a small brush. Lint buildup can clog mechanical parts and create friction that slows down the motor. If your machine requires oil, use only sewing machine oil, never household oils like WD-40, which can gum up the internal mechanisms. Store your machine in a dust cover when not in use to prevent debris from entering the needle bar. If you hear a “clunking” sound or the machine feels sluggish, it’s a sign that it’s due for a professional cleaning and timing adjustment by a certified technician.
When to use a different approach
This approach isn’t for someone looking to quilt king-sized blankets on a hobby-grade machine. If you’re working on a piece larger than 60 inches wide, a standard sewing machine will frustrate you because there isn’t enough room to feed the quilt through the throat. In that case, use a dedicated long-arm quilting service instead of trying to force the fabric. Additionally, if you’re interested in “free-motion” quilting where you move the fabric in any direction, you need a machine with a dedicated “drop feed” feature. If your machine doesn’t have this, you’ll be unable to move the fabric freely, and you should consider a specialized quilting frame or a machine designed specifically for free-motion work.
Frequently asked questions

Can I quilt on a normal sewing machine?
Yes, you can quilt on any standard sewing machine as long as it has a straight stitch and you use a walking foot. The size of the machine limits the size of the quilt, but the method remains the same for small projects like wall hangings or baby blankets.
How long does it take to learn quilting?
Most people can complete their first simple patchwork quilt in about 15 to 20 hours of focused work. This includes cutting, piecing, and quilting. Your speed will increase as you become more comfortable with your machine’s speed control and seam allowance guides.
Is it safe to use a used sewing machine?
Yes, it’s safe if you verify the power cord and motor function before starting. Always test the machine on a scrap piece of fabric to ensure the stitch formation is consistent and the motor doesn’t smell like burning dust or ozone.
What happens if I use the wrong needle?
If you use the wrong needle, you’ll likely experience skipped stitches or damaged fabric. A universal needle isn’t sharp enough for multiple quilt layers, so always swap to a dedicated quilting or denim needle to ensure clean penetration through the batting.
Why does my thread keep breaking?
Your thread usually breaks because of a threading error or a dull needle. Check that the thread is seated correctly in the take-up lever, and if the problem persists, replace your needle, as a tiny burr on the tip can shred the thread.
Final Thoughts
Choosing your first machine is just the beginning of a creative journey. Don’t worry if your early stitches aren’t perfect; they’ll improve with every practice block you finish. Once you’ve set up your workspace, grab some fabric scraps and start experimenting with different patterns. You’re going to love what you create.
{“@context”:”https://schema.org”,”@type”:”FAQPage”,”mainEntity”:[{“@type”:”Question”,”name”:”Can I quilt on a normal sewing machine?”,”acceptedAnswer”:{“@type”:”Answer”,”text”:”Yes, you can quilt on any standard sewing machine as long as it has a straight stitch and you use a walking foot. The size of the machine limits the size of the quilt, but the method remains the same for small projects like wall hangings or baby blankets.”}},{“@type”:”Question”,”name”:”How long does it take to learn quilting?”,”acceptedAnswer”:{“@type”:”Answer”,”text”:”Most people can complete their first simple patchwork quilt in about 15 to 20 hours of focused work. This includes cutting, piecing, and quilting. Your speed will increase as you become more comfortable with your machine’s speed control and seam allowance guides.”}},{“@type”:”Question”,”name”:”Is it safe to use a used sewing machine?”,”acceptedAnswer”:{“@type”:”Answer”,”text”:”Yes, it’s safe if you verify the power cord and motor function before starting. Always test the machine on a scrap piece of fabric to ensure the stitch formation is consistent and the motor doesn’t smell like burning dust or ozone.”}},{“@type”:”Question”,”name”:”What happens if I use the wrong needle?”,”acceptedAnswer”:{“@type”:”Answer”,”text”:”If you use the wrong needle, you’ll likely experience skipped stitches or damaged fabric. A universal needle isn’t sharp enough for multiple quilt layers, so always swap to a dedicated quilting or denim needle to ensure clean penetration through the batting.”}},{“@type”:”Question”,”name”:”Why does my thread keep breaking?”,”acceptedAnswer”:{“@type”:”Answer”,”text”:”Your thread usually breaks because of a threading error or a dull needle. Check that the thread is seated correctly in the take-up lever, and if the problem persists, replace your needle, as a tiny burr on the tip can shred the thread.”}}]}