Husqvarna Quilting Machines: How to Choose the Right Model
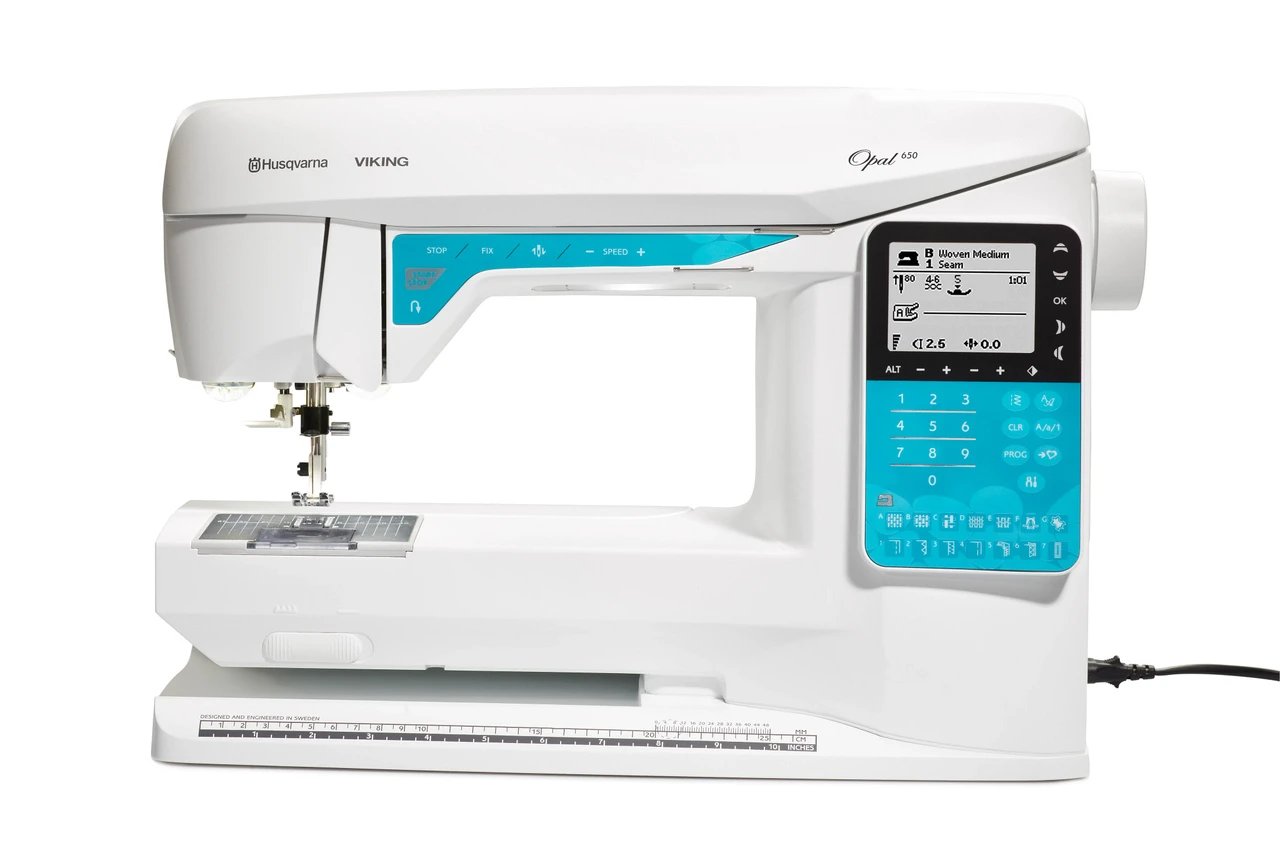
The best way to handle large-scale sewing projects is by using husqvarna quilting machines, which offer specialized throat space and stitch regulation for professional results. If you’re working on a small wall hanging, a standard domestic unit might suffice, but for king-sized quilts, you’ll need a machine with at least ten inches of clearance to the right of the needle. This varies by model — check the label on your specific unit for the exact throat measurement before starting your project.
Comparing different Husqvarna quilting machines
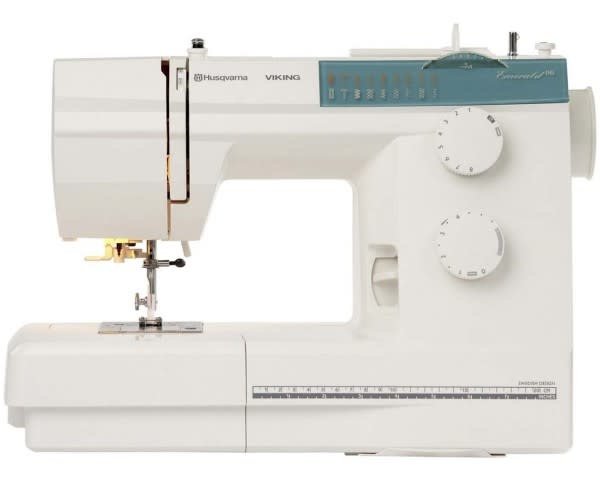
Selecting the right equipment depends on your space and the complexity of your designs.
| Method | How long | Effort | Cost | Best for |
|---|---|---|---|---|
| Domestic Sewing | High | High | Low | Small quilts |
| Dedicated Quilter | Medium | Medium | Medium | Hobbyists |
| Longarm System | Low | Low | High | Large quilts |
If you’re a beginner, a mid-range dedicated quilting model offers the best balance of price and performance. For those planning to finish quilts for others, a frame-based longarm is essential. If you have limited space, choose a machine with a removable extension table rather than a full floor-standing frame. This is a common trade-off; you save floor space but sacrifice the ability to move the machine head over the fabric easily. A mistake many people make is choosing a machine based on the number of decorative stitches; this costs you money you should have spent on a more powerful motor or a better feed system.
Integrated sewing and quilting units
These machines function as standard sewing units but include extra features for fabric handling.
- Set your machine to the “quilting” mode if your model has one, as this adjusts the needle position for thicker layers.
- Install a walking foot to ensure the top and bottom fabric layers move at the same speed.
- Attach the extension table to provide a flat surface for your quilt, which prevents the weight of the fabric from pulling the seams.
- Select a straight stitch with a length of 2.5mm to 3.0mm for standard piecing.
These units are excellent for piecers who want a versatile machine that handles everyday repairs and complex quilt tops. They’re compact and easy to store in a closet. However, the weakness is the limited throat space, which makes finishing very large quilts physically difficult. You can find technical specifications for these models on the Husqvarna Viking official support page.
Dedicated sit-down quilting models

These machines are built for speed and heavy use, focusing on the movement of the quilt under the needle.
- Place the machine on a sturdy, vibration-free table to handle the high speeds of the motor.
- Connect your foot pedal and set the stitch regulator to “constant,” which keeps stitch length even regardless of hand speed.
- Use a silicone mat under the quilt to reduce friction as you move the fabric layers.
- Check your bobbin tension every two bobbins to ensure the thread doesn’t loop on the underside of the quilt.
These models allow for great control over free-motion quilting patterns because they lack the complex feed dog systems of standard sewing machines. They’re perfect for artists who enjoy detailed work. The main drawback is that you must physically manipulate the entire weight of the quilt, which can cause shoulder fatigue during long sessions. This isn’t for someone who has limited upper body mobility or prefers a hands-off approach.
Longarm systems on frames
Longarm machines sit on a large metal frame, allowing the machine head to move over the fabric.
- Load your backing, batting, and top onto the three separate rails of the frame.
- Tension each layer individually to ensure there are no wrinkles or puckers.
- Move the machine head using the handlebars, letting the internal motor handle the stitch formation.
- Set the stitch regulator to a speed that matches your arm movement to keep every inch uniform.
These systems provide the highest quality finish and allow you to complete a full quilt in a fraction of the time required by a standard machine. They’re the standard for professional quilters. The clear limitation is the massive footprint; these frames require a dedicated room. If you don’t have the space, you can’t use this method effectively.
Which one should you use?

If you’re in a hurry, use a longarm system on a frame because it eliminates the need to stop and reposition the fabric constantly. This method is the fastest way to quilt large pieces because the fabric stays locked in place while the machine does the work.
If you’re doing this for the first time, start with an integrated sewing and quilting unit. You likely already own one or can borrow one, and it allows you to learn the basics of fabric layering and tension without a massive investment. You’ll find that mastering the walking foot is more important than having a large throat space when you’re just starting out.
If you want the best possible result whatever it takes, choose a dedicated sit-down quilting model with an integrated stitch regulator. This offers the perfect middle ground between the precision of a professional longarm and the accessibility of a domestic machine. While it requires more physical effort than a frame-based system, it gives you total control over the stitch quality. This is the trade-off: you gain artistic freedom by putting in more manual labor.
The rules that apply whichever way you choose
Regardless of your machine, you must maintain proper tension to avoid broken threads and uneven seams. Always test your settings on a scrap piece of fabric that matches the thickness and material of your actual quilt. If the thread loops on the bottom, tighten your top tension; if the thread pulls to the top, loosen it. This is a simple diagnostic check every user should perform before every project.
Before beginning, ensure your needle is sharp and appropriate for the fabric weight. A dull needle will cause skipped stitches and can even damage your quilt top. You should change your needle every eight to ten hours of sewing time. If you notice the machine making a rhythmic clicking sound, stop immediately and check the bobbin area for thread nests or lint buildup. Don’t try to force the machine to keep sewing, as this can break the internal timing mechanism.
Most modern machines are sensitive to power fluctuations, so always use a high-quality surge protector to prevent damage. If your unit stops responding, check the manual for error codes before seeking help. For internal timing or motor repairs, contact an authorized dealer; opening the housing yourself voids your warranty and risks permanent damage. Schedule a professional maintenance check annually to ensure optimal performance.