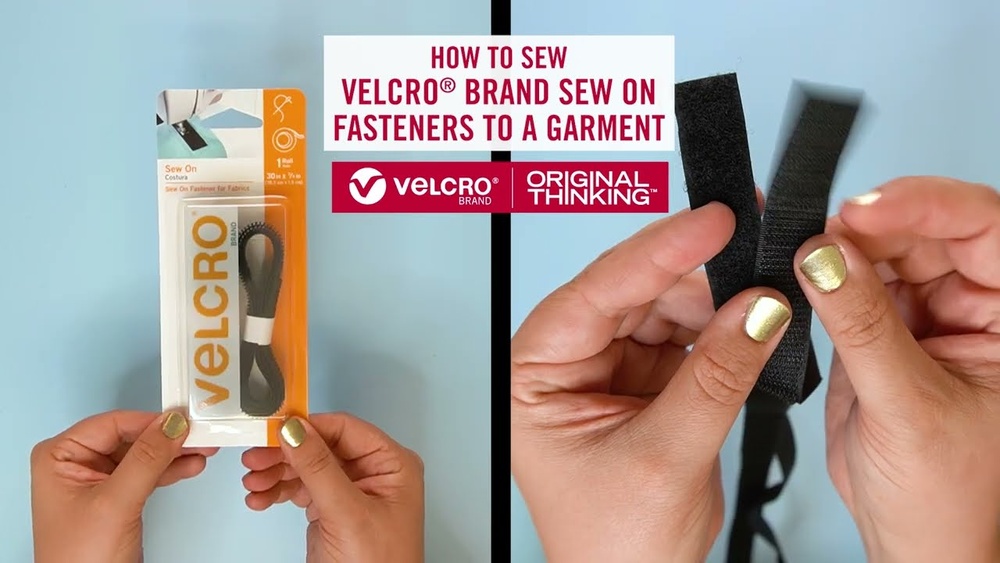
How To Sew Velcro On Fabric
Are you struggling to attach Velcro to your fabric the right way? Whether you want to fix a jacket, create a DIY project, or repair a bag, sewing Velcro on fabric can be tricky if you don’t know the right steps.
But don’t worry—you’re about to learn a simple, foolproof method that anyone can follow. By the end of this guide, you’ll feel confident sewing Velcro neatly and securely, making your projects look professional and last longer. Keep reading, and discover how easy it is to master this handy skill!
Credit: www.velcro.com
Choosing Velcro Types
Choosing the right type of Velcro is key for your sewing project. The choice affects how strong and durable the closure will be. Different fabrics and uses need different Velcro types. Understanding the main varieties helps you pick the best one for your fabric and purpose.
Hook And Loop Varieties
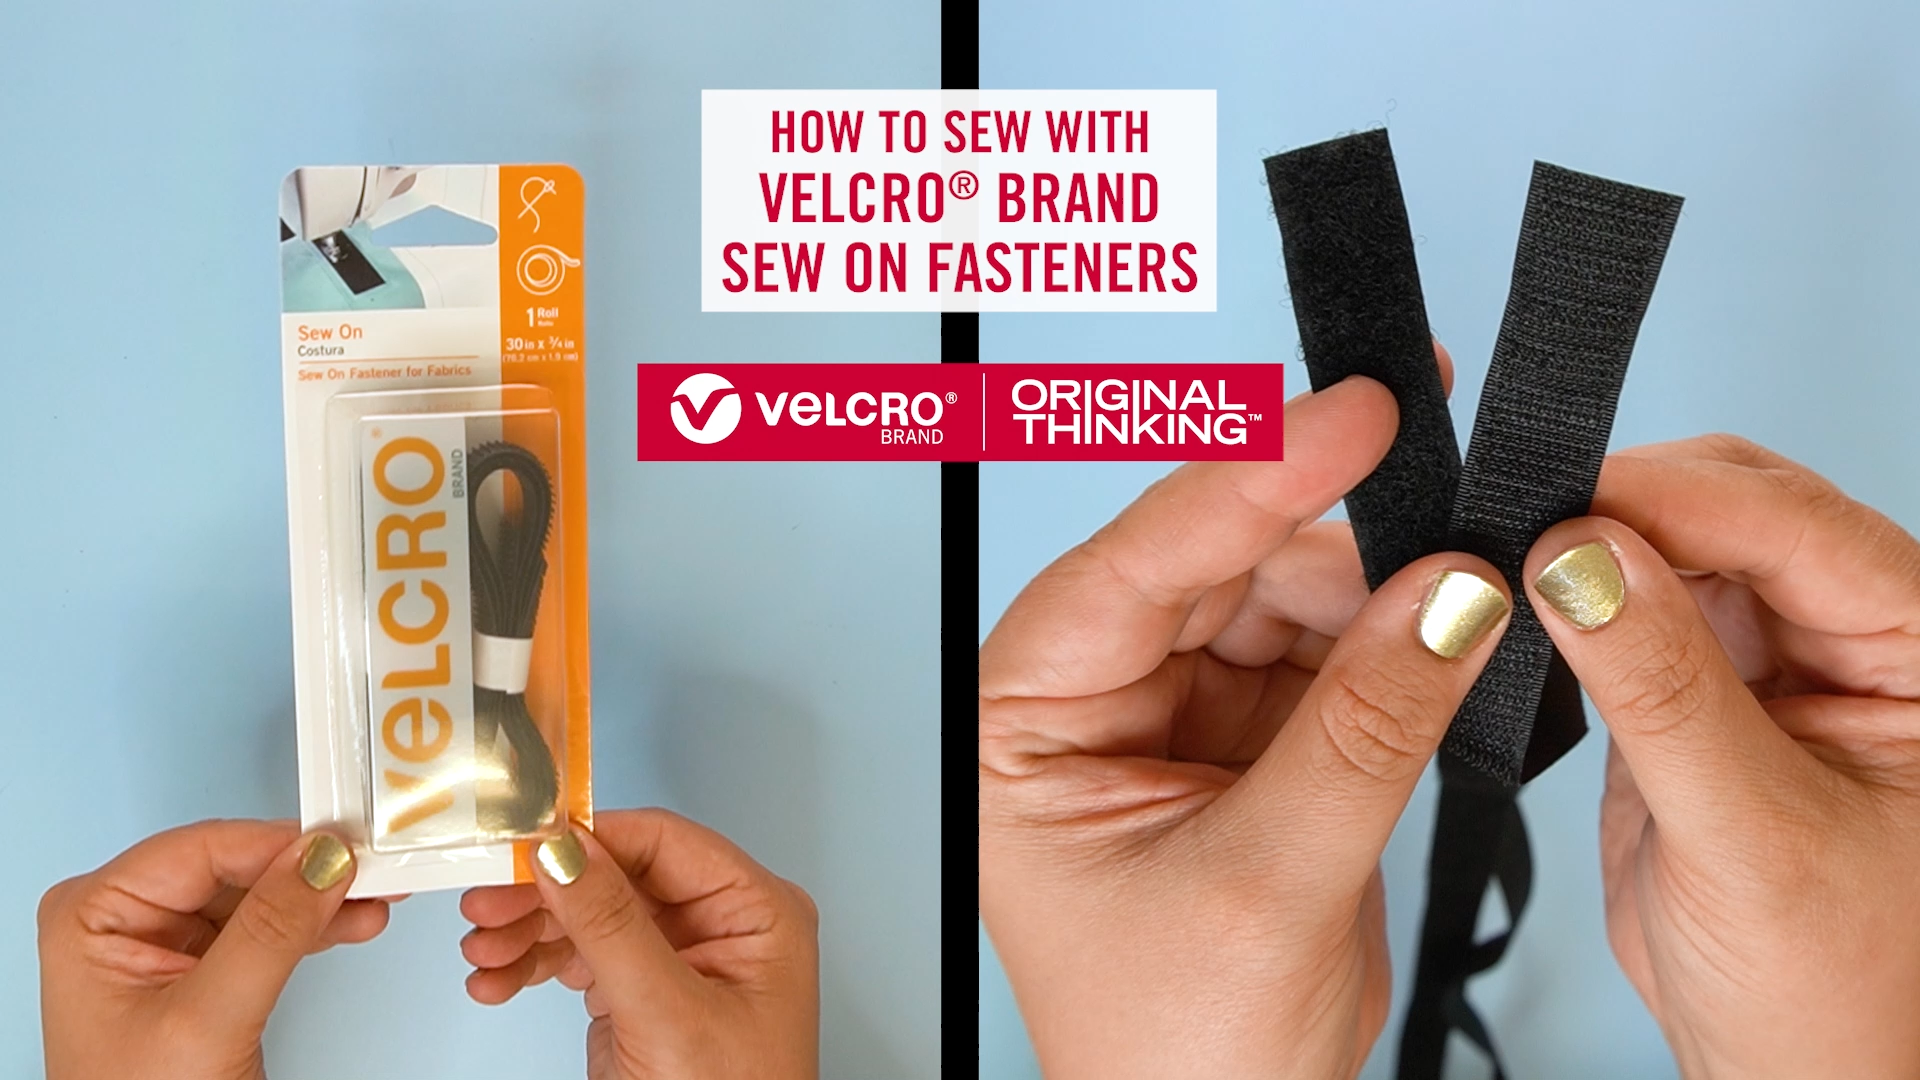
Velcro has two parts: hooks and loops. Hooks are rough and grab onto the soft loops. Some Velcro has tiny hooks for delicate fabrics. Others have larger hooks for heavy use. Loop material can be soft or stiff. Match the hook and loop types to your fabric’s strength and use.
Adhesive Vs Sew-on
Velcro comes with adhesive backing or without. Adhesive Velcro sticks easily to fabric without sewing. It works well on smooth, flat surfaces. Sew-on Velcro needs stitching but holds better on rough or thick fabric. For strong, lasting hold, sew-on is best. Adhesive is quick for temporary fixes or lightweight fabrics.
Preparing Fabric And Tools
Preparing fabric and tools is the first step to sew Velcro on fabric. It helps make the sewing process smooth and gives better results. Choosing the right fabric and having the correct tools ready saves time and avoids mistakes. This section guides you through selecting fabric and gathering supplies for this task.
Selecting Suitable Fabric
Pick fabric that works well with Velcro. Thick fabrics like denim or canvas hold Velcro firmly. Thin or stretchy fabrics may need extra care or backing. Avoid delicate fabrics that can tear easily. Test a small piece of fabric with Velcro first. This ensures good grip and prevents damage.
Gathering Sewing Supplies
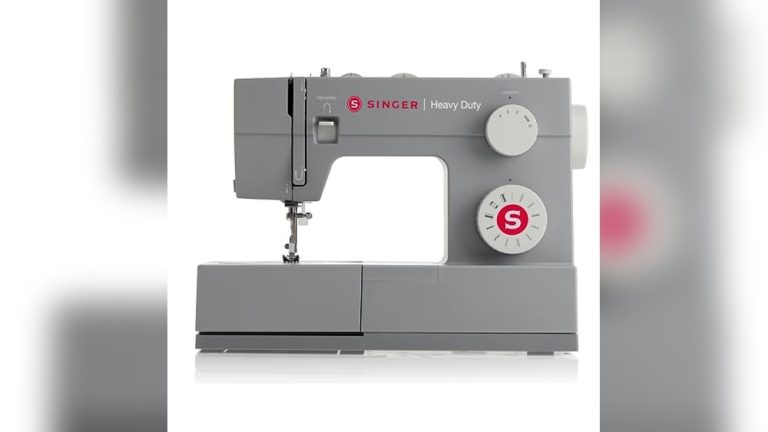
Collect all sewing materials before starting. You need Velcro strips, matching thread, and sharp sewing needles. Heavy-duty needles work best for thick fabrics and Velcro. Have scissors to cut fabric and Velcro cleanly. A sewing machine helps but hand sewing is fine for small projects. Pins or fabric clips keep Velcro in place while sewing.
Measuring And Marking Placement
Measuring and marking placement is the first step to sewing Velcro on fabric correctly. It helps you place the Velcro pieces evenly and securely. Accurate placement prevents the Velcro from lifting or twisting after sewing.
Taking time in this step saves effort later. It ensures your project looks neat and works well. Follow these tips to measure and mark Velcro placement with ease.
Accurate Measuring Tips
Use a ruler or measuring tape for precise measurements. Measure twice before cutting or marking. Check the fabric area where the Velcro will go. Note the size of the Velcro strips you have. Allow extra space if you plan to fold the edges. Mark the center point to align the Velcro pieces. Keep your measurements consistent on both fabric sides.
Marking Velcro Position
Use a fabric pencil or chalk to mark the spots. Avoid permanent markers to prevent stains. Mark small dots or lines where the Velcro edges will sit. Check the marks by placing the Velcro on them. Adjust if the placement looks off or uneven. Make sure the Velcro pieces will match up perfectly. Clear, light marks help guide your sewing accurately.
Pinning Velcro In Place
Pinning Velcro in place is a key step for a neat, strong hold. It keeps the Velcro steady during sewing. This stops shifting or uneven stitching. Careful pinning makes sewing easier and results cleaner.
Securing Hook Side
The hook side of Velcro has tiny, stiff hooks. Pin it carefully to avoid bending the hooks. Place the hook side on the wrong side of the fabric. Use straight pins along the edges. Pin every 1 to 2 inches for firm hold.
Check that the hooks face away from the fabric. Pinning straight helps keep the Velcro flat. Avoid pinning too close to the edge to stop damage.
Aligning Loop Side
The loop side feels soft and fuzzy. Align it with the hook side for good closure. Place it on the opposite fabric piece. Pin along the edges, spacing pins evenly. Make sure loops face outwards and stay flat.
Hold the fabric and Velcro in place with gentle tension. This avoids puckering when sewing. Double-check alignment before stitching. Proper pinning ensures the Velcro closes smoothly.
Sewing Techniques
Sewing Velcro on fabric requires the right techniques for a strong hold. Choosing the proper method depends on your tools and fabric type. This section explains easy ways to sew Velcro that lasts.
Hand Sewing Velcro
Hand sewing Velcro works well for small projects and tight spaces. Use a strong needle and thick thread. Start by pinning the Velcro to the fabric. Sew small, even stitches along the edges of the Velcro. Backstitch at the start and end to secure it. This method gives control and precision.
Using A Sewing Machine
A sewing machine speeds up the Velcro sewing process. Choose a heavy-duty needle to avoid breaking. Set the machine to a straight stitch for clean lines. Place the Velcro on the fabric and sew close to the edges. Move slowly to keep stitches neat. This method is best for larger pieces.
Stitch Types For Durability
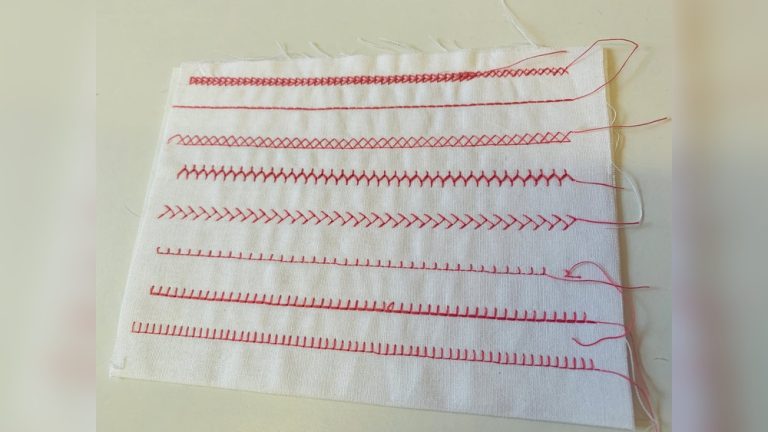
Strong stitches ensure Velcro stays fixed during use. Use a straight stitch along all four sides for basic hold. For extra strength, try a box stitch with an X in the center. Zigzag stitches can also help secure edges and prevent fraying. Always sew close to the Velcro edge for the best grip.

Credit: www.youtube.com
Finishing Touches
After sewing Velcro onto fabric, the final steps matter. These finishing touches ensure your project looks neat and lasts long. Small details improve the overall quality and function.
Trimming Excess Threads
Cut off any loose or extra threads around the Velcro. Use sharp scissors for clean cuts. This makes the fabric look tidy and professional. Avoid pulling threads to prevent damage. A neat finish helps your project last longer.
Testing Attachment Strength
Press the Velcro pieces together firmly. Pull gently to check if they hold well. If they separate too easily, sew around edges again. Good attachment stops the Velcro from peeling off. Repeat the test several times for safety.
Common Mistakes To Avoid
Sewing Velcro on fabric seems simple but has common pitfalls. These mistakes affect the strength and look of your project. Avoiding them saves time and frustration. Let’s explore key errors and how to fix them.
Misalignment Issues
Placing Velcro strips unevenly causes poor closure. One side might not match the other. This leads to gaps and weak hold. Always measure and mark fabric before sewing. Pin strips carefully to keep them straight. Check alignment before stitching to ensure perfect fit.
Using Incorrect Stitching
Wrong stitches cause Velcro to peel off quickly. Using loose or short stitches weakens the bond. Use a strong, straight stitch for durability. Sew close to the Velcro edge for best hold. Reinforce corners with extra stitches to prevent fraying. Proper stitching keeps Velcro secure during use.
Care And Maintenance
Velcro is easy to use but needs care to work well for a long time. Proper care and maintenance keep the fabric and Velcro strong. It also stops the Velcro from losing stickiness or getting damaged. Simple steps help your Velcro last and stay clean.
Washing Tips
Wash fabric with Velcro on a gentle cycle. Use cold water to protect the material. Always close the Velcro before washing to stop it from catching on other clothes. Avoid bleach or strong detergents. Hand washing works best for delicate fabrics. Let the fabric air dry. Avoid heat from dryers as it can damage Velcro.
Extending Velcro Life
Keep Velcro clean by removing dirt and lint. Use a small brush or comb to clean the hooks and loops. Store items with Velcro fastened to avoid catching on other fabrics. Avoid pulling Velcro apart too hard. This keeps the hooks from bending or breaking. Regular cleaning and gentle use help Velcro last longer.

Credit: www.ageberry.com
Frequently Asked Questions
How Do You Sew Velcro On Fabric Correctly?
To sew Velcro on fabric, align the hook and loop pieces first. Use a straight stitch close to the edge. Secure the ends by backstitching to prevent fraying. Choose a thread color matching the fabric for a neat finish.
Can I Sew Velcro On Delicate Fabrics?
Yes, you can sew Velcro on delicate fabrics. Use a lightweight Velcro and a fine needle. Sew slowly to avoid puckering. Consider hand stitching if the fabric is very fragile to maintain its integrity.
What Type Of Needle Is Best For Sewing Velcro?
A heavy-duty or denim needle works best for sewing Velcro. These needles penetrate thick Velcro without breaking. Using the right needle helps maintain stitch quality and prevents damage to the fabric and Velcro.
How Do I Prevent Velcro From Fraying When Sewn?
To prevent fraying, cut Velcro with sharp scissors and seal edges with fabric glue or fray check. Backstitch at the start and end of sewing for extra hold. Proper edge finishing keeps Velcro durable and neat.
Conclusion
Sewing Velcro on fabric is simple and useful. Choose the right Velcro for your project. Pin it carefully to keep it in place. Use a strong needle and thread for best results. Sew slowly and evenly along the edges. Check your work to make sure it holds well.
Practice makes sewing Velcro easier and neater. Now, you can add Velcro to clothes, bags, or crafts with confidence. Try it yourself and see how handy it is!