Sewing Machine Best for Beginners: The Brother CS6000i Review
The Brother CS6000i is the sewing machine best for beginners because it balances simple, automated controls with enough features to grow as your skills improve. It includes an intuitive LCD screen, speed control, and a quick-set bobbin system that removes the common frustrations of threading. This guide covers how to select, set up, and maintain your first machine, focusing on the specific features that ensure a smooth start for any new sewer.
The sewing machine best for beginners

A basic sewing machine is a tool designed to lock threads together using a needle and a bobbin. It’s intended for people who are just learning to hem clothes, sew straight lines, or create simple fabric projects. The biggest misconception is that you need a machine with hundreds of decorative stitches. In reality, you only need a reliable straight stitch and a zig-zag stitch to handle ninety percent of household tasks.
Mechanical machines are often recommended for their durability, while computerized models offer automatic settings that prevent common errors. If you’re learning to sew, look for a machine with a top-loading drop-in bobbin; this design is much easier to monitor than the older front-loading cases. Note that this varies by model — check the label for the specific bobbin type. These machines operate on a simple motor-driven cycle that catches the top thread with the bottom thread loop. This process is consistent across home machines, provided the needle is the correct size for the fabric thickness you’re using.
The basic method
- Place the machine on a flat, stable table and plug the foot controller into the machine and the wall outlet.
- Wind your bobbin with thread that matches your fabric color, ensuring the thread is wound evenly to prevent jamming.
- Thread the machine according to the diagram printed on the top cover, ensuring the presser foot is raised to allow the thread to sit between the tension discs.
- Insert the bobbin into the case, pulling the thread through the tension guide until it clicks.
- Use the handwheel to pull the lower thread up through the needle plate opening; hold both the top and bottom threads as you start your first stitch.
- Set the stitch length to two and a half millimeters for standard cotton fabric.
- Lower the presser foot onto the fabric and press the foot controller gently to begin sewing.
If you’re unsure about the electrical safety of your equipment, always consult the Consumer Product Safety Commission guidelines regarding home appliance cords and outlets. If the internal mechanism fails, take the machine to a certified technician. A good result depends on the tension balance; if your stitches look loose on the bottom, your top thread tension is likely too low.
Key numbers and settings at a glance
Settings change based on the fabric weight and the specific task you’re performing.
| Situation | What to use | How long | What to watch for |
|---|---|---|---|
| Lightweight silk | Size 60/8 needle | 2.0mm length | Puckering fabric |
| Medium cotton | Size 80/12 needle | 2.5mm length | Even spacing |
| Heavy denim | Size 100/16 needle | 3.0mm length | Skipped stitches |
What separates good results from bad ones
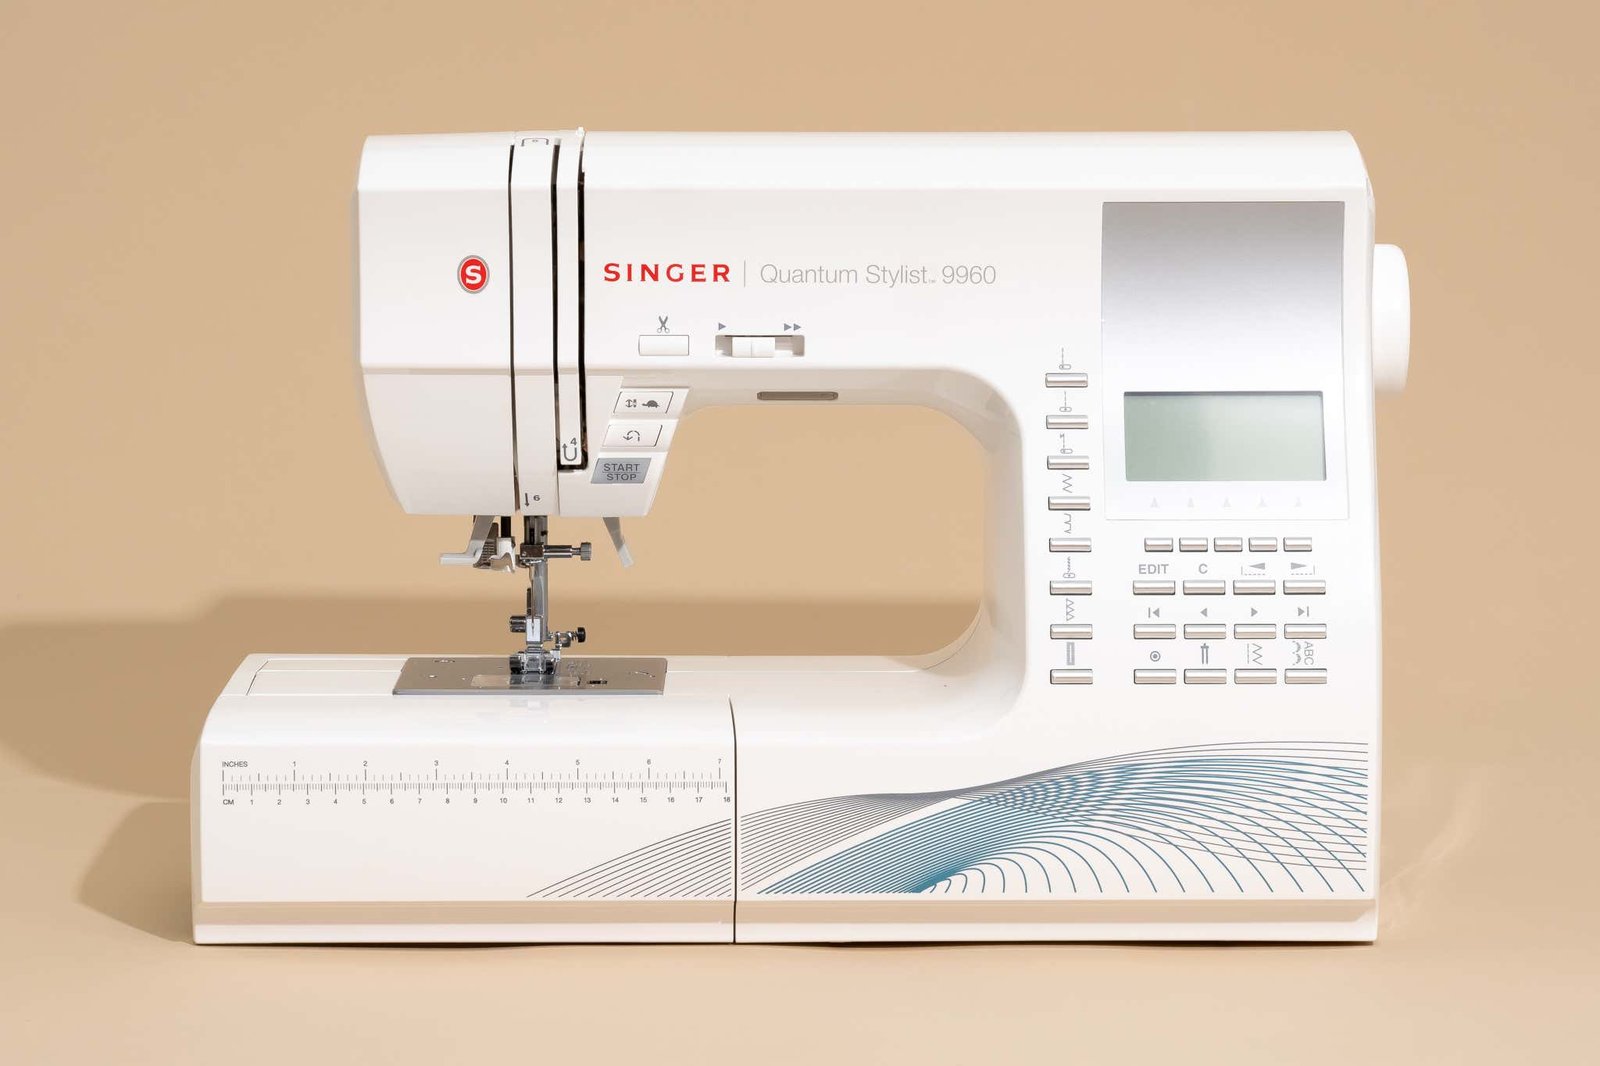
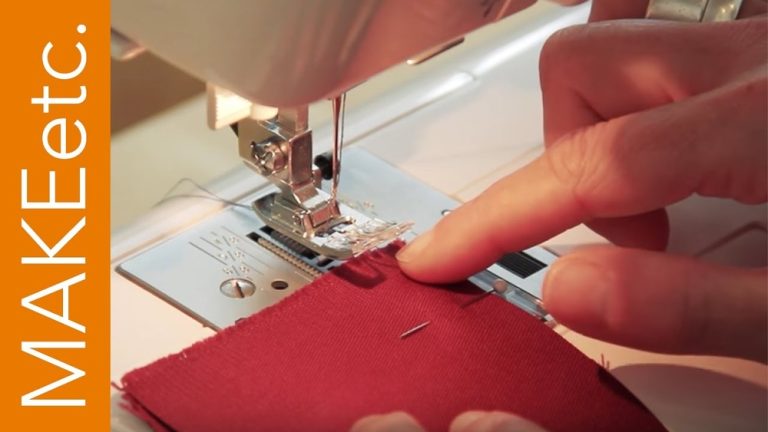
Successful sewing depends on how you prepare your fabric and how you manage the thread. Experienced users always test their stitch settings on a scrap piece of the exact fabric they plan to use. This allows you to adjust the tension dial before you touch your actual project. If you’re sewing a long seam, pin your fabric pieces together first to stop them from shifting under the needle.
Managing the fabric flow
Never pull the fabric through the machine as it sews. The feed dogs—the small metal teeth under the presser foot—are designed to move the fabric at a controlled speed. If you pull, you risk breaking the needle or bending the needle bar. This is a common mistake that costs beginners expensive repair bills. Instead, use your hands only to guide the fabric straight.
The order of operations
Always start with the needle in the highest position when threading or changing needles. If you start with the needle down, the thread will often tangle around the take-up lever. Keep your workspace clear of extra fabric to avoid accidental bunching. If you notice the machine sounds louder than usual, stop immediately and check the bobbin area for loose thread bits.
Common problems and quick fixes
| What you notice | What it usually means | What to do first |
|---|---|---|
| Thread loops on bottom | Incorrect top threading | Re-thread the top path |
| Needle snapping | Wrong needle size | Change to heavier needle |
| Fabric not moving | Feed dogs lowered | Check drop-feed switch |
| Bird-nesting under plate | Improper threading or tension | Re-thread and check tension |
Compliance and usage rules
The International Organization for Standardization sets the global benchmarks for sewing machine safety and performance. These rules ensure that machines meet electrical and mechanical safety limits. If your machine is meant for home use, never use it for industrial-grade materials like thick leather or heavy upholstery canvas unless the manual specifically permits it. Pushing a home machine beyond its motor capacity can cause the internal gears to strip or the motor to overheat. If you plan to sew heavy materials, look for a “heavy-duty” model specifically rated for that work. Always keep your fingers at least one inch away from the needle path while the machine is running to prevent injury. If you have any doubt about the machine’s condition, stop using it and contact the manufacturer’s customer support line.
Keeping it working afterwards
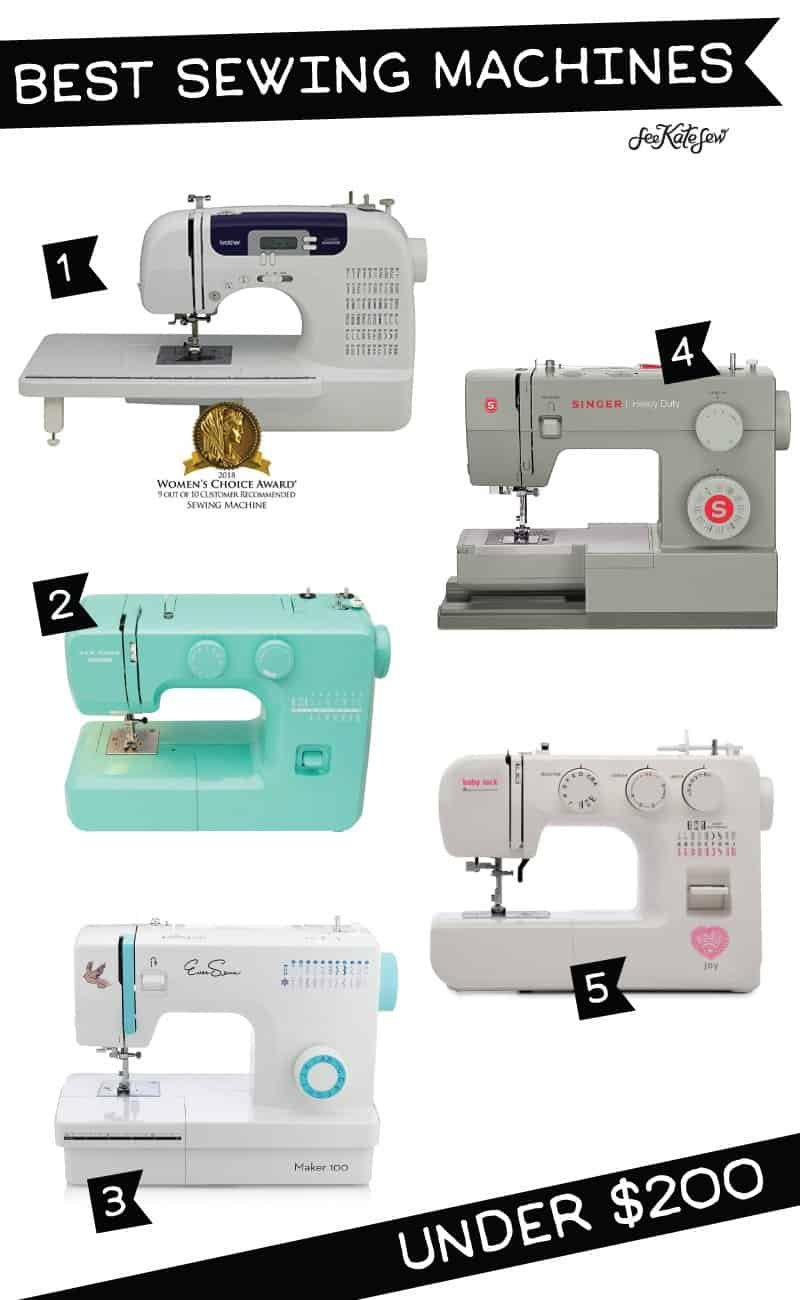
Clean your machine after every eight to ten hours of actual sewing time. Start by unplugging the machine and removing the needle plate with a screwdriver. Use a small, soft brush to remove the lint that builds up around the feed dogs and the bobbin case. Never use compressed air, as this can push dust deeper into the internal electronics. A drop of sewing machine oil may be needed in the bobbin race if the manual suggests it, but don’t over-oil. If the machine starts to make a clicking sound or the stitch quality becomes uneven, it’s a sign that lint has blocked the tension discs or the bobbin area. Store your machine in a clean, dry place with a cover to prevent dust from entering the housing.
When to use a different approach
This approach is unsuitable for heavy leather or thick canvas, which require an industrial walking-foot machine to prevent mechanical damage. Similarly, avoid basic machines for embroidery, as they lack the necessary hoop mechanisms and software. Research specialized equipment next to ensure your machine matches your specific creative goals.