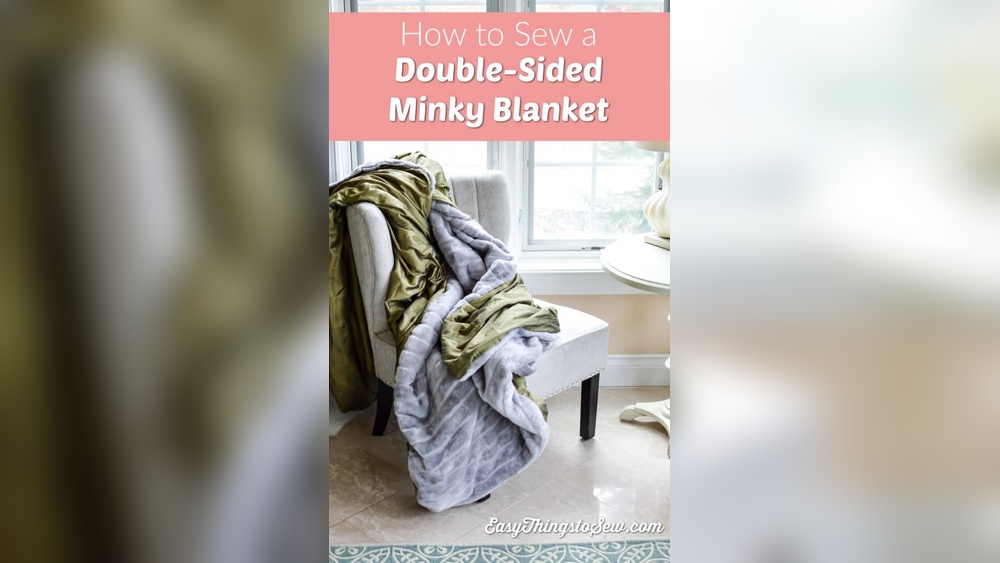
How To Sew A Double Sided Blanket
Are you ready to create a cozy, double-sided blanket that’s perfect for chilly nights or thoughtful gifts? Sewing your own double-sided blanket is easier than you might think, and it gives you the chance to pick fabrics that match your style and comfort needs.
Imagine wrapping yourself in a soft, warm blanket made by your own hands—something unique that no store can offer. In this guide, you’ll discover simple steps and helpful tips to make your sewing project smooth and enjoyable. Keep reading, and soon you’ll have a beautiful, double-sided blanket to cherish or share.

Credit: createwhimsy.com
Materials Needed
Gathering the right materials is the first step to sew a double sided blanket. Choosing good fabric and the right tools makes the process easier and the result better. Below, find a list of essential items for this project.
Fabric Types
Pick two fabrics that feel soft and warm. Cotton is light and easy to sew. Fleece is cozy and keeps heat well. Minky fabric is very soft but can be tricky to handle. Match the fabric weights so the blanket lays flat. Choose colors or patterns you love for both sides.
Tools And Accessories
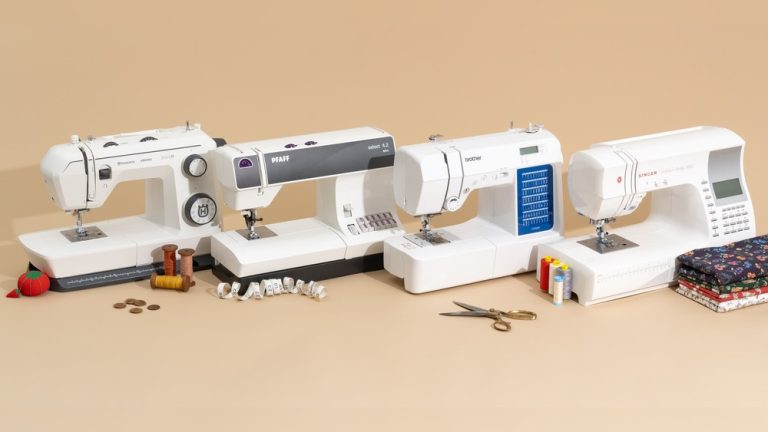
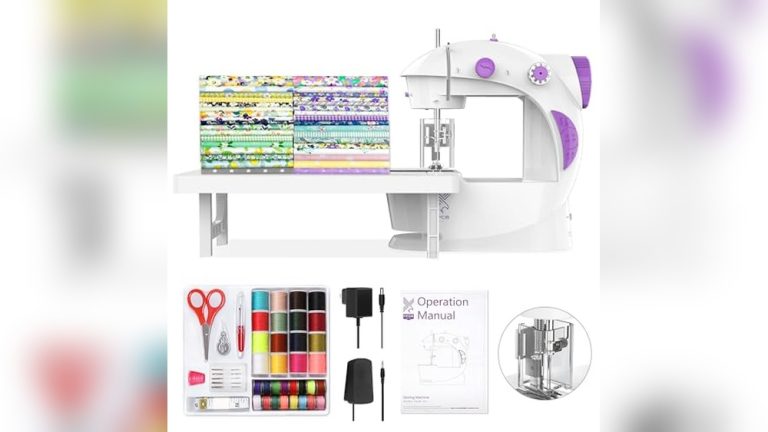
A sewing machine helps finish the blanket faster. Use sharp fabric scissors to cut clean edges. Pins or clips hold the fabrics together while sewing. Thread should match or contrast with your fabric. A measuring tape or ruler keeps your cuts accurate. A seam ripper fixes any mistakes easily.
Preparing The Fabric
Preparing the fabric is the first step to sew a double-sided blanket. This step helps you avoid mistakes and makes sewing easier. It also ensures the blanket looks neat and lasts longer. Take your time to measure, cut, wash, and iron the fabric properly.
Measuring And Cutting
Start by measuring the size of your blanket. Use a ruler or tape measure for accuracy. Mark the fabric with a fabric pencil or chalk. Cut both fabric pieces to the same size. Straight edges help the blanket fit together well. Use sharp fabric scissors for clean cuts. Double-check measurements before cutting to avoid waste.
Pre-washing And Ironing
Wash the fabric before sewing. This removes any chemicals and prevents shrinking later. Use cold water and mild detergent. Let the fabric dry completely. Iron the fabric flat to remove wrinkles. Smooth fabric is easier to sew. Iron both sides of the fabric for best results.
Pinning The Layers
Pinning the layers is a key step in sewing a double sided blanket. It holds the fabric pieces together. This prevents shifting while sewing. Proper pinning ensures neat edges and smooth seams. It helps you keep the fabrics aligned. Let’s explore how to pin the layers correctly.
Aligning Fabrics
Start by laying one fabric piece flat on a clean surface. Place the second fabric on top, right sides facing each other. Make sure the edges match evenly. Smooth out any wrinkles or folds. Check corners carefully to align them perfectly. This step avoids uneven edges in the finished blanket.
Securing With Pins
Use straight pins to hold the layers together. Insert pins perpendicular to the edges, about every 3 to 4 inches. This spacing keeps the fabric stable during sewing. Pin the corners first to lock the shape. Add pins along the sides next. Avoid pinning too close to the edge to prevent fabric damage.
Choosing The Stitch
Choosing the right stitch is key when sewing a double sided blanket. The stitch holds the fabric layers together and gives the blanket strength. It also affects how the edges look and feel. Picking the best stitch helps your blanket last longer and stay neat.
Different stitches work better with certain fabrics and thicknesses. The right stitch also makes sewing easier and faster. Consider the fabric type and the blanket’s use before deciding on a stitch.
Recommended Stitch Types
A straight stitch is simple and strong. It works well for most fabrics and gives clean edges. Use a medium stitch length for thick fabrics.
A zigzag stitch adds stretch and flexibility. It is good for stretchy or fuzzy fabrics. The zigzag helps prevent fraying on blanket edges.
A blanket stitch is decorative and secure. It looks nice on edges and keeps layers tight. You can hand sew or use a machine for this stitch.
Adjusting Sewing Machine Settings
Set the stitch length based on fabric thickness. Longer stitches suit thick layers; shorter for thin ones.
Use a suitable needle for your fabric type. A ballpoint needle works for knits; a sharp needle for woven fabrics.
Adjust the tension to avoid puckering or loose stitches. Test on a fabric scrap before sewing your blanket.
Sewing The Blanket
Sewing the double sided blanket is the key step to bring your project to life. It joins the two fabric pieces neatly and keeps the blanket soft and warm.
Follow each step carefully to sew strong, even seams. Take your time to avoid mistakes and create a blanket you will love.
Starting The Seam
Place the two fabric pieces with right sides facing each other. Pin the edges to hold the layers together. Begin sewing from one corner using a straight stitch. Sew slowly and keep the seam allowance consistent, usually about ½ inch.
Leaving An Opening
Stop sewing about 6 to 8 inches before you reach the start point. This gap lets you turn the blanket right side out. Do not sew this part yet. Pin this section carefully so the fabric does not shift.
Finishing The Seam
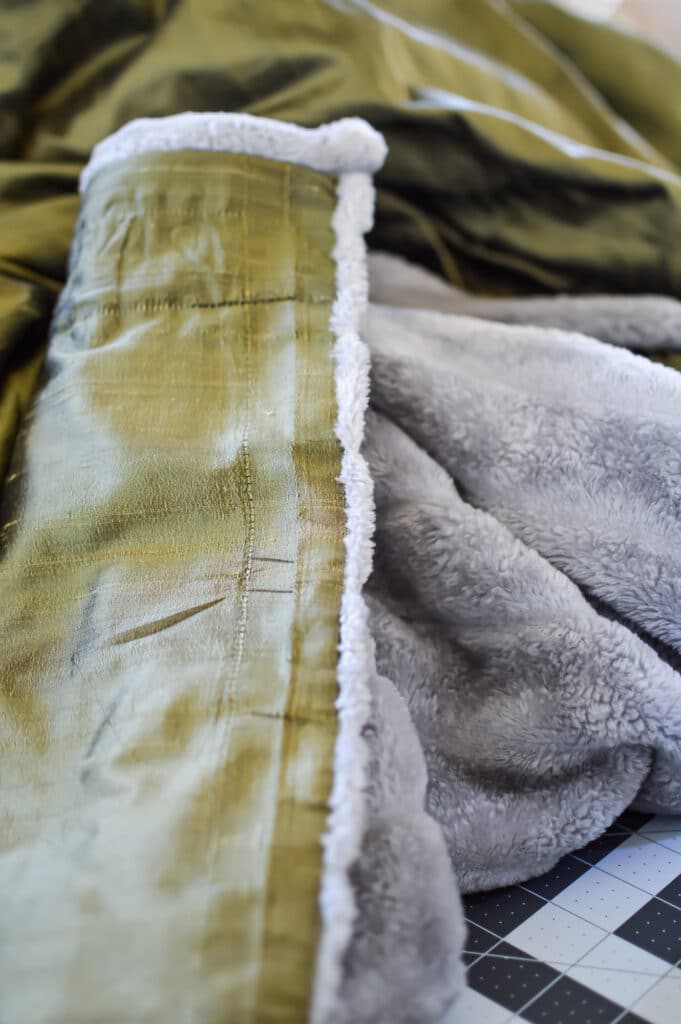
Turn the blanket right side out through the opening. Push out the corners gently for a clean look. Fold the raw edges of the opening inside and pin them. Sew the opening closed with a neat topstitch or hand stitch to finish the blanket.
Credit: easythingstosew.com
Turning And Stuffing
Turning and stuffing the blanket is an important step. It changes the project from flat fabric to a cozy, soft blanket. This step gives your double sided blanket its shape and feel. Handling the fabric carefully makes sure the blanket looks neat and smooth.
Turning The Blanket Right Side Out
Start by finding the opening left for turning. Pull the fabric through gently. Push the corners out using your fingers or a blunt tool. Make sure not to tear the fabric. Take your time to avoid wrinkles. The blanket should now show the right sides of the fabric. This step reveals the beautiful double sided design.
Smoothing And Flattening
After turning, smooth the fabric with your hands. Flatten all edges and corners carefully. Use a flat surface to press the blanket down. Check for any lumps or folds inside. Straight fabric creates a neat finished blanket. This step prepares the blanket for the final sewing or stuffing.
Closing The Opening
Closing the opening is the final step in sewing a double-sided blanket. This step keeps the blanket neat and secure. The opening is where you turned the fabric inside out. Now, you must close it carefully. Choose a method that fits your skill and tools. The goal is a clean finish without visible stitches.
Hand Stitching Techniques
Hand stitching works well for a subtle finish. Use a needle and thread matching the fabric color. A ladder stitch is perfect for closing the opening invisibly. It hides the thread between fabric layers. Make small, even stitches for a strong seam. Pull the thread tight but not too tight. Tie a secure knot when finished. This method takes time but looks neat.
Machine Stitching Options
Machine stitching is faster and very strong. Set your machine to a straight stitch. Use thread that matches your blanket’s color. Stitch close to the edge of the opening. Start and stop with backstitching to lock the seam. Keep the fabric flat to avoid puckers. Press the seam with an iron after stitching. This method is great for beginners and quick projects.
Adding Final Touches
Adding final touches to your double-sided blanket makes it look neat and complete. These small steps give your project a polished finish. They help the blanket hold its shape and last longer. Let’s explore two simple ways to add those finishing details.
Topstitching
Topstitching means sewing a line close to the blanket edge. It keeps the layers from shifting inside. Use a straight stitch and matching thread color. Sew about 1/4 inch from the edge all around. This step strengthens the blanket’s edges. It also gives a clean, professional look.
Decorative Elements
Decorative touches add personality to your blanket. Sew on buttons, patches, or ribbons to make it unique. Choose simple designs that match your fabric colors. You can also add fabric paint or embroidery. These details make the blanket more fun and special.
Care And Maintenance
Taking good care of your double sided blanket keeps it soft and fresh. Proper maintenance helps the fabric last longer. Follow these simple steps to keep your blanket cozy and clean.
Washing Instructions
Use cold water to wash your blanket. Choose a gentle cycle on your washing machine. Use mild detergent without bleach. Avoid using fabric softeners to protect the fabric. Wash the blanket alone to prevent damage. Air dry or tumble dry on low heat. Avoid direct sunlight to stop fading.
Storage Tips
Store your blanket in a cool, dry place. Fold it neatly to avoid wrinkles. Keep it away from moisture to prevent mold. Use a breathable fabric bag for long storage. Avoid plastic bags that trap moisture. Check the blanket regularly for any damage or dirt.

Credit: www.craftystaci.com
Frequently Asked Questions
What Materials Are Needed To Sew A Double Sided Blanket?
You need two fabric pieces, thread, sewing machine, pins, scissors, and measuring tape. Choose soft, durable fabrics for comfort and warmth.
How Do You Align Fabrics For Double Sided Blankets?
Place fabrics with right sides facing each other. Pin edges to secure. This ensures clean seams and a polished finished look.
What Stitch Is Best For Sewing Double Sided Blankets?
A straight stitch or a zigzag stitch works well. Use a medium stitch length for strong, flexible seams.
How Do You Finish Edges On A Double Sided Blanket?
Trim seam allowances, then topstitch close to the edges. This prevents fraying and gives a neat, professional finish.
Conclusion
Sewing a double sided blanket is fun and rewarding. You only need basic materials and simple steps. Take your time to cut and stitch carefully. The result will keep you warm and cozy. This project also makes a lovely gift for friends or family.
Practice makes your sewing skills better every time. Try different fabrics and colors to make it unique. Enjoy the process and the comfort of your handmade blanket. Keep sewing and creating more useful items at home!