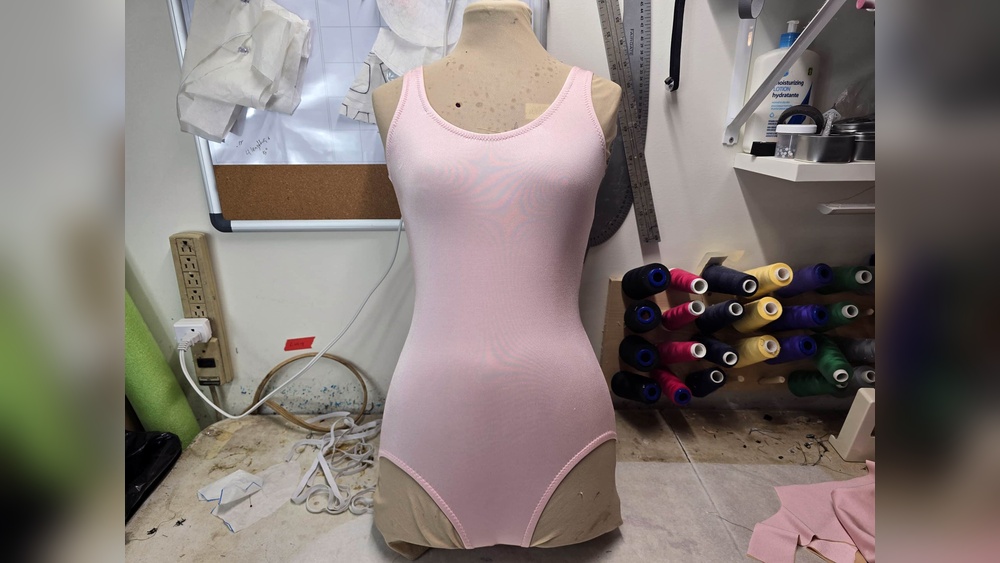
How To Sew A Bodysuit
Are you ready to create a stylish and comfortable bodysuit that fits you perfectly? Sewing your own bodysuit might seem tricky at first, but with the right steps, you can make one that looks professional and feels great.
Imagine having a custom piece that hugs your body just right and matches your style. In this guide, you’ll discover simple techniques and insider tips that make sewing a bodysuit easier than you think. Keep reading, and you’ll be amazed at how quickly you can turn fabric into your new favorite wardrobe staple.
Choosing Fabric And Materials
Choosing the right fabric and materials is key to sewing a comfortable bodysuit. The fabric affects fit, stretch, and how the bodysuit feels on your skin. Picking good materials helps your project look professional and last longer.
Different fabrics suit different styles and uses. Some fabrics stretch a lot and fit tight. Others are softer but less stretchy. Knowing what each fabric offers makes sewing easier and more fun.
Best Fabrics For Bodysuits
Stretchy fabrics work best for bodysuits. Cotton blends with spandex provide comfort and stretch. Jersey knit is soft and moves with your body. Lycra and nylon are shiny and smooth, great for activewear.
Look for fabrics with 5% to 20% stretch for a snug fit. Avoid stiff or thick fabrics. They do not hug the body well and feel uncomfortable.
Essential Sewing Supplies
Use a ballpoint or stretch needle for knit fabrics. These needles slide between fibers without causing holes. Polyester thread works well because it stretches with fabric.
A walking foot helps feed stretchy fabric evenly. Use pins or clips that do not damage fabric. Scissors should be sharp for clean cuts. Having a measuring tape and tailor’s chalk is useful for precise marking.
Taking Accurate Measurements
Taking accurate measurements is the first step to sewing a perfect bodysuit. Without correct numbers, the fit might be tight or loose. Measuring your body carefully ensures comfort and style. Use a soft tape measure and stand straight while measuring.
Measuring Bust, Waist, And Hips
Start with the bust. Wrap the tape around the fullest part of your chest. Keep the tape snug but not tight. Next, measure the waist. Find the narrowest part of your torso. Place the tape around this area and keep it comfortable. Finally, measure the hips. Wrap the tape around the widest part of your hips and bottom. Note all these numbers clearly.
Determining Length And Fit
Measure from the shoulder to the crotch for bodysuit length. This helps avoid too short or too long fits. Check the shoulder width too. It affects how the bodysuit sits on your body. Measure across your back from one shoulder to the other. Use these lengths to make the bodysuit fit your body shape well.
Preparing The Pattern
Preparing the pattern is the first step in sewing a bodysuit. It sets the base for a perfect fit and style. Taking time here saves effort later. You will work with a pattern that suits your needs and body shape. Adjustments may be needed to get the right size and design. Let’s explore how to select or create the right pattern and adjust it properly.
Selecting Or Drafting A Pattern
Choose a pattern that matches your skill level. Beginner patterns have simple shapes and fewer pieces. You can buy a ready-made pattern from stores or online. Another option is drafting your own pattern. Use your measurements to draw the shape on paper. Drafting gives full control over fit and style. Use tools like rulers, curves, and measuring tape. Keep lines smooth and clear for easy cutting.
Adjusting For Size And Style
Check the pattern’s size chart carefully. Compare it with your body measurements. Mark any changes needed on the pattern pieces. Lengthen or shorten sections to fit your height. Widen or narrow areas for better comfort. Change neckline or sleeve shapes for your style. Make small adjustments first. Pin or tape paper pieces to test fit. Adjust gradually until the pattern feels right.
Cutting The Fabric
Cutting the fabric is the first real step in making your bodysuit. This step sets the base for how well your bodysuit will fit and look. Careful cutting saves time and avoids mistakes later. Take your time and work on a clean, flat surface. Keep your tools sharp and ready. Let’s explore how to lay out your pattern pieces and cut with precision.
Laying Out The Pattern Pieces
Start by spreading your fabric on a large table. Make sure the fabric lies flat without wrinkles. Follow the grainline marks on your pattern pieces. Align them with the fabric grain for the best fit and stretch. Pin each pattern piece firmly to the fabric. Leave space between pieces for seam allowance. Double-check the layout before cutting. Use the layout guide if your pattern includes one.
Tips For Precise Cutting
Use sharp fabric scissors or a rotary cutter for clean edges. Cut slowly along the pattern lines to avoid mistakes. Keep the fabric still with your free hand while cutting. Cut outside the pattern lines if you want extra fabric for adjustments. Mark notches and important points with tailor’s chalk or fabric pens. Avoid lifting the fabric too much to prevent shifting. Accurate cuts lead to easier sewing and better results.
Sewing The Bodysuit Pieces
Sewing the bodysuit pieces is a key step in creating a perfect fit. This part brings your pattern pieces together. It shapes the bodysuit’s form and style. Careful stitching ensures durability and comfort.
Assembling The Front And Back
Start by placing the front and back pieces right sides together. Match the edges carefully. Pin them to hold in place. Sew along the side seams with a stretch stitch or a narrow zigzag stitch. This helps the fabric stretch without breaking the thread.
Next, sew the shoulder seams the same way. Keep the fabric flat and smooth. Press the seams open with an iron. This step gives a clean finish and helps the bodysuit lie flat on your body.
Adding Sleeves Or Straps
Attach sleeves or straps after the main body is assembled. Pin the sleeves to the armholes, matching notches and edges. Sew with a stretch stitch for flexibility. For straps, fold them in half lengthwise and sew along the edge. Turn them right side out.
Sew straps to the front and back at the shoulder points. Secure the stitches well to avoid pulling. Press all seams gently to keep the fabric smooth. This prepares your bodysuit for the final steps of finishing.

Credit: blog.treasurie.com
Inserting Elastic And Closures
Inserting elastic and closures is key to making a bodysuit fit well and stay secure. Elastic helps the bodysuit stretch around the arms and legs. Closures allow easy wearing and removal. Both parts need careful sewing for comfort and durability.
Attaching Leg And Armhole Elastic
Start by cutting elastic strips to match the leg and arm openings. Use a stretch stitch or zigzag stitch for sewing. Pin the elastic to the fabric with the right sides together. Stretch the elastic slightly as you sew. This keeps the fabric snug without puckering. Fold the elastic to the inside and topstitch for a clean finish.
Installing Snaps Or Zippers
Choose snaps for easy bathroom breaks and zippers for a sleek look. Mark the closure area on the bodysuit. For snaps, sew each snap part carefully with a snap tool or by hand. For zippers, pin it in place with the zipper teeth aligned. Use a zipper foot on your machine to stitch close to the teeth. Test the closure several times to ensure smooth opening and closing.
Finishing Touches
Finishing touches give your bodysuit a clean and polished look. These small details make a big difference in how your garment feels and lasts. Proper finishing also helps the bodysuit fit better and look professional. Spend time on these final steps to enjoy your sewing project even more.
Hemming And Seam Finishing
Hemming keeps the edges neat and prevents fraying. Fold the fabric edge twice, about 1/4 inch each time. Sew close to the fold with a straight stitch. This method works well for the leg openings and neckline.
Seam finishing strengthens the bodysuit and stops threads from unraveling. Use a zigzag stitch or a serger along raw edges. You can also try pinking shears to cut edges in a zigzag pattern. Choose the option that matches your sewing machine and fabric.
Adding Decorative Elements
Decorative elements add style and personality to your bodysuit. Simple lace trims along the neckline or sleeves create a delicate look. Sew them carefully on top of the fabric edges for a smooth finish.
Try small buttons or bows at the shoulder or crotch area for charm and function. Be sure to attach them securely to avoid damage during wear. These details can make your bodysuit unique and fun to wear.

Credit: www.youtube.com
Fitting And Adjustments
Fitting and adjustments are key steps when sewing a bodysuit. A good fit makes the bodysuit comfortable and flattering. This part helps you check the size and shape on your body. Small changes improve the final look and feel.
Take your time with these steps. They ensure your bodysuit fits well and feels right. Adjustments fix any tightness or looseness. Focus on comfort and style to get the best results.
Checking Fit On The Body
Try the bodysuit on carefully. Move your arms and legs to test comfort. Look for tight spots or loose areas. Check the neckline, shoulders, and crotch fit closely. The fabric should lie flat without wrinkles. Pinch small folds to see if it needs taking in.
Stand in front of a mirror for a full view. Sit down to test movement and stretch. Check how the seams align on your body. The fit should feel snug but not tight. Adjust the fit before sewing final seams.
Making Alterations For Comfort
Mark areas that feel too tight or loose. Use tailor’s chalk or pins for adjustments. Let out seams if the bodysuit is too small. Take in seams where it feels baggy. Add small darts to shape the fabric better.
Adjust the crotch length if it feels uncomfortable. Shorten or lengthen straps for better support. Sew small test stitches to try changes first. Re-check the fit after each alteration. Comfort is as important as the look.

Credit: blog.megannielsen.com
Frequently Asked Questions
How Do I Choose Fabric For Sewing A Bodysuit?
Choose stretchy fabrics like spandex, jersey, or lycra for comfort and fit. These materials allow easy movement. Avoid stiff fabrics that restrict flexibility. Lightweight, breathable fabrics work best for bodysuits.
What Sewing Machine Is Best For Bodysuit Construction?
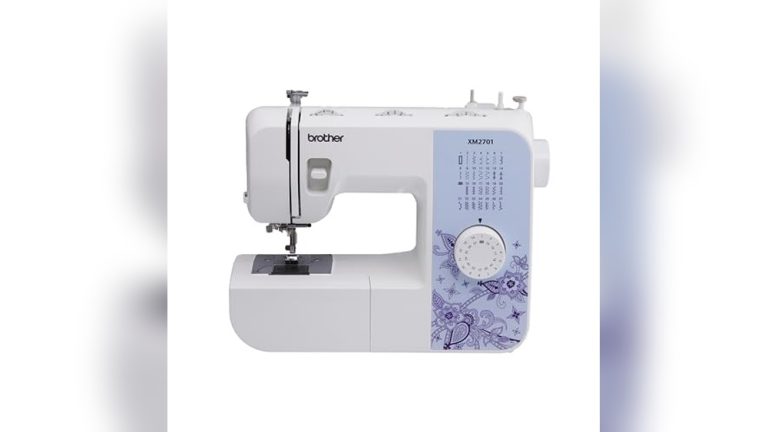
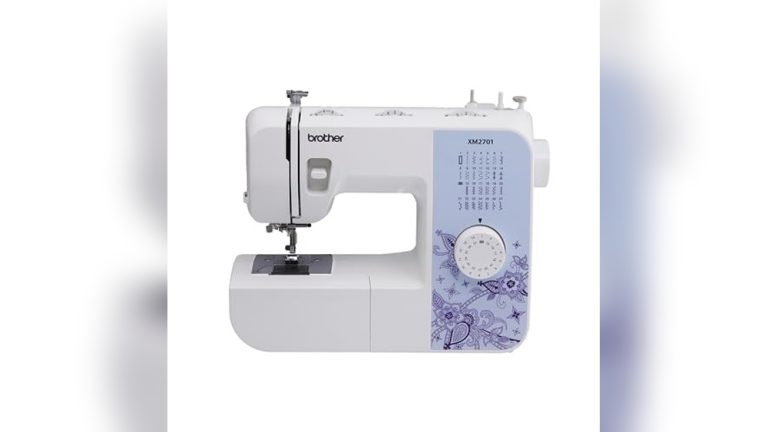
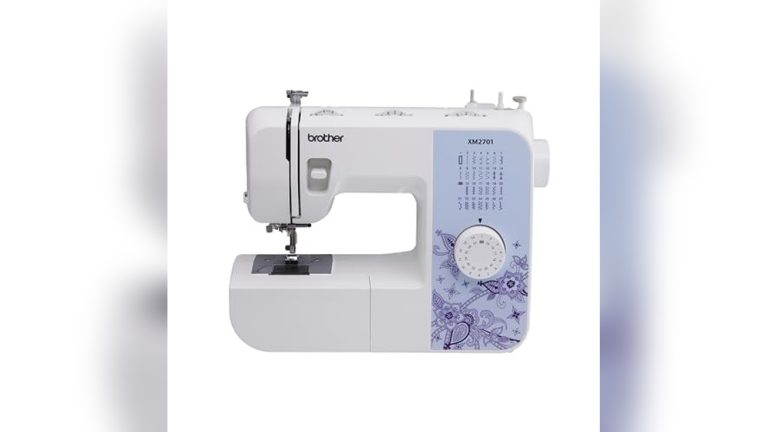
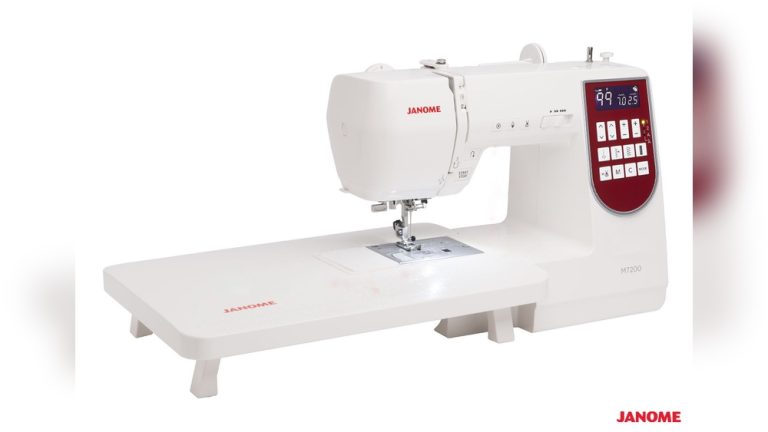
A machine with a stretch stitch or zigzag stitch is ideal. It allows seams to stretch without breaking. Use a ballpoint needle to prevent fabric damage. A serger is helpful for professional finishes.
How Do I Ensure A Perfect Fit For My Bodysuit?
Take accurate body measurements before cutting fabric. Use a fitted pattern and adjust for personal size. Try a muslin mock-up to test fit. Make small adjustments to avoid tightness or sagging.
What Stitches Work Best For Sewing Bodysuit Seams?
Use stretch stitches like zigzag or triple stretch stitch. These stitches stretch with the fabric and prevent seam breaks. Reinforce stress points with extra stitching. Avoid straight stitches on stretchy fabric.
Conclusion
Sewing a bodysuit can be fun and rewarding. Take your time with each step. Choose the right fabric for comfort and fit. Use a stretch needle and thread for best results. Practice sewing curves and seams carefully. Your bodysuit will fit better with patience and care.
Soon, you will enjoy wearing a piece you made yourself. Keep practicing to improve your sewing skills. Every bodysuit sewn brings more confidence and joy. Happy sewing!